
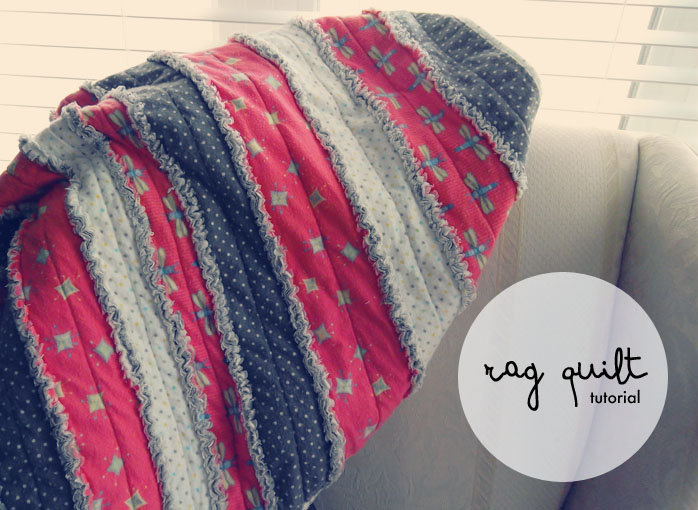
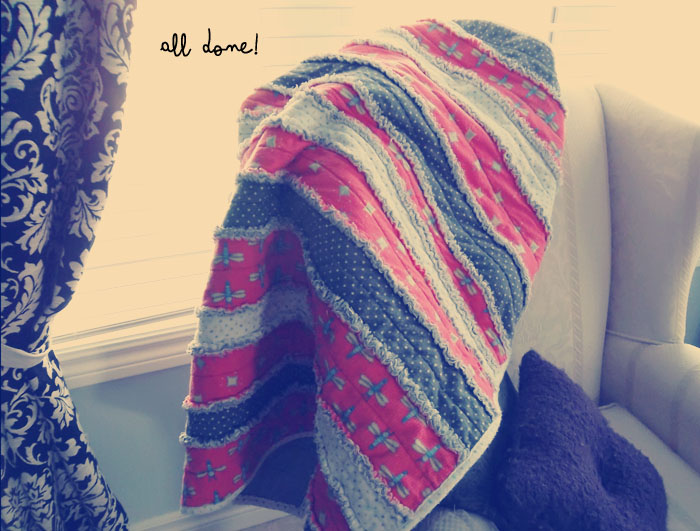
If you’re looking for a super easy quilting project, you’ve come to the right place! This DIY flannel rag quilt can absolutely be done by the “beginner” seamstress and makes the perfect handmade baby quilt for your little one or for a gift!
This flannel rag quilt made from strips of fabric instead of your typical quilting squares…. and it’s sooo soft!
The most time consuming part is cutting all of the fabric for the rag quilt, so if you have a spare afternoon why not give this a try?
If you’d prefer a project that doesn’t involve sewing, try this braided rug made from t-shirts to warm up.
How to make a flannel baby quilt
I finished this in a couple hours, so it’s probably the least complicated quilt ever. It’s the perfect project if you’re just learning how to sew as well. Nothing but straight lines and scissors!
First, you’ll need a few things:
- Flannel fabrics. I used 4 patterned ones (a 1/2 yard of each), 1.5 yards of plain white (for the lining), and 1.5 yards of plain grey (for the backing). You can do your backing in patterned fabric too if you want, I just wanted mine solid. If that is the case, just double up on the amount of patterned fabric you buy.
- Sewing machine
- Pins
- Scissors/rotary cutter
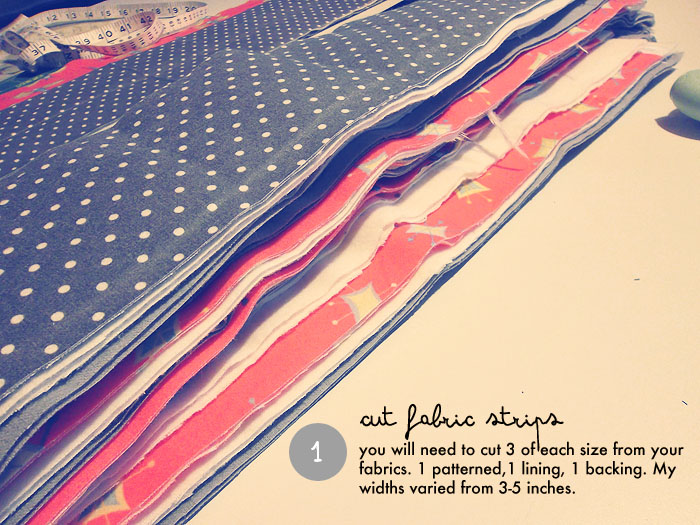
Step One: Cut your flannel fabric strips
This blanket is made in layers. A front piece which I will call the “patterned piece”, a lining piece for the middle to make it extra soft, and a backing piece.
For each strip, you will need to cut one patterned piece, one lining piece, and one backing piece at the same size. Your widths can be whatever you choose for each strip of quilting. Mine varied from 3-5 inches.
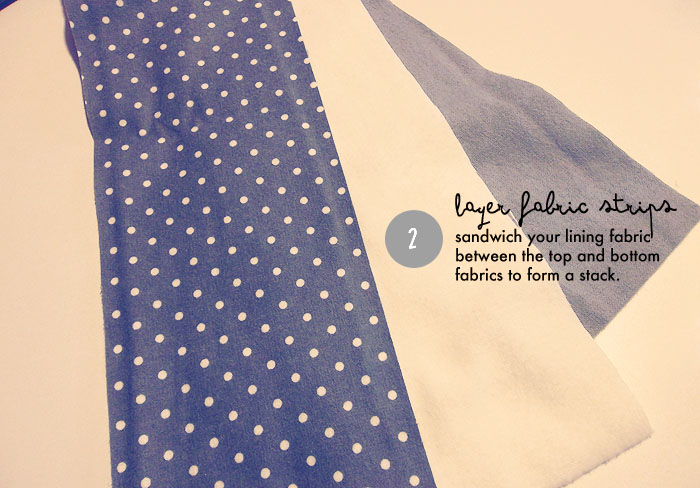
Step two: Layer your fabric strips
Sandwich your lining piece in between the top (patterned) and bottom (backing) pieces of fabric to form a stack. The top and bottom pieces should have the right sides facing out.
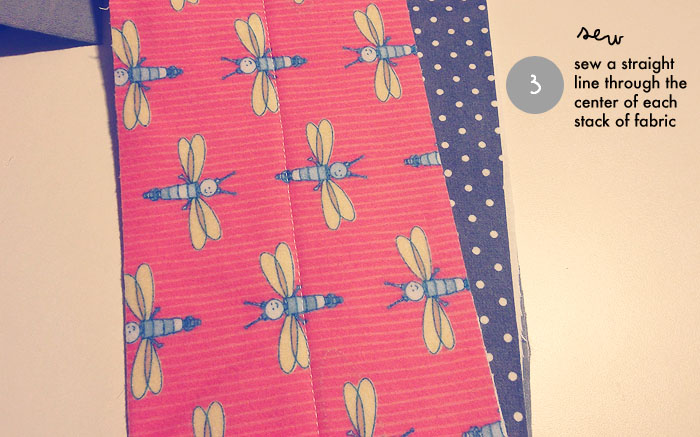
Step three: Sew them together
Using a straight stitch on your sewing machine, run a line directly down the center of your stack of fabric to keep them together.
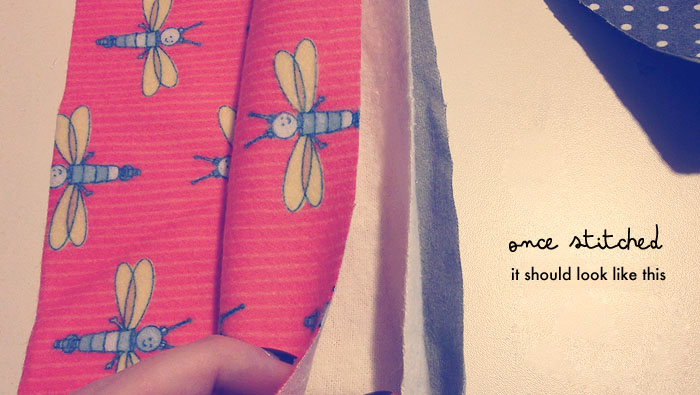
It should look like the above photo when stitched.
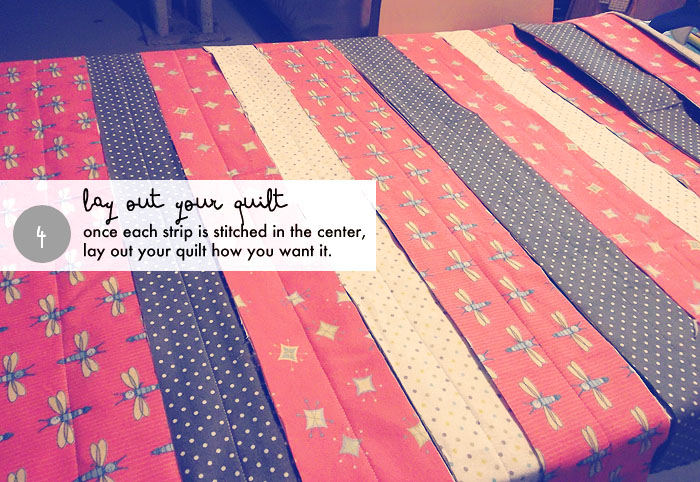
Step four: Lay out your quilt
Continue sandwiching and stitching your fabrics as in Step Three and once you have enough strips, lay them out in the order you want!
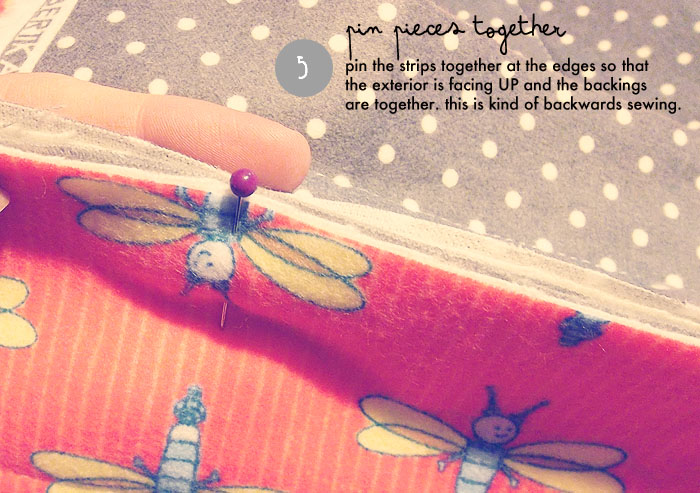
Step Five: Pin them together
Using your pins, pin the pieces together with both edges facing out. In other words, the backs of both strips you’ll be sewing are together.
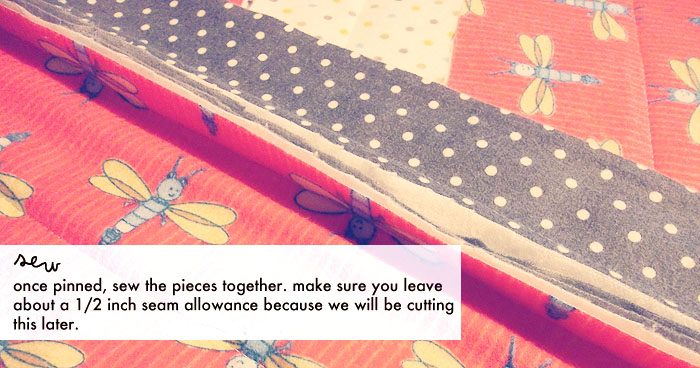
Using a 1/2 inch seam allowance, run a straight stitch down the edge of your pieces, creating this raw edge.

Step Six: Sew all of the quilt strips together
Finish sewing all of the strips together into one large quilt as shown above. It should look like the photo above with the raw edges on the outside.
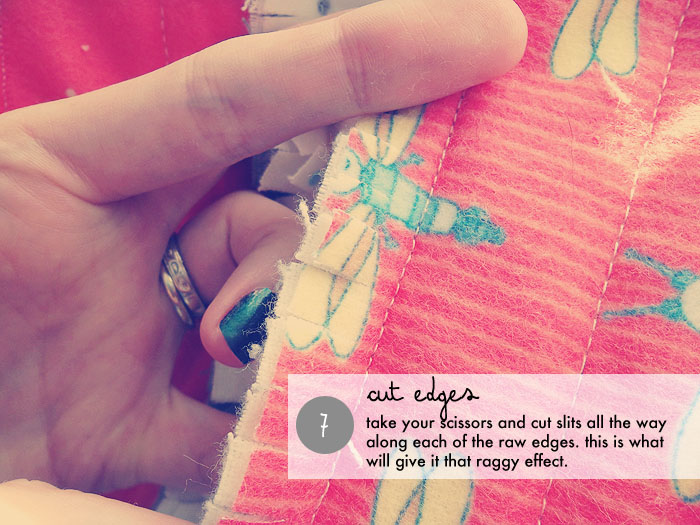
Step Seven: Cut the edges
Take a sharp pair of scissors and cut slits all the way along each of the raw edges. It might not look like much right now, but these slits are what is going to give our raggy baby quilt its ragginess!
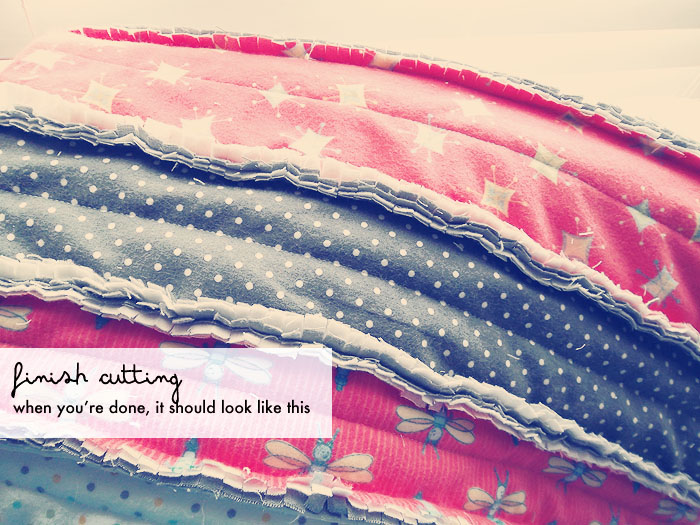
When you’re finished cutting all of the edges, it should look like this. You can see how that lining piece in the middle adds another colour pop to the rag edge.
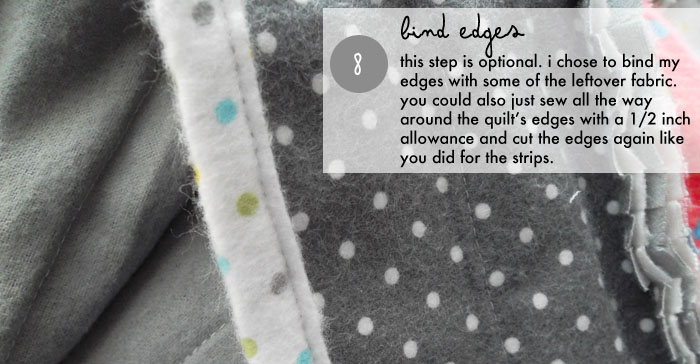
Step Eight: Finish the outside border
You can either add a binding to the outside border of the quilt using some leftover fabric as shown above, or just run another 1/2 seam allowance around the entire thing and cut slits around the border to finish it.
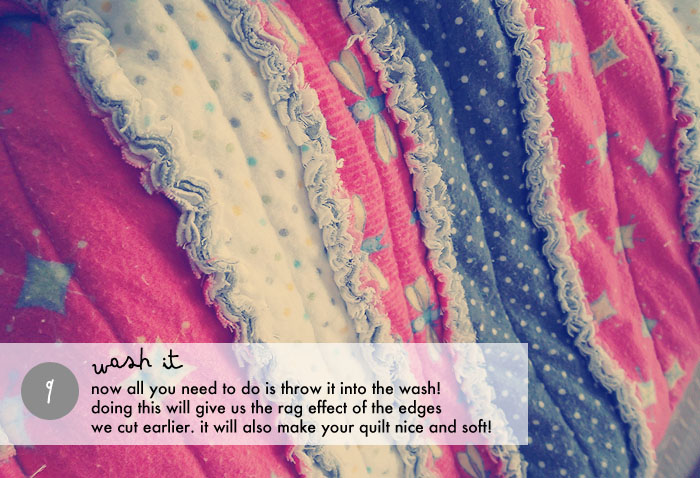
Step Nine: Wash it!
Now the magic happens! Throw your blanket into the washing machine and either let it air dry or throw it into the dryer for extra softness. The rag effect will instantly become evident and makes those raw sliced up edges look SO CUTE!
That’s it! Pretty easy huh? The size of your quilt will depend on how many strips you choose to use and the length of your fabric. Mine ended up being a square about 40″x40″ (baby size!).
One thing to keep in mind when sewing flannel is to try not to stretch it too much when sewing. I did that in the beginning and ended up with some long edges that I later had to square off.
The best part about this quilt is that the more you wash it, the softer it will become 🙂
I know there are a lot of readers who are not into sewing but want to start, so this would be perfect for you. If you’re new to sewing, do you think this is something you could handle? You could also try my DIY sleep eye mask now that you’ve got some sewing basics down!
Like this? Pin it for later!

Last Updated on
This came out shockingly excellent! Thank you for sharing! As soon as I can get to the fabric district in L.A. to get some cheap flannel, this is going to be my next project! Wow!