

Here is a quick and effective way to add a little touch of character to your business cards and make them stand out from the rest! All you will need is some acrylic paint, a paintbrush, and some business cards!
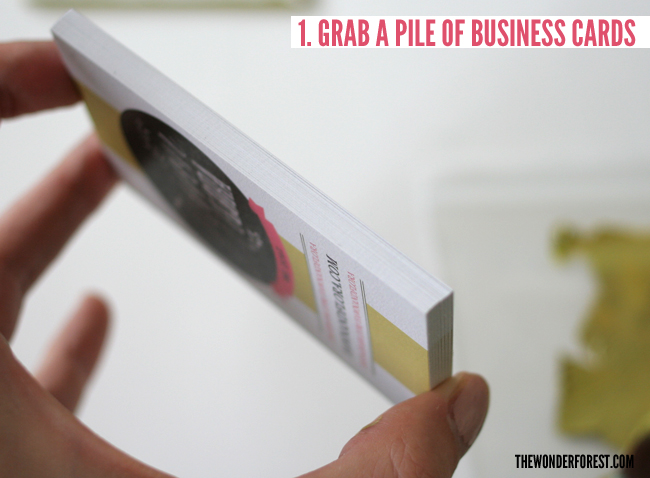
Start by grabbing a stack of cards. Make sure the edges are all nicely aligned and hold them together tightly.
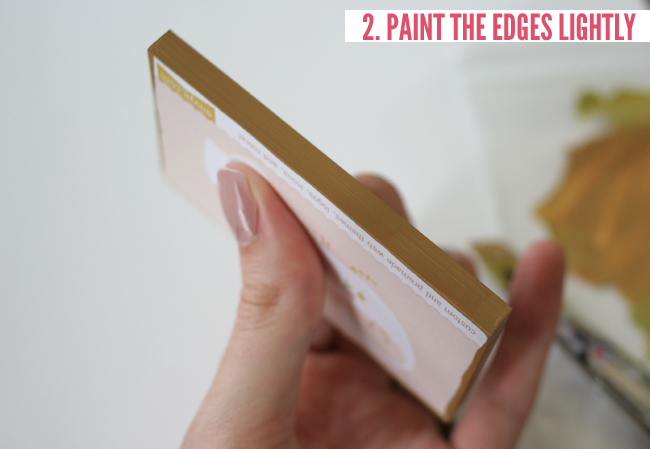
Mix up some paint. I started with this gold shade but switched to a bright pink. Lightly paint the edges of your cards. Try not to load up the edges with paint, but rather gently brush the colour on. If you have too much paint, it may seep through the cracks and leave a not-so-nice final card. Your front and back card will be tossed in the trash so be sure you have some to spare.

The paint dries pretty quickly, so you want to be sure to do this step before it’s totally set because your cards will stick together. Riffle the corners. The best way to describe this is to imagine flipping through a flip book. You’re basically just separating the cards from one another so they don’t stick. Sorry, I only had one hand to try to demonstrate this with!

Immediately after step three, pull apart the cards and let dry completely. Like I said, they dry pretty fast so you’ll have pretty cards in no time!
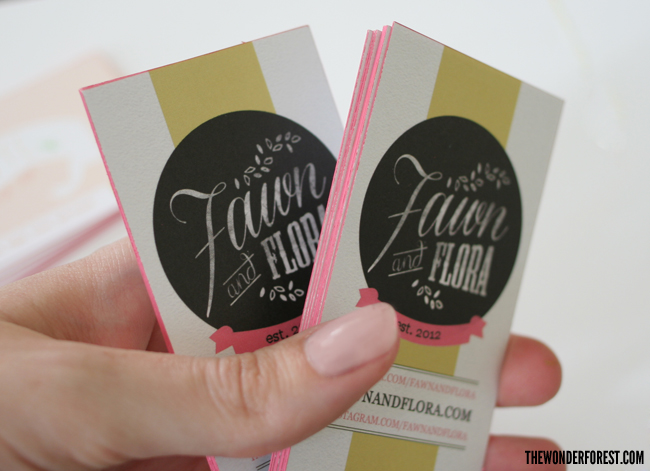

I love how these look! I think it just finishes them off so nicely. Use a paint colour that matches your cards or add a bold one for a hint of contrast. Some business card printers charge extra for this step, and it really only takes a couple minutes to get the look yourself, so why not give it a try?!
I hope you liked this DIY! Feel free to share the post or pin 🙂
Last Updated on