
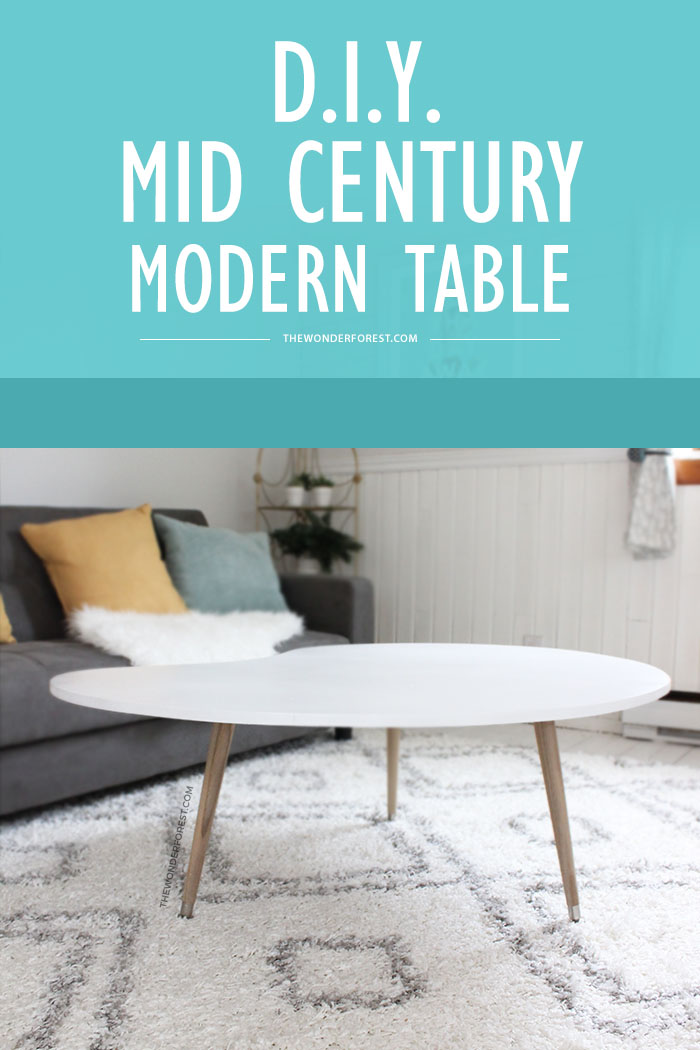
While looking for furniture for my cottage reno, I had my heart set on a mid century style coffee table. Being that I’m decorating this property on a budget, I didn’t like the price tags on most of the ones I found.
The design was simple enough, so instead, I decided to make my own! This way I could also make better use of the space by sizing it to fit properly.
This project was fairly easy, and I am confident that any of you could pull it off!
It’s basically just a sheet of MDF and some round tapered table legs!
You will need:
- 4×4 sheet of 5/8″ thick MDF – they come in 8 foot lengths usually, so get the store to cut it in half and save some $$
- 15 1/2″ wooden tapered table legs
- Angle top hardware plates for each leg. I used 3 legs, but you could use 4 if you like
- Jigsaw
- Screwdriver
- String and a nail & hammer
- Spray paint (I used 2 cans of this super white gloss lacquer paint)
Step 1: Find the center of your board

Start by finding the center of your MDF sheet. Measure the length and width and make a mark in the middle of both measurements.
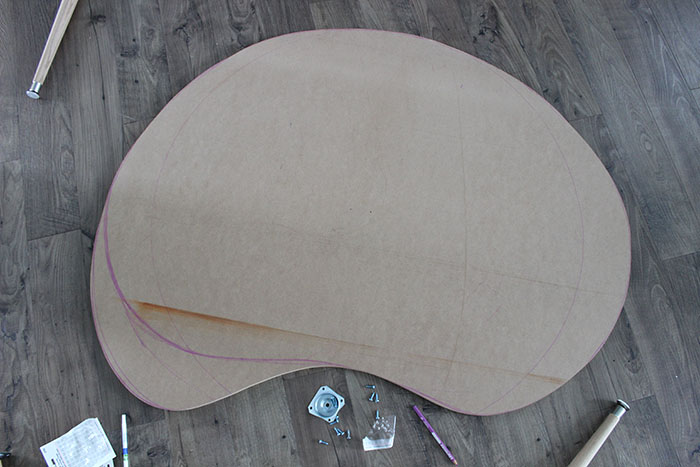
Step 2: Make a circle
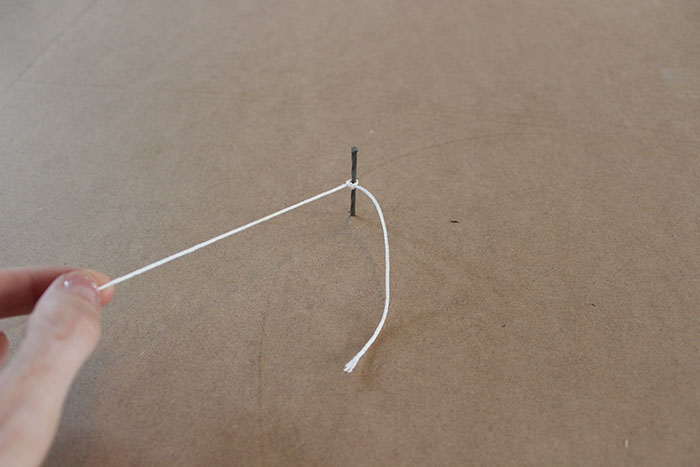
Where the measurements meet, add a temporary nail and attach a piece of string to it. We will use this as a guide to draw the shape of the table on the underside. The string will help make a perfect circle to begin your shape.
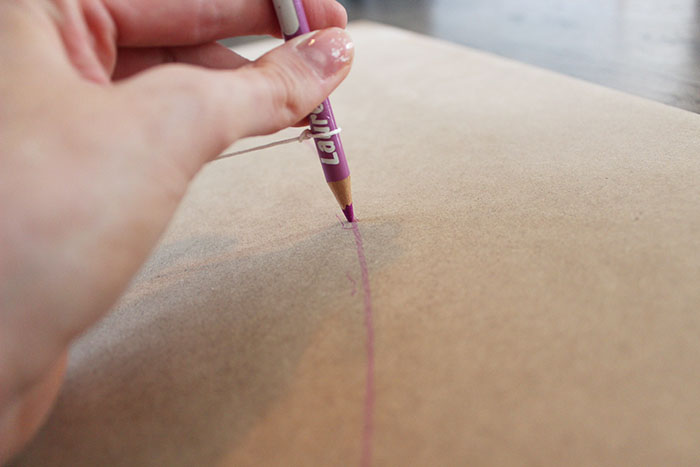
Tie a pencil to the other end of the string and, keeping it upright and taught, draw your circle!
Step 3: Modify the shape

You can either stop here and just create a standard circular table, or take things to the next level like I did and modify that circular shape.
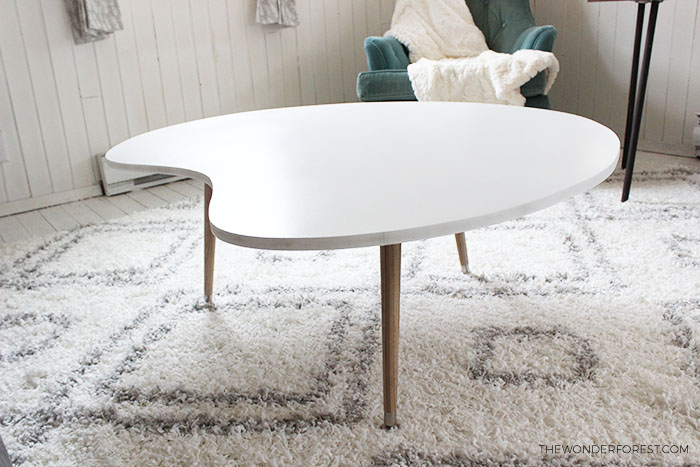
I free-handed a jelly bean shape using the original circle as my guide. In the end, I ended up dropping one side of the “jelly bean” down a little further to create that classic asymmetric mid century style table.
Step 4: Cut your shape
Next you’ll want to cut out your shape. Use a jigsaw for this and go slowly! Prop it up on a workbench and exercise safety.
If you aren’t comfortable with a jigsaw, you can always get someone to help you who is. They are really easy to use and aren’t scary! Sand the edges smooth afterwards to remove any weird wobbly edges. You can do this by hand or by using an electric handheld sander.
Step 5: Add the legs
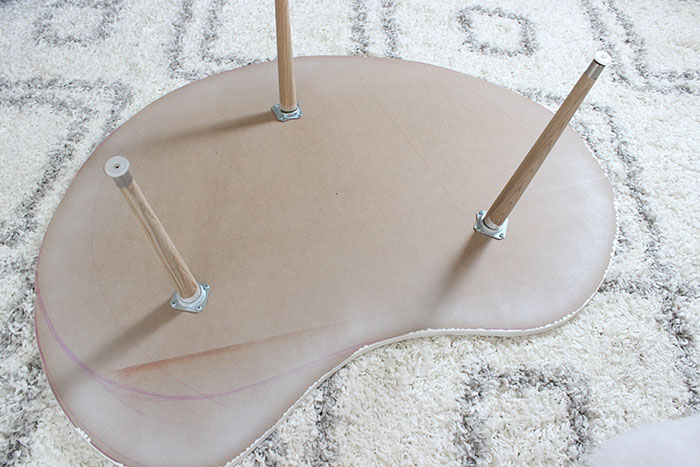
The next step is to add the legs! I eyeballed this part and traced around each plate before screwing them down. The plates come with screws, so it’s really simple to attach them.
You’ll want the angle to point outwards. Place them where you think the table needs the most support.
Step 6: Paint the table top
Finally, it’s time to paint the top! Wrap the legs in plastic bags or something to keep them from being sprayed. You could also take them off, but I found it was easier to have the table propped up on the legs so I could spray the edges smoothly.
This table took multiple coats and 2 cans of paint to get a nice clean finish. Remember to wipe off all dust before painting or you’ll get little bumps (lesson learned!).
You can always sand these out after it dries and reapply another coat, but it’s best to make sure the surface is totally clear of dust beforehand.
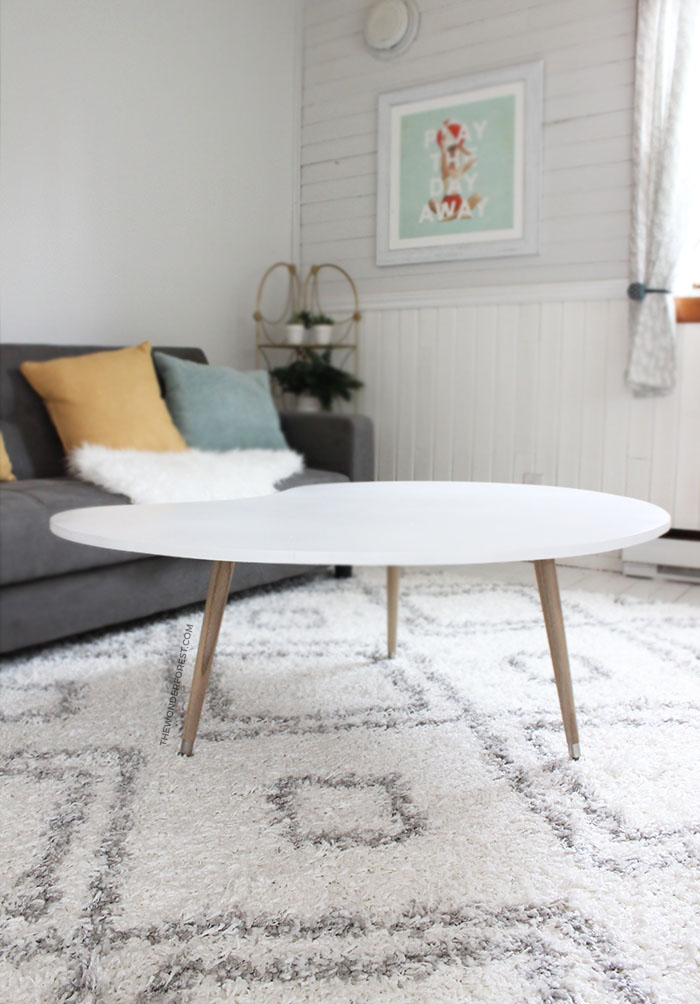
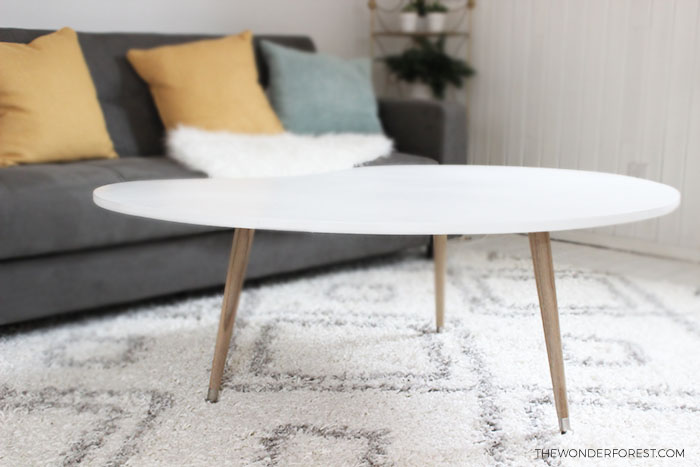
I am so happy with how this turned out! I hope you like it too! The best part was, this table cost me under $50 to make!
Last Updated on
Have you mentioned in a previous post where the rug is from? It looks wonderfully luxurious.
I got it from Wayfair.com 🙂
Gorgeous coffee table!! Looks like something that’d sell for $300+ at WestElm!
Thanks Lauren! Always nice to have a cheap knock off! 😉
Looks great! I have to say I also love that rug. I really like the simple design on it and of course I’m attracted to the color gray haha.
Xo Heather
lovelyheatherly.com
That would be something I’d expect to see in a design studio or office and think that it was worth about £200. Great
http://www.99percentlifestyle.com/
This is so cute 🙂
Renee | therandombibliophile.tumblr.com
I LOVE THIS. I just sold my coffee table this weekend on a whim and have spent the last couple of days researching DIY midcentury ones. Turns out, my dad has a jig saw! Looks like I’m going to recreate something similar! Thank you so much for sharing! 🙂