
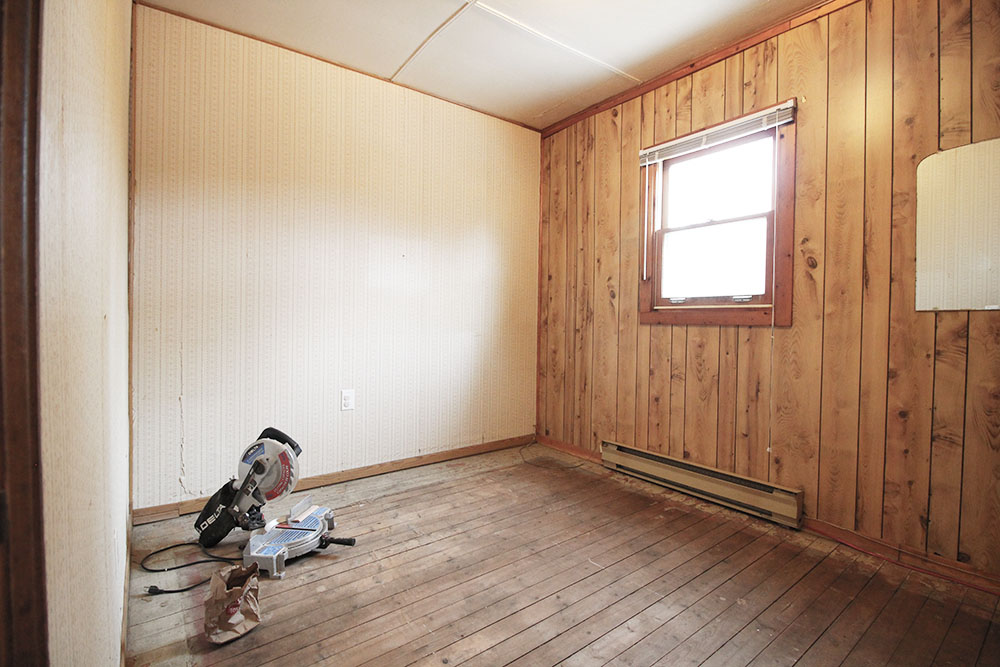
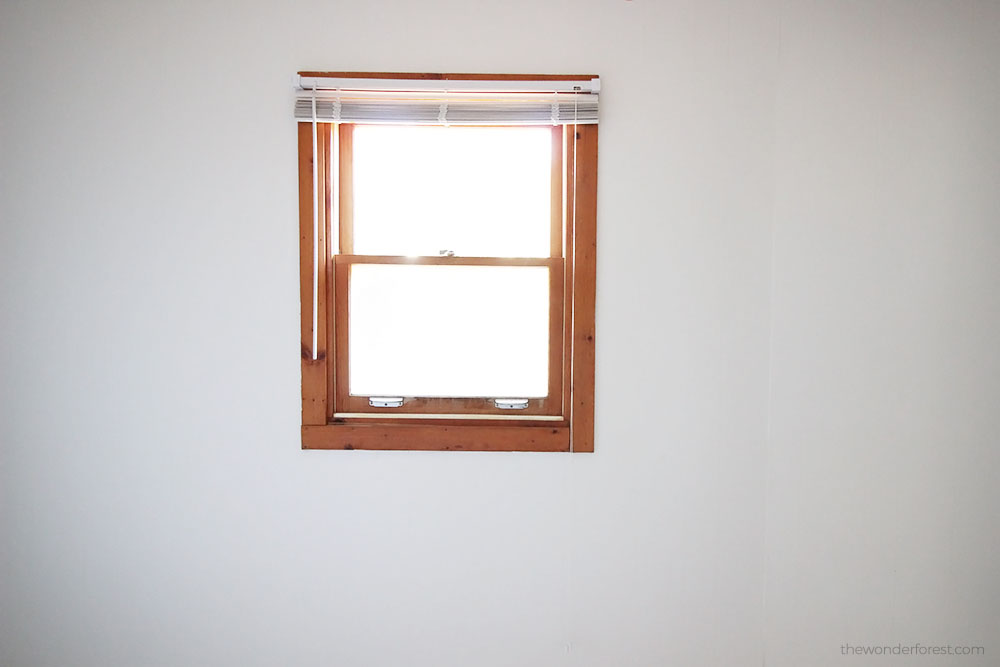
You might remember me sharing the “before” shots of my bedroom reno with you recently. A lot has changed since then, and I have grown to love this little room more than I even thought I would! To refresh your memory, here is what the space looked like previously:
The walls were a bit of a problem, but thanks to the help of the Ask An Expert service on the CIL paint website, I was able to get some great advice about application and colour so that I could say “goodbye” to an era of ugliness and “hello” to a fresh, new look.
All I had to do was upload a photo of the room and soon received application and colour advice, which came in super handy during this makeover.
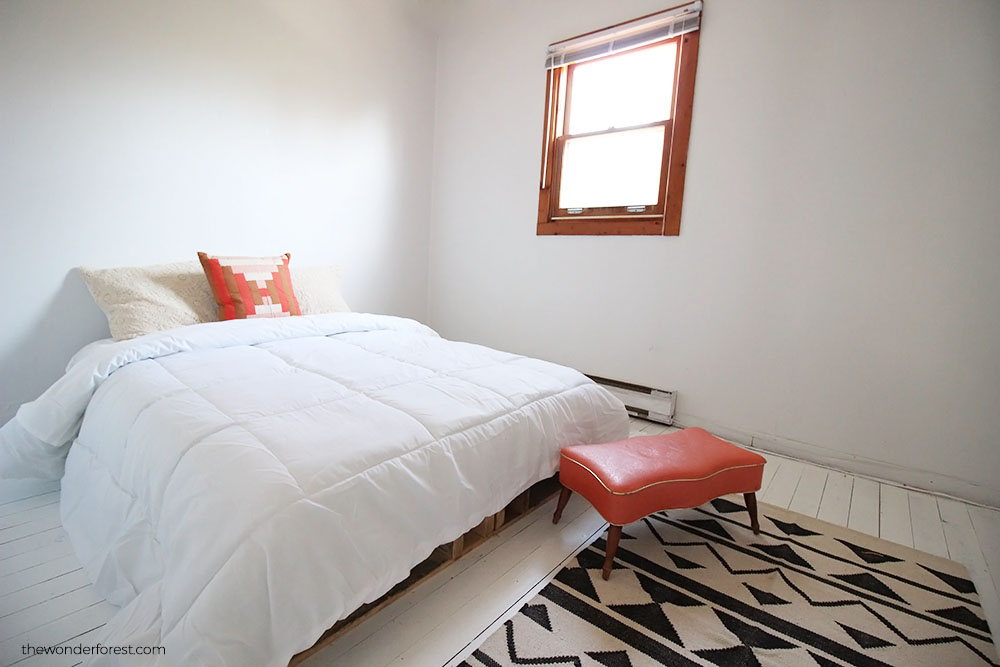
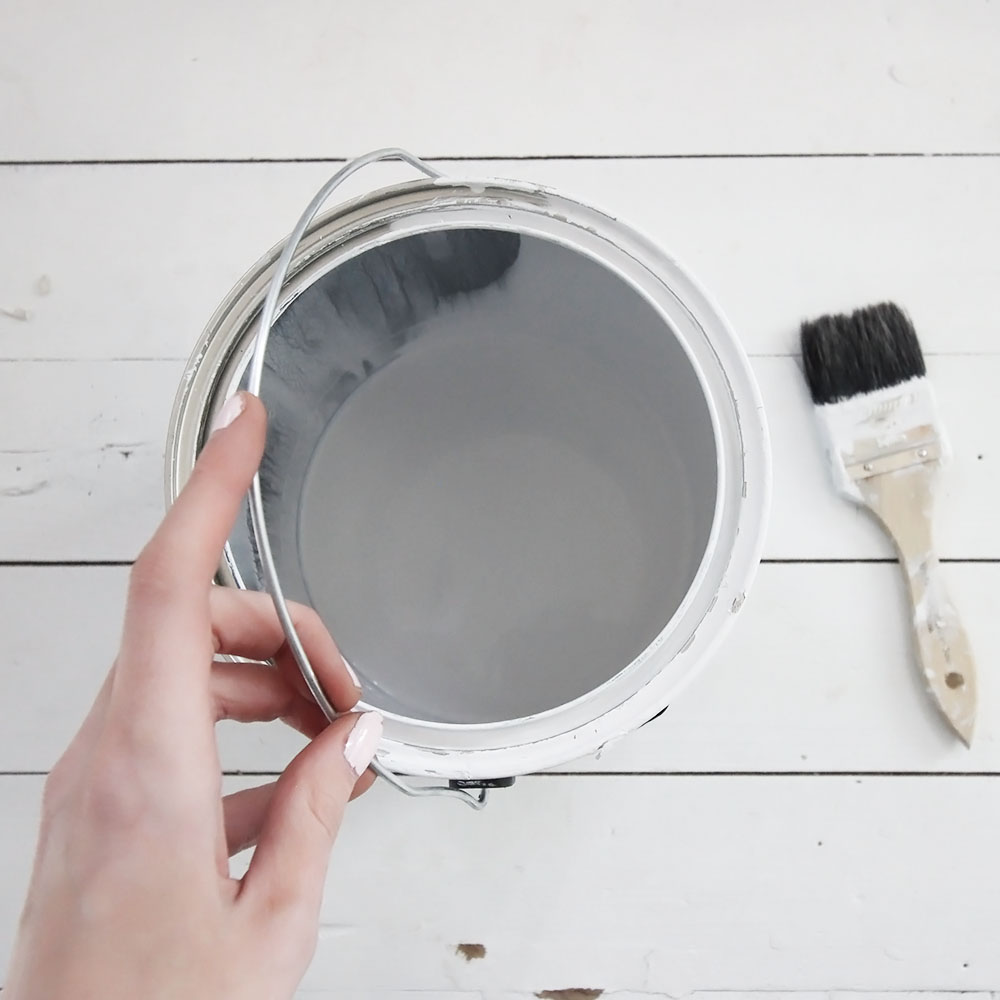
To keep the clean and breezy feel throughout the home, the CIL colour expert suggested I stick with the white tones. The colour I went with was called Romance 10BB 83/020, a cool toned greyish white, and this is how it turned out:
The application tips I received from the CIL expert were helpful in prepping the walls for paint. As suggested on the wallpaper side, I started by gluing down any seams that had come loose. I then lightly sanded the seams and applied a drywall plaster to all of them just to ensure that they would be hidden after painting. Once the plaster was dry, I sanded it again to a smooth finish.
Next, I used an acrylic paintable caulk around the bottom and top where the wallpaper met the trim, just to be certain that it wouldn’t start peeling in the future. Finally, I was able to paint the wallpaper. Two coats of the CIL PLUS paint, exclusively available at RONA, was all it took for a nice, even coverage thanks to its self-priming benefits. Not to mention it was so easy to apply and was virtually odourless.
The panelling was actually easier than I had thought it would be. It turned out that the “seams” on the panels were not indented as I originally thought. Instead, they were simply printed on the faux wood, which meant I could easily use a roller to cover the entire wall. This wall also took two coats, but I went back in with a brush to the “seams” for a third coat to cover the darker lines.

I am still in the process of decorating this room, but I can’t believe how much I love the transformation after simply painting the walls! The Ask An Expert service was really helpful and I was able to decide on the colour, type of paint, and application methods easily. I’d recommend checking it out if you have a painting project planned. It was a simple way to get some quick free advice and instill a little confidence in myself without having to make multiple visits in-store.
Visit www.cil.ca/ask-an-expert to receive personalized advice the CIL team of experts and check out #CILAskAnExpert to follow my journey.
![]()
![]() Disclosure: This post was brought to you by CIL paint via Mode Media Canada. The opinions expressed here are all my own. Thank you for supporting brands that support Wonder Forest
Disclosure: This post was brought to you by CIL paint via Mode Media Canada. The opinions expressed here are all my own. Thank you for supporting brands that support Wonder Forest
Last Updated on
Wow a huge difference. It looks great.
Incredible transformation 🙂
http://www.99percentlifestyle.com/
Looks so good! Wow!
The effort you have put into this project was well rewarded. Everything is well co-ordinated and decorated meticulously.