
Punch needle embroidery is an easy and fast craft to learn! It is a form of embroidery that uses a hollow needle threaded with yarn or thread.
The needle is punched into a loose woven fabric and leaves a loop on the opposite side. The loops are repeated to create a design and they form the pile of the textile.
On the other side, continuous punching creates stitches. Punch needles can be small and delicate creating embroidery art or large with thicker yarn, forming a rug or tapestry. Both sides of the work can become the “right side” depending on the look you’re going for.
Punch needling can create different textile projects such as rugs, wall-hanging, pillows, pouches, and coasters.
There are so many ways to apply this fibre art and it’s a great way to incorporate designs and patterns onto textiles.
Today, I’m going to be introducing the basics of punch needling with yarn to create a leaf pillow!
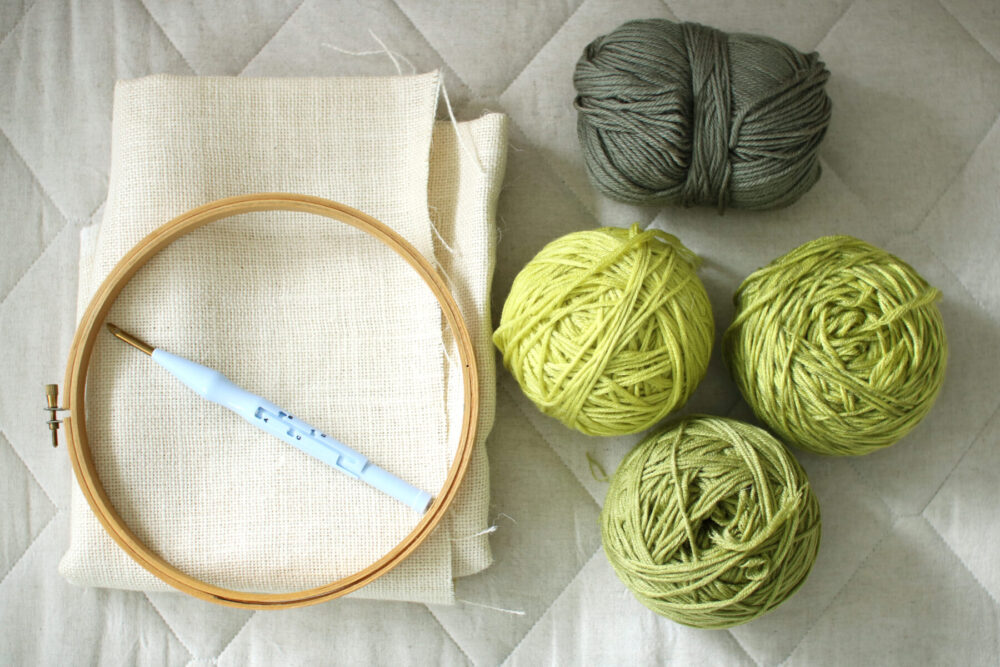
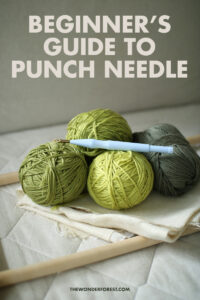
Basic Punch Needle Materials
The materials you need include:
- a punch needle
- monks cloth or any other loosely woven fabric
- yarn
- frame
The punch needle I am using allows for different adjustable lengths of the loop. There are other options that are wooden and individually sized for the thickness and length.
I am using a loosely woven cloth but I would suggest using monk’s cloth because it allows for a smoother punch.
If testing out other fabrics, it should allow the needle to slide in smoothly and hold a loop. The tension of the fabric is what keeps the loops in place as you punch. Monks cloth is made of cotton with a four-stand weave and is soft and pliable.
For the yarn, you can choose different thicknesses for different effects. Generally, if you are using a thicker yarn then your stitches can be longer and still crease a dense fabric.
Similarly, thinner yarns will have smaller stitches. A great way to create a quick project if you’re in a pinch for time is to choose a thicker yarn!
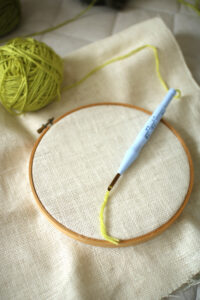
I prefer to use a scroll frame for larger projects and an embroidery hoop for smaller ones.
When putting the fabric in, it should be tight but not so tight that the needle can’t punch through. If you are having trouble with punching, try loosening the tension of the fabric.
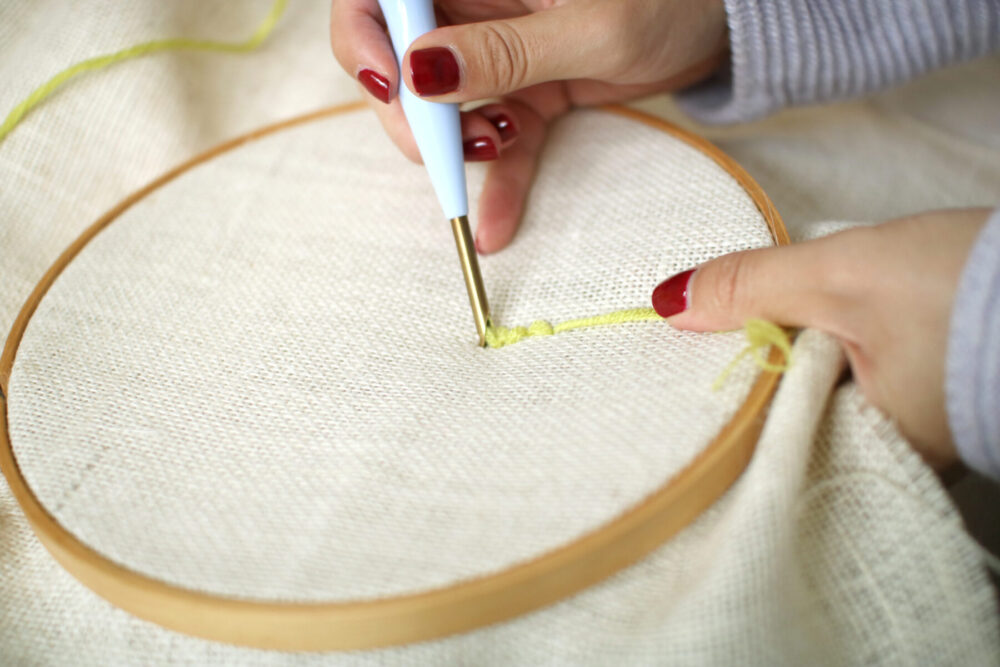
Needle Punching Technique
To begin your project, I would suggest to outline a design with pencil and delineate where different colours and shapes will go.
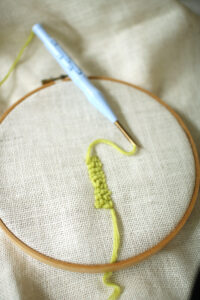
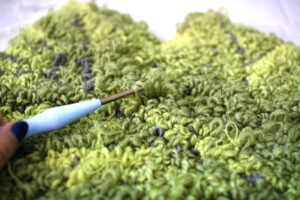
To start punching, thread yarn in the needle as instructed with the needle. Hold the needle like a pencil and begin punching. I prefer to go in at a 30-degree angle as I find it comfortable and easy to work.
Continue punching with an even tension, making sure not to lift the needle too far up or you will have excess yarn in each stitch.
Try to make the stitches uniform in length as it will help to create an even thickness and pile.
If you choose to have the stitching side as the right side, then it is important to fill in the gaps and have a uniform stitch as this is the side displayed. I would suggest to outline the shape of the colour first, then work your way around filling it in.
If you find that you didn’t like what you punched or have made a mistake, its easy to fix! Just start pulling the yarn and the loops will unravel. Pull the yarn back through the needle so you can begin punching again.
When you are finished punching or if switching colours, simply snip the yarn leaving a one-inch tail on the wrong side so it will not be seen. Leaving this tail will prevent it from unraveling on the right side of the fabric.
Finishing
There are different methods to finish the project, depending on what you will be using the design for.
For making rugs or objects that are heavily used and flat, using glue to seal the stitches will help prevent unraveling.
You can use white glue and spread it across the entire wrong side or for smaller projects, simply gluing down the tail ends is enough.
This is important when you want to cut the loops and ‘carve’ the pile. Carving is a technique where all the loops are cut open, creating a different look of the project by adding dimension.
You may also decide to have a fabric backing for this type of project, in order to cover and protect the back.
For projects that are used to create pillows or pouches, the finishing is simpler as they will be covered anyways by the project.
Usually a fabric backing is added and no glue is necessary since glue can actually cause the item to become stiff.
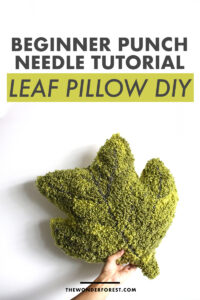
Needle Punching Leaf Pillow Tutorial
Now that we have the basics down, I have a tutorial to create a leaf pillow!
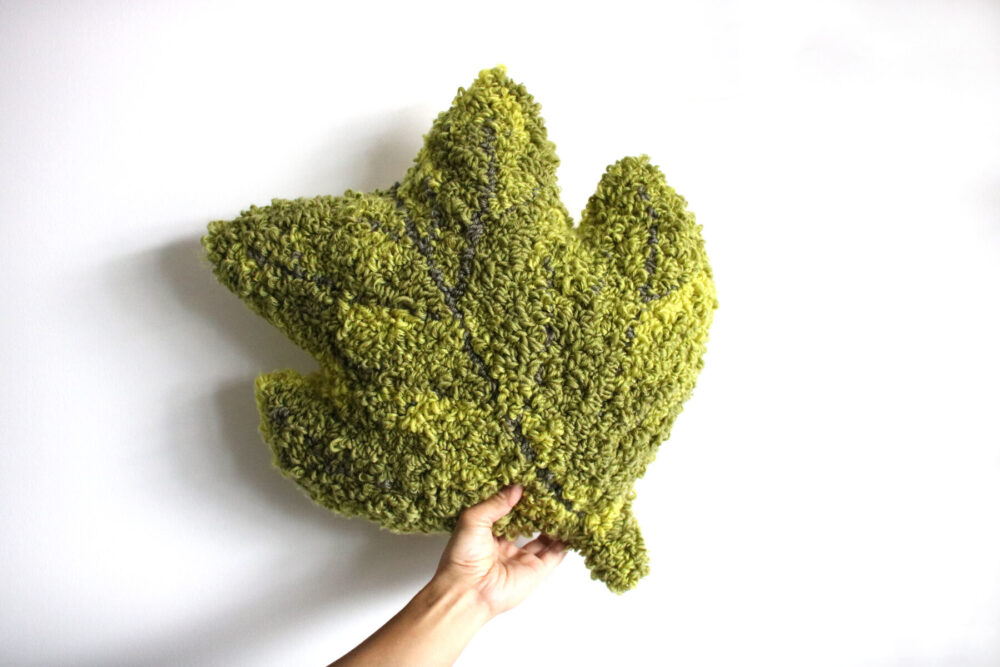
This leaf pillow is a great project to start punch needling with, especially if you have some experience sewing.
I chose to make a medium size pillow that resembles a tulip tree leaf, but any type of leaf can be done. Smaller pillows are an option too and will be simpler and quicker to make!
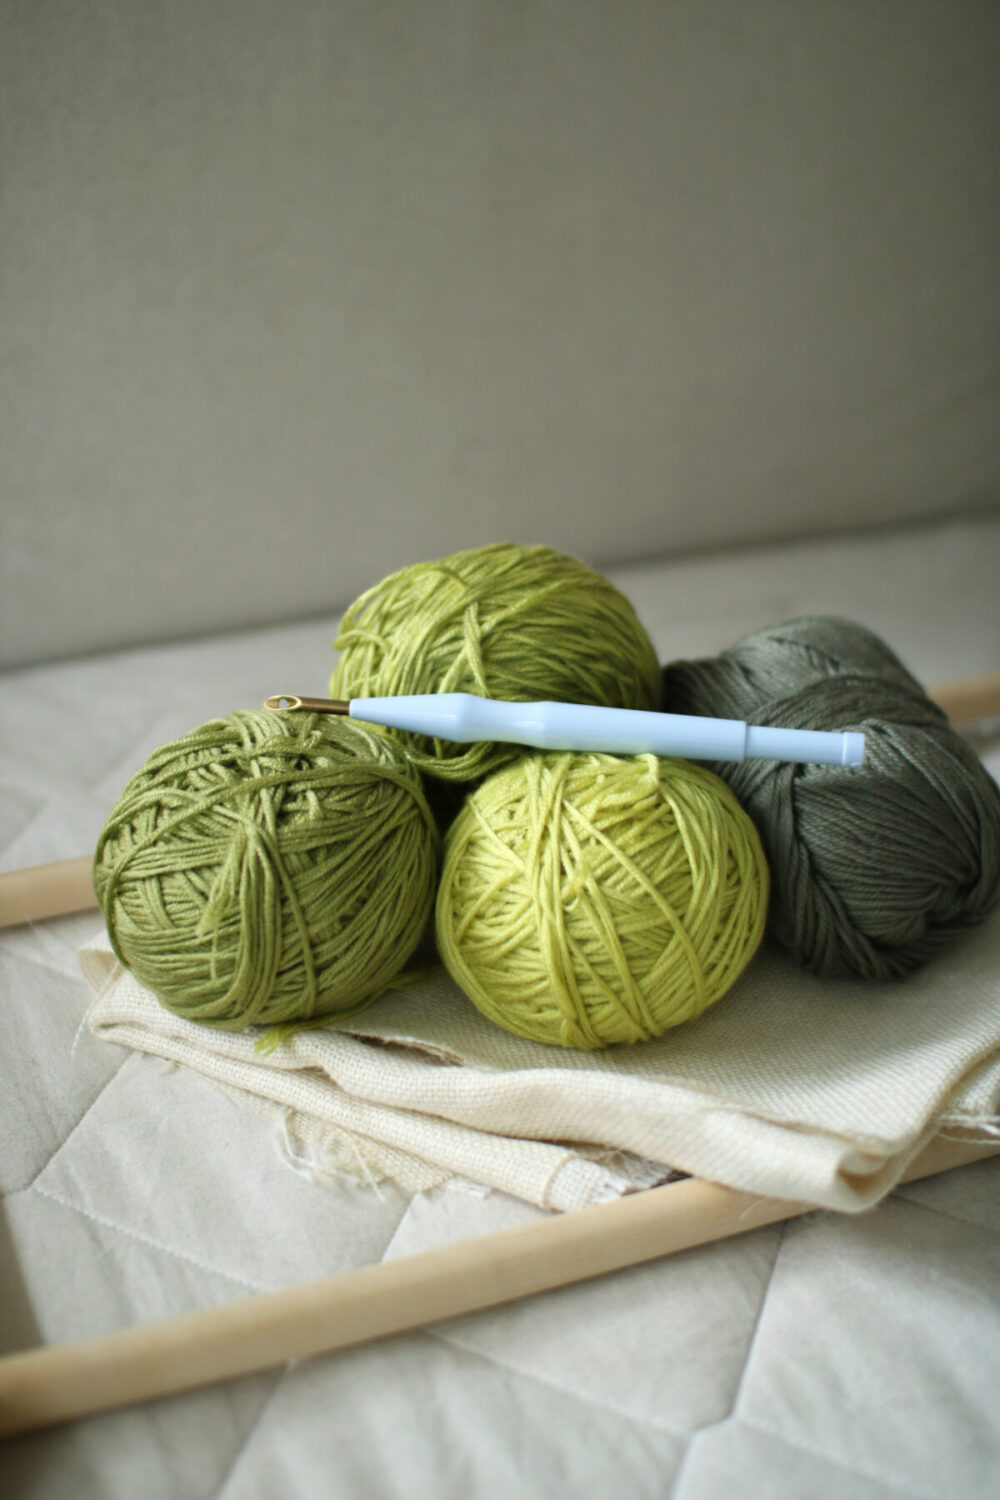
Materials
- monks cloth
- punch needle
- 3 yarn colours of choice
- scroll frame for larger projects and embroidery hoop for smaller
- sewing machine if using, or needle and thread
- stuffing
- cotton fabric
- white glue
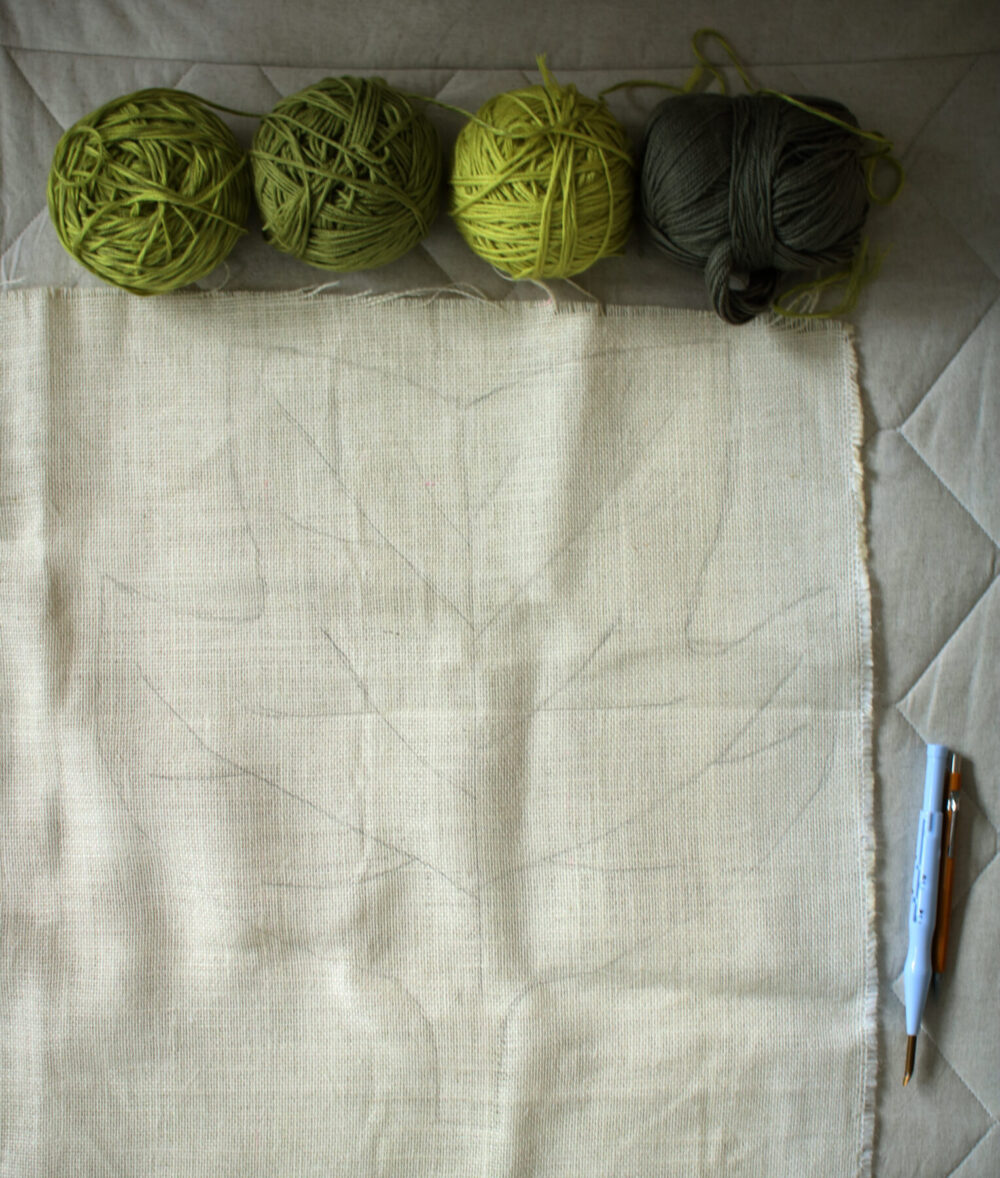
To get started, I began by tracing an outline of a tulip tree leaf and the veins. Then, I traced in closed shapes areas where I would have three different colours.
I created a downloadable PDF for you to trace and resize to how large you want your pillow to be.
The yarn that I purchased came in a pack of three with similar colours that complimented each other. I added a darker green colour to use for the veins.
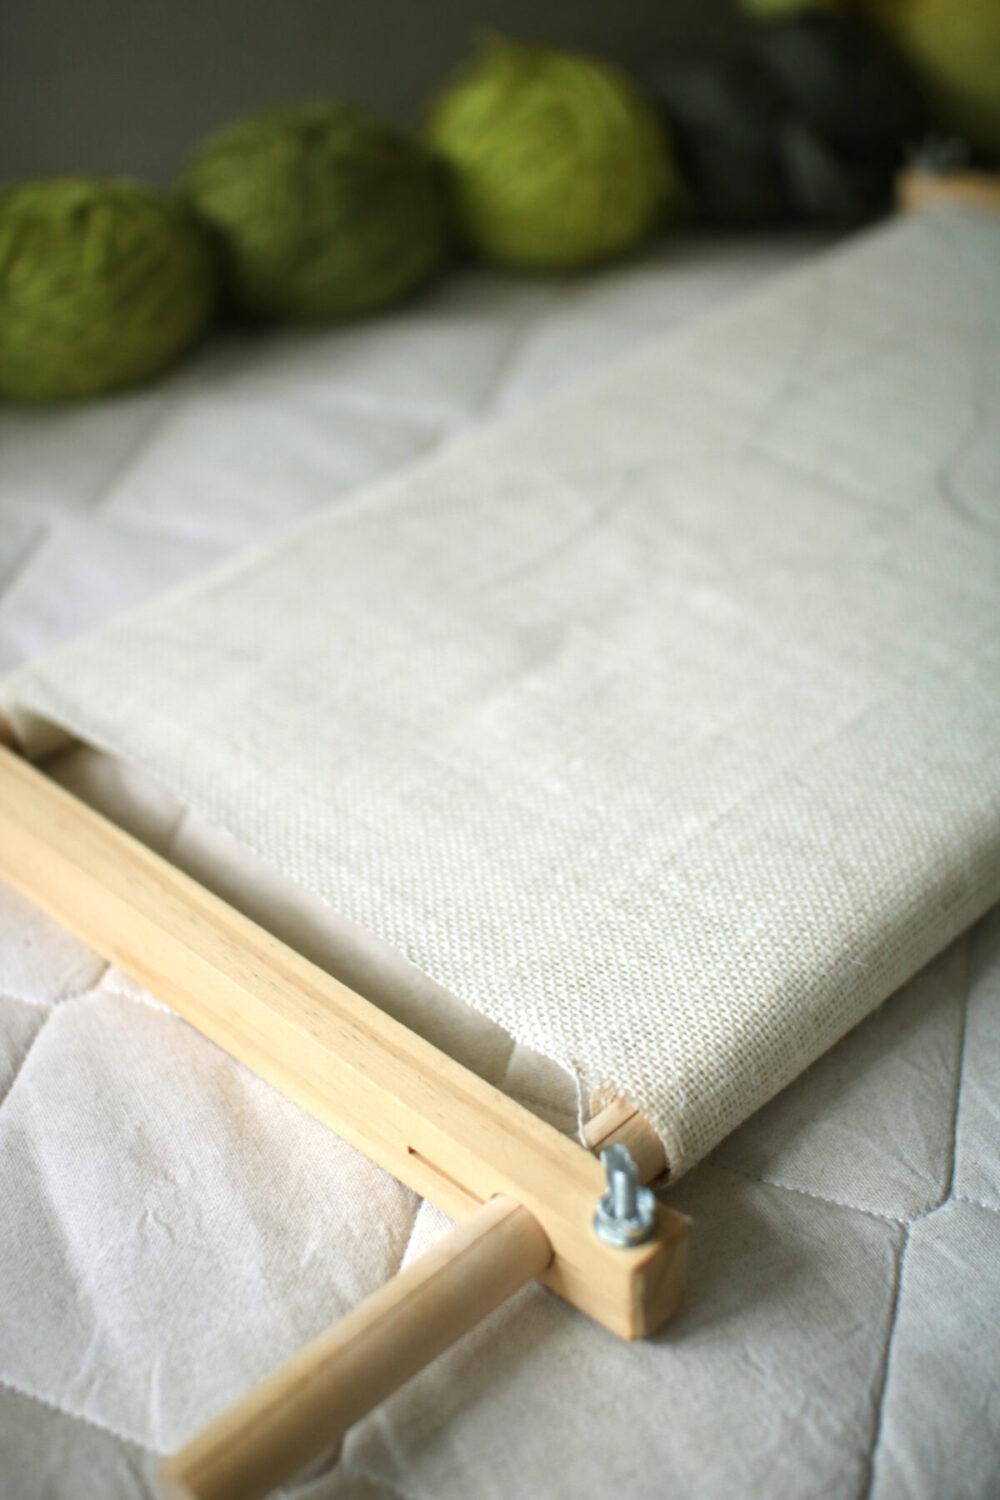
After tracing out the pattern, insert the cloth into the frame, making sure it is tight. If you are using a different type of cloth, adjusting the tension can help create a smoother punch.
For smaller pillows, use the embroidery hoop and for larger ones, a scroll frame is easier.
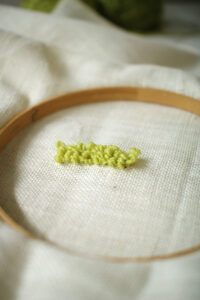
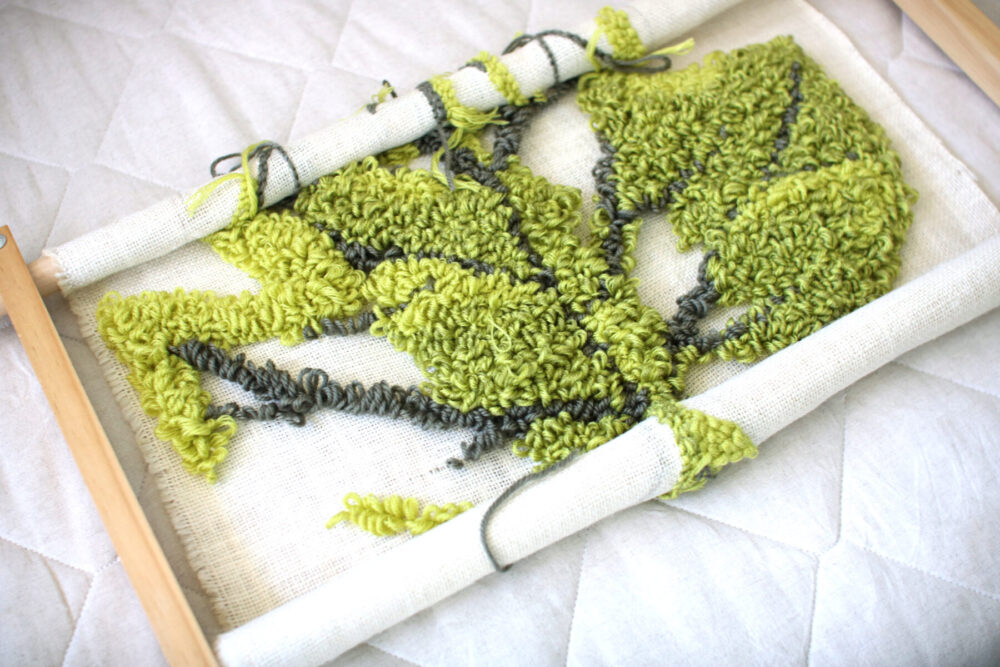
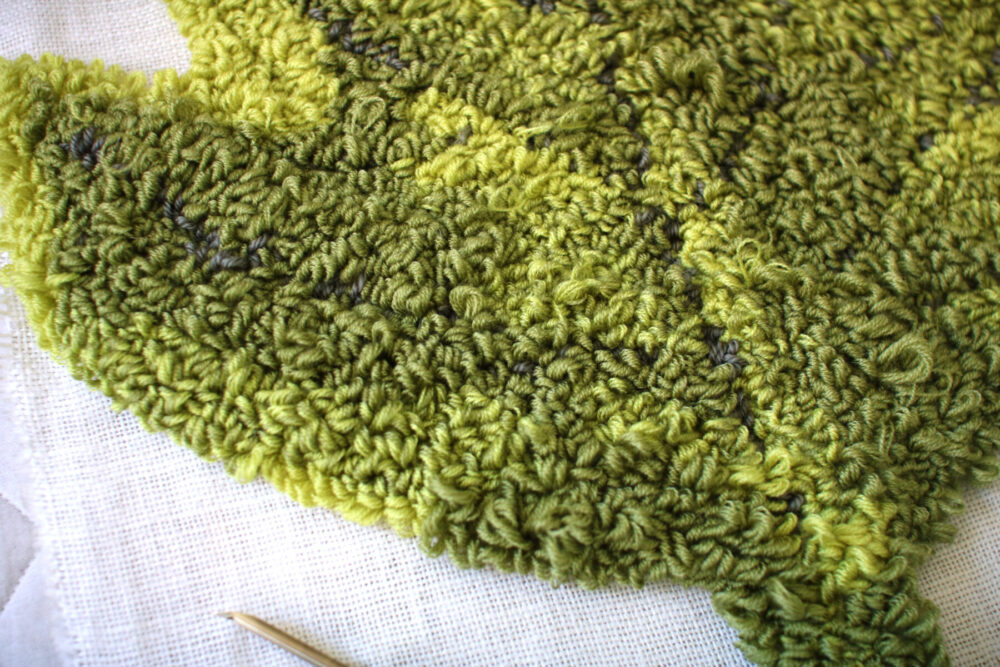
Begin punching the veins. I used two rows of stitching with worsted weight yarn. I moved onto the lightest green colour, punching all the areas in this colour first before continuing with the other colours.
This is just personal preference, but I choose this method to reduce the amount of yarn cutting I had to do.
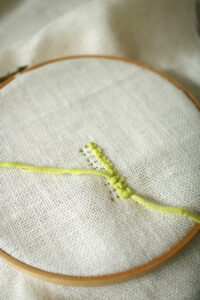
When finished with the punching, you may notice areas where there is stray yarn popping out or the loops are too long. This is easy to fix.
For the first problem of the stray thin yarns, I prefer to just trim them off. For large loops, you can pull lightly at it while looking at the back side to see where the stitch is and pull it back.
You may have a bunch of these loops on the back side but it will be covered by the backing of the pillow.
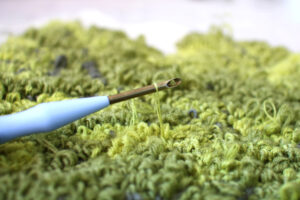
Another thing that will help your project looks better is to rearrange the loops near detailed areas. In this case, the vein loops didn’t align to create a line.
Using the needle, you can move the different colour loops out of the way and help it become a line again.
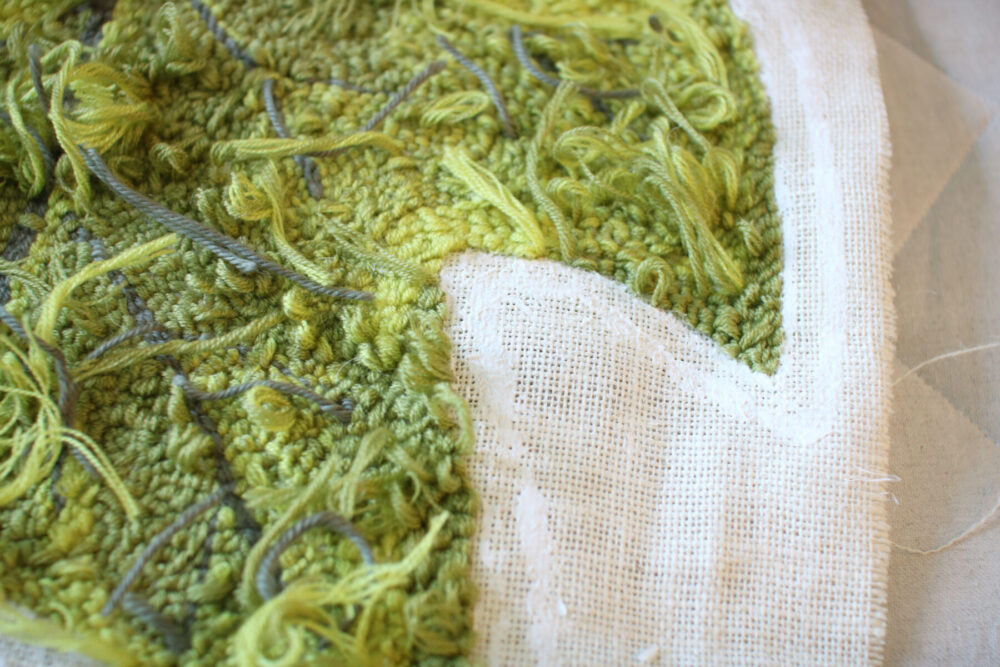
When you are happy with how the piece looks, use white glue to draw a border around the edge. The glue helps to prevent the cloth from fraying when cut.
When the glue is dry, cut the excess leaving a one-inch boarder around. You can also lightly glue down the excess string on the back.
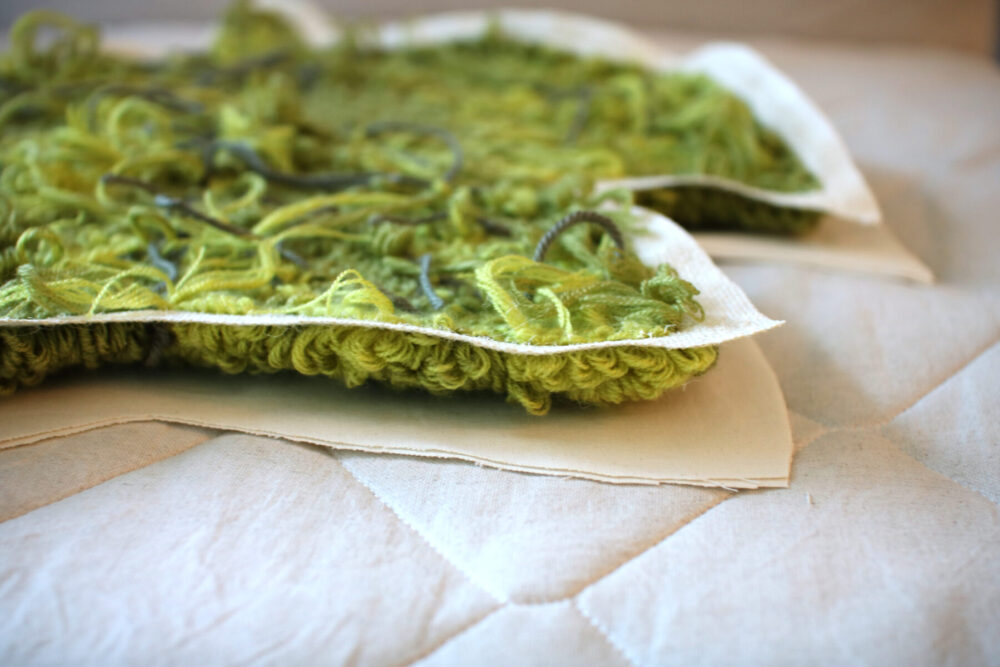
Put this piece on top of your chosen back fabric — I used two layers of cotton for a thicker backing.
Trace around the edge leaving an additional half inch from the edge. This is just in case the material shifts around when sewing since it is so thick.
If making a smaller pillow, you can choose to sew by hand, but I recommend using the sewing machine with the zipper foot for a larger pillow.
Put the right sides of the two pieces together and sew along the edges leaving a hole to flip it inside out. When sewing the two pieces together, try to stick as close to the edge as possible.
Using your finger or scissors, push the pile loops away from the sewing line. Try to go slowly, especially around the corners as the punch needle is thick.
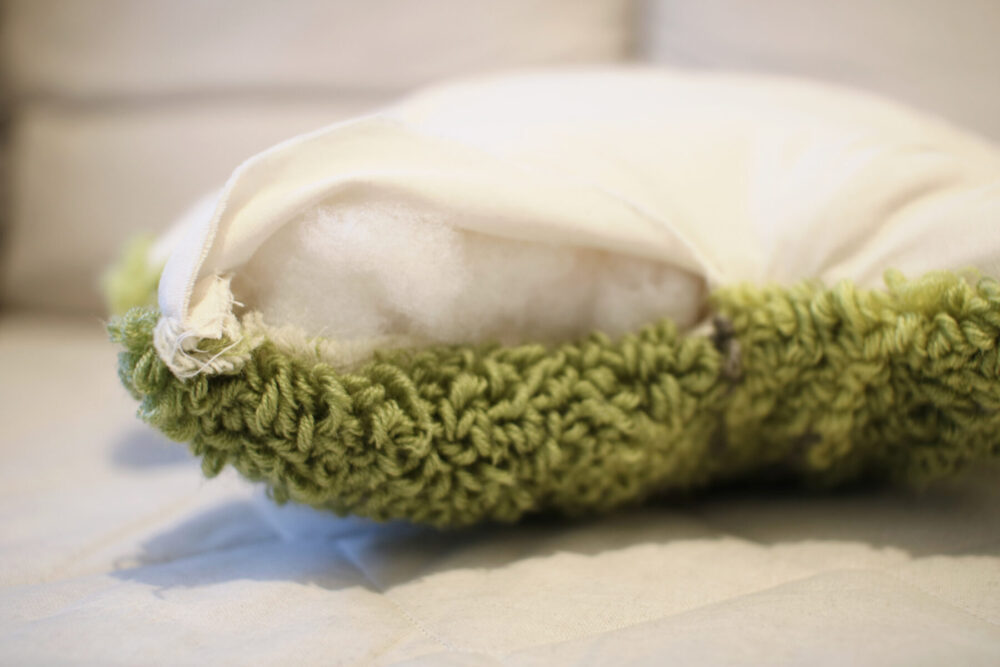
I left an opening about four inches in order to turn it inside out.
Before flipping it, cut notches at the corners so there won’t be excess tension. Flip the pillow inside out and use a pen or your fingers to push out the corners.
You can then stuff it with the stuffing and sew the hole with invisible stitch.
Enjoy your new pillow!
PIN IT FOR LATER!
Last Updated on