
Knit fabric can be intimidating to sew with, especially if you’re used to sewing with woven fabrics. Personally, it took me a little while to get the hang of sewing with stretch knits, but with a little bit of practice, lots of patience, and some helpful tips, sewing with knit fabric can become a breeze.
I went from cursing my sewing machine to loving it. I went from wondering why it was constantly eating up my stretchy fabrics all while skipping stitches to becoming somewhat of an expert at finetuning my settings to avoid these nightmares! In fact, I was even able to start my own handmade children’s clothing business after becoming confident enough with my skills!
In this guide, we’ll cover everything you need to know to get started with sewing stretch fabrics.
What is Knit Fabric?
First, if you’re super new to sewing, you might be wondering what knit fabric is. Knit fabric is a type of fabric that is made by interlocking loops of yarn. Much like one would knit a sweater using knitting needles!
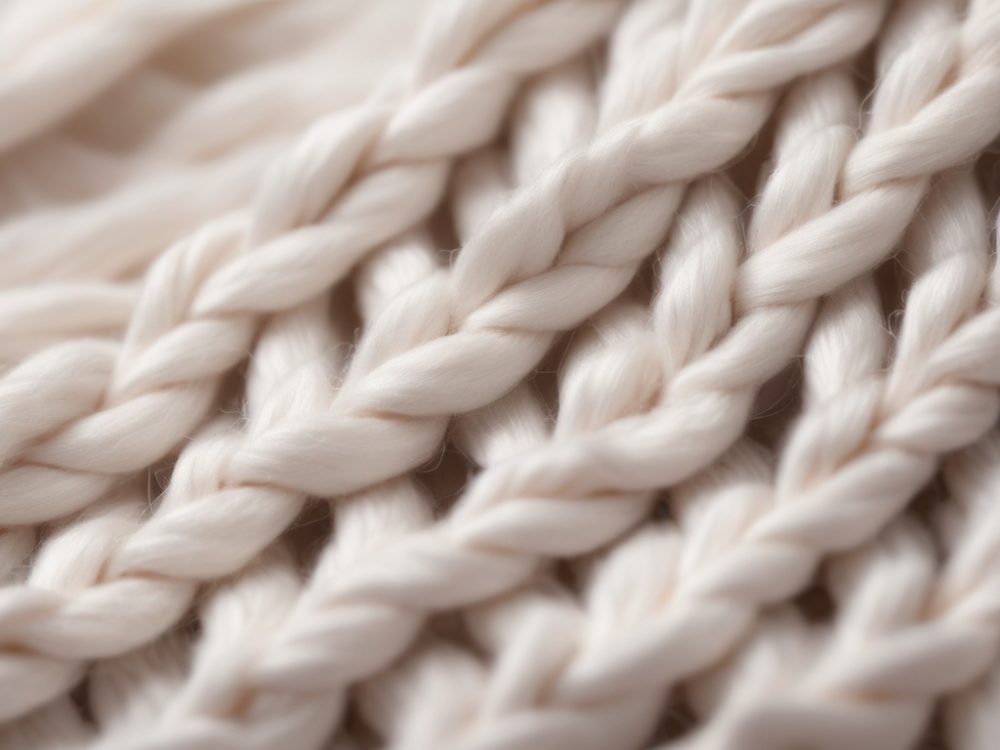
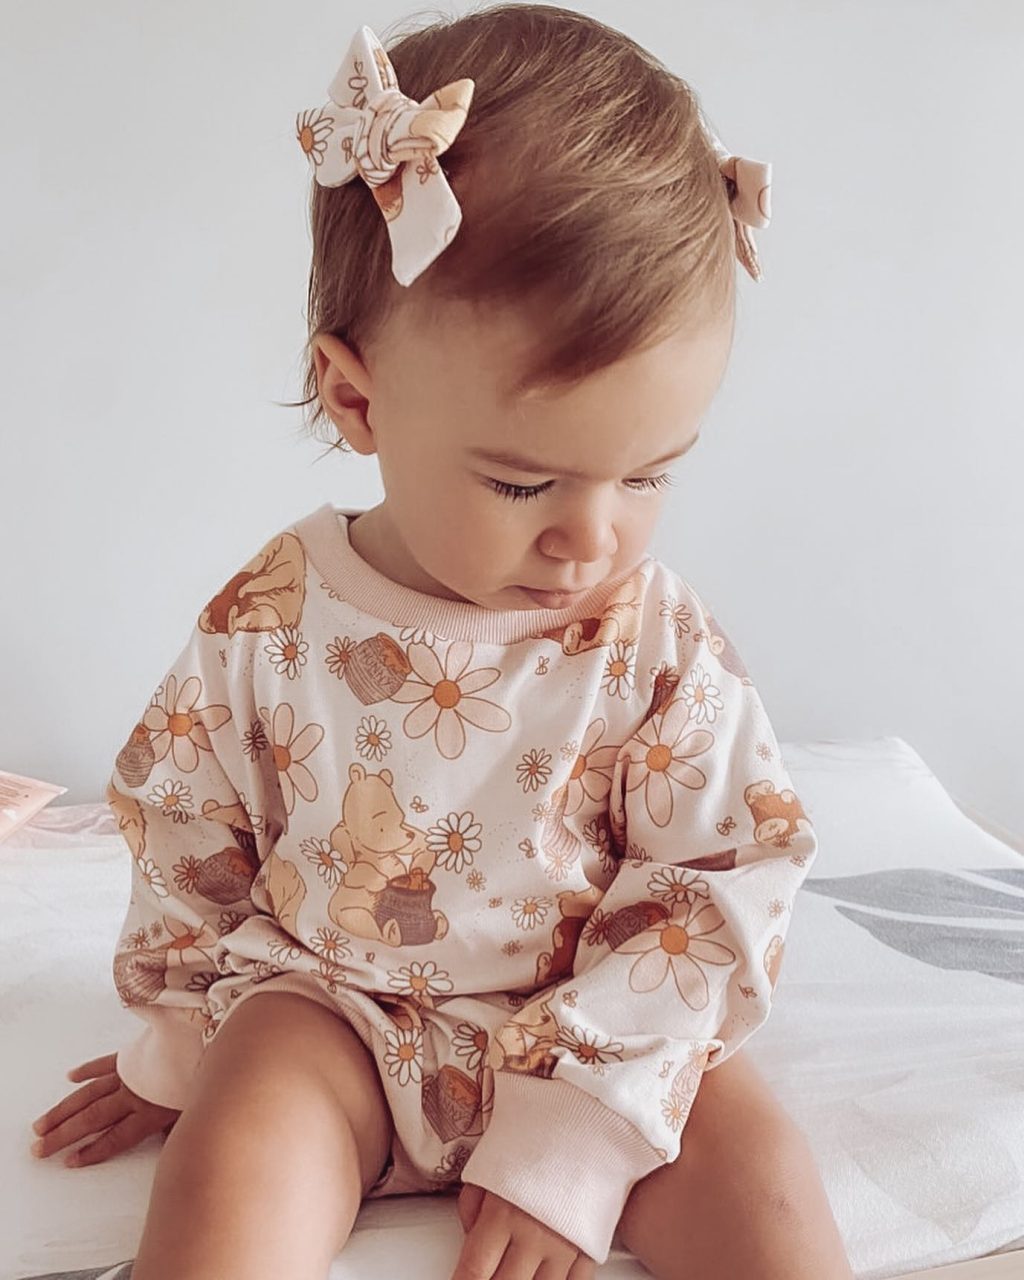
Unlike woven fabric, which is made by weaving threads together, knit fabric has more stretch and flexibility. It’s perfect for making clothing items such as t-shirts, leggings, sweaters and essential garments.
Choosing the Right Knit Fabric
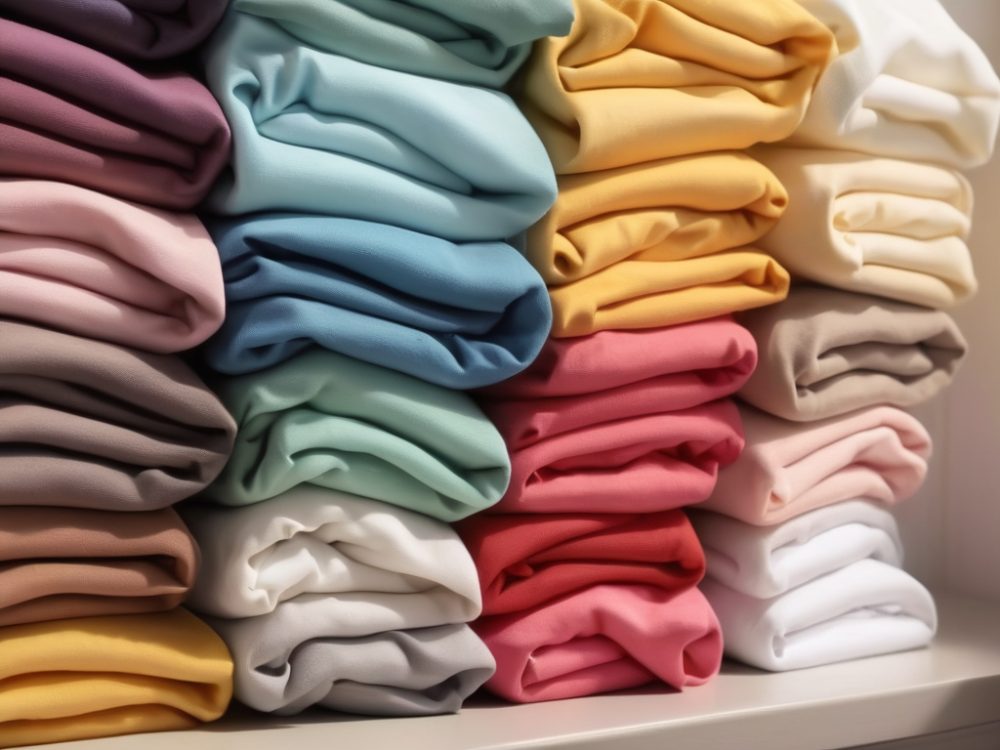
When it comes to choosing the right knit fabric for your project, there are a few things to keep in mind. There are a variety of different types of knit fabric. First, consider the weight and stretch of the fabric, as well as the fabric’s composition.
There are many fabric “bases” when it comes to knit stretch fabrics, including cotton/spandex, bamboo, cotton/polyester, and double brushed poly, to name a few. The quality and weights will vary with each blend and manufacturer.
Heavier knit fabrics like sweatshirt fabric or french terry are better for colder weather clothing, while lighter weight fabrics like cotton Lycra or bamboo blends are ideal for summer garments. The amount of stretch in the fabric will also affect the fit of the garment, so choose a fabric with the appropriate stretch for your project.
Preparing Your Fabric
Before you start sewing with your knit fabric, it’s important to prepare it properly. Knit fabric can shrink and distort during washing and drying, so it’s a good idea to pre-wash your fabric before cutting and sewing. You should also avoid using fabric softener, which can weaken the fibers and affect the stretch of the fabric.
Cutting Knit Fabric
When cutting your knit fabric, it’s important to use sharp scissors or a rotary cutter to prevent snagging or stretching the fabric. It’s also a good idea to use fabric clips instead of pins, as pins can leave holes in the fabric and affect the stretch.
Tools Recommended for Sewing with Stretch Knits
Sewing knit fabric all comes down to the tools you use! It’s important to use the right needle for your fabric as well as a stretch stitch so that the stitches don’t break or “pop” when the fabric stretches while wearing.
A ballpoint needle is ideal, along with a zigzag or stretch stitch if you’re using a sewing machine. We will go over sewing machines vs. sergers shortly.
Stretch or Ballpoint Needles
A stretch or ballpoint needle is a special type of needle that is designed to be used with knitted fabrics. It has a slightly rounded point that allows it to slide between the fibers of the fabric, rather than piercing them. A favourite of mine are the Organ ELX705-SUK Ball Point needles.
Here are some tips for using a stretch needle when sewing with knit fabric:
- Use the right size needle for your fabric. Stretch needles come in different sizes, so make sure you choose the right one for your fabric.
- Change your needle frequently. Stretch needles can dull more quickly than other needles, so it’s important to change them frequently to prevent skipped stitches or other problems. Majority of the time, you can troubleshoot issues with your sewing projects by simply changing the needles.
- Use a slightly shorter stitch length. A slightly shorter stitch length can help prevent the fabric from stretching or puckering… but this will depend on the type and thickness of the fabric you’re sewing.
- Use a stretch stitch. A stretch stitch is designed to allow the fabric to stretch without breaking the stitching. Most modern day sewing machines have a variety of stretch stitch options, but if all else fails, a standard zig-zag stitch will do.
Walking Foot for Sewing Machines
If you’re using a regular sewing machine to make a knit garment, try using a walking foot. A walking foot is a special type of sewing machine foot that helps to feed the fabric through evenly, preventing stretching or puckering. Sometimes, stretchy fabric doesn’t feed through the machine properly, and a walking foot ensures that it glides on through.
Here are some tips for using a walking foot when sewing with knit fabric:
- Use the right size walking foot for your machine and fabric. Walking feet come in different sizes and may attach differently for various machines, so make sure you choose the right one for your machine.
- Adjust the presser foot pressure. Some walking feet have an adjustable presser foot pressure, which can help prevent the fabric from stretching or puckering. Increasing the presser foot pressure will help hold the fabric tighter while it feeds through.
Stabilizer!
A stabilizer or fusible interfacing is like an added layer of material that can be ironed onto, sewn into, or temporarily added to knit fabric to add some structure while sewing.
A popular brand is Heat-n-bond, but you can also use something as simple as tissue paper to add some bulk to the fabric as you sew.
The idea is to add a strip or piece of stabilizer to the back of your fabric to prevent it from stretching. Some types can wash away with water, some are more permanent, and some (like tissue paper!) can be torn away after sewing.
Using a Serger/Overlock Machine
As soon as I found a love for making clothes, I upgraded my sewing machine to a serger. A basic serger may be all you need if you’re not running a production line of items! This Brother 1034D serger is a beginner-friendly machine that is super affordable!
A serger, also known as an overlocker in some regions, is a “special” sewing machine that is used to finish fabric edges and side seams. It’s greatly used for construction knits and creates a lovely, professional looking finish to all of the raw edges of fabric. If you take a peek at the inside seams of your t-shirt, that finish was done with a serger.
A serger has a knife/blade that cuts the fabric edge as you sew, creating a nice, even appearance. It uses multiple threads (3, 4, or more) to encase the edges and help prevent fraying.
The big bonus here is that the threads create a stretch stitch, which means you won’t have to fiddle with your sewing machine to try to get the stretch settings just right.
They have differential feed mechanisms which basically means that you can change the way the fabric feeds through the machine to prevent puckering or stretching. It’s like a walking foot without the walking foot!
Sergers or overlockers are also super fast and efficient and work with a variety of knit fabric types. I have a bit of a heavy foot (on the road too, to be honest…) and always appreciate a machine that can get a project done quickly!
While sergers are powerful tools, they are often used in conjunction with regular sewing machines. A serger excels at finishing edges and providing certain types of stitches, while a sewing machine is versatile for a wide range of stitching tasks.
Both machines complement each other in a nicely, allowing for greater creativity and efficiency in various projects. Can you sew knits with only one or the other? Absolutely! It’s just nice to be able to switch back and forth if needed.
Tips & Tricks for Sewing Knits
Stitch Length
The stitch length is the length of the individual stitches made by your sewing machine. When sewing with knit fabric on a sewing machine, it’s important to use a slightly longer stitch length than you would with woven fabric. This is because the longer stitches will allow the fabric to stretch and move without breaking the stitching. Here are some tips for stitch length when sewing with knit fabric:
- Test your stitch length on a scrap piece of fabric. Different knit fabrics may require different stitch lengths, so it’s important to test your stitch length on a scrap piece of fabric before sewing your actual garment.
- Use a stitch length of 2.5mm to 3.5mm. This is generally a good range to start with when sewing with knit fabric, but you may need to adjust the stitch length depending on the weight and stretch of your fabric.
- Avoid using a stitch length that is too short. A stitch length that is too short can cause the fabric to pucker or become wavy. You should be able to notice this on your scrap piece!
Tension
The tension on your sewing machine determines how tightly the upper and lower threads are pulled together. When sewing with knit fabric, it’s important to adjust your tension to prevent the fabric from stretching or puckering. Tension issues were what caused the MOST frustration when I was learning. Here are some tips for tension when sewing with knit fabric:
- Test your tension on a scrap piece of fabric. Like stitch length, different knit fabrics may require different tension settings, so it’s important to test your tension on a scrap piece of fabric before sewing your actual garment. Start your tension around the “4” setting and adjust up or down depending on your needs.
- Use a slightly lower tension. A slightly lower tension will allow the fabric to stretch and move without breaking the stitching.
- Adjust your tension in small increments. Making large adjustments to your tension can cause problems with your stitching, so it’s best to adjust your tension in small increments until you find the right setting for your fabric.
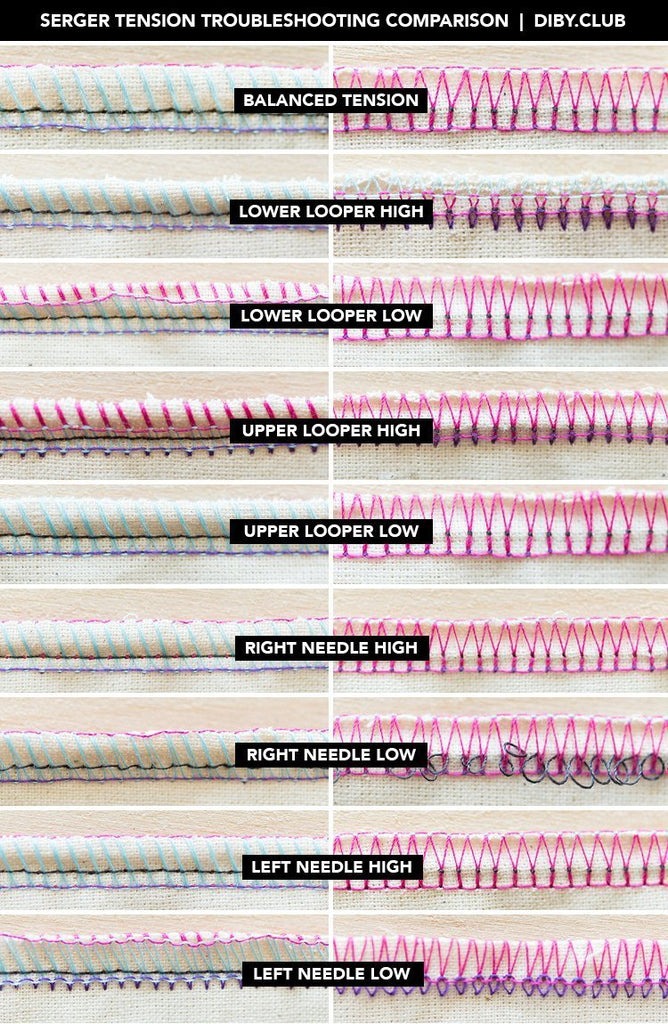
Serger Tips and Tricks
Sergers are definitely more knit-friendly than sewing machines, and it doesn’t take much to get the settings just right. The main thing you are going to want to experiment with is tension.
Adjust your tension!!
It’s important to adjust the tension on your serger to get the stitching just right. Different knit fabrics may require different tension settings, so it’s important to test your tension on a scrap piece of fabric before sewing your actual garment.
This tension cheat sheet below has been a lifesaver in some instances, and the blog post that accompanies it is super helpful too!
Use a differential feed
A differential feed is a feature on most sergers that allows the front and back feed dogs to move at different rates. Different fabrics may require you to adjust the differential feed knob to prevent wavy seams or gathered seams.
For example, when I sew with waffle or rib knit fabric, I always turn the differential feed up a notch to prevent the fabric from waving. If I intentionally want to create gathers in thinner fabric, I turn that differential dial as high as it will go!
Use the right needles
A stretch needle is usually the best choice, as it will help prevent skipped stitches and other problems. The Organ needles I shared earlier are wonderful for my serger!
By following these tips, you can use your serger to sew knit fabrics with ease and create a professional-looking finished product.
Let’s Talk Coverstitch Machines
A coverstitch machine isn’t necessary, but it adds a nice, professional finished touch to any knit project. A coverstitch is a special machine that allows you to topstitch your garments with a double needle (or triple needle) effect.
You can achieve the same thing using a sewing machine with a twin needle and a basic straight stitch, but the coverstitch allows those straight stitches to be stretchy by creating a looping pattern on the backside of the fabric much like a serger.
Coverstitch machines are generally faster than sewing machines when it comes to topstitching knit fabrics. This can save time, especially when working on larger projects.
I must add though — coverstitch machines take some practice! There is a definite learning curve if you have never used one before, but once you get the hang of it, they are amazing for speeding up tasks like adding a binding to an edge.
While a sewing machine can certainly be used for topstitching knit fabrics, a coverstitch machine offers several advantages that can make the process faster, easier, and more professional-looking.
Troubleshooting Sewing Stretchy Fabric
If your sewing machine keeps skipping stitches or eating your fabric on stretch fabric, here are some things you can try:
Use the right needle: Make sure you are using a needle specifically designed for stretch fabrics, such as a ballpoint or stretch needle. These needles are designed to push aside the fibers of the fabric rather than pierce them, which can help prevent skipped stitches.
Adjust the needle size: If you are using the correct needle but still experiencing skipped stitches, try adjusting the needle size. A larger needle may be able to penetrate the fabric more easily.
Adjust the tension: Check your machine’s tension settings and adjust them if necessary. Stretch fabrics may require a lower tension setting to prevent the fabric from stretching or puckering.
Check the tension discs: An often overlooked problem is that the thread isn’t properly seated in the tension discs. By grabbing both sides of the thread around the tension disc and “flossing” it in, you can be sure it’s seated in there properly. There should be a slight tension when you pull the thread through the disc.
Re-thread if necessary: Sometimes, all it takes is a simple re-thread of your machine. Take out all of the threads and try again. Make sure that everything is threaded in the proper order and seated properly in the tension discs.
Use a stabilizer: A stabilizer, such as tear-away or water-soluble stabilizer, can help prevent skipped stitches by providing extra support to the fabric.
Slow down your stitching speed: Stretch fabrics can be more difficult to sew than other fabrics, so slowing down your stitching speed can help prevent skipped stitches.
Test on a scrap piece of fabric: It’s always a good idea to test your stitching on a scrap piece of fabric before sewing your actual garment. This will give you a chance to make any necessary adjustments to your machine or technique before starting on your project.
You’ve Got This!
Sewing with knit fabric can be a fun and rewarding experience… but it can also come with some swear words and questioning of your abilities. Before you give up, take a deep breath and know that it takes a little patience and practice.
By choosing the right fabric, preparing it properly, and using the right tools, needles and stitches, you are on your way to creating beautiful knit garments and adding another weapon to your belt of essential skills!
Pin this for later:
Last Updated on