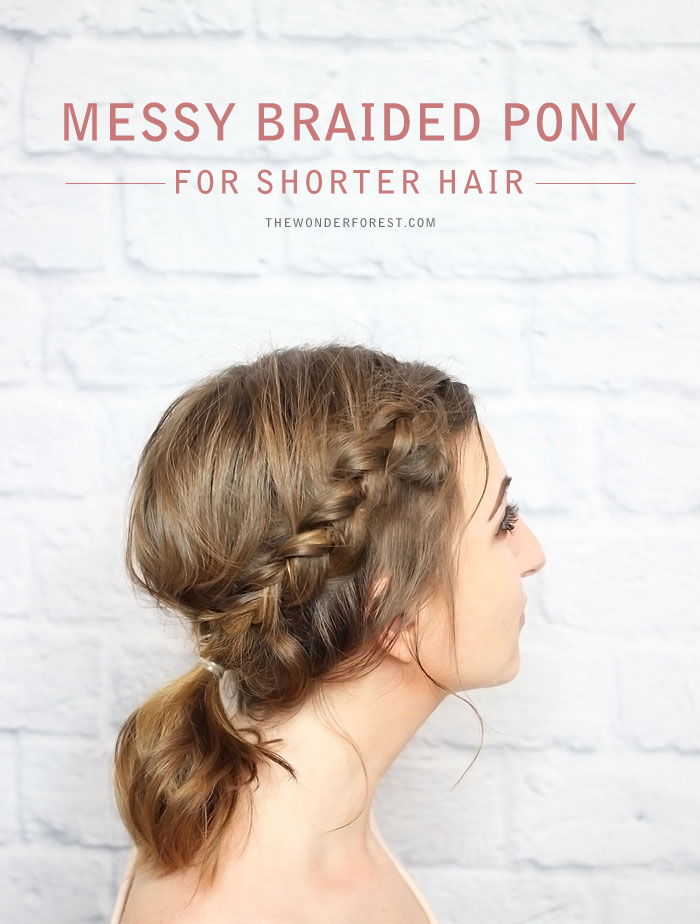
When I created this hair tutorial last week showing you how to create a messy braided crown, I really should have called it “one braid, two ways”, because this look totally uses the same technique, with just one additional step.
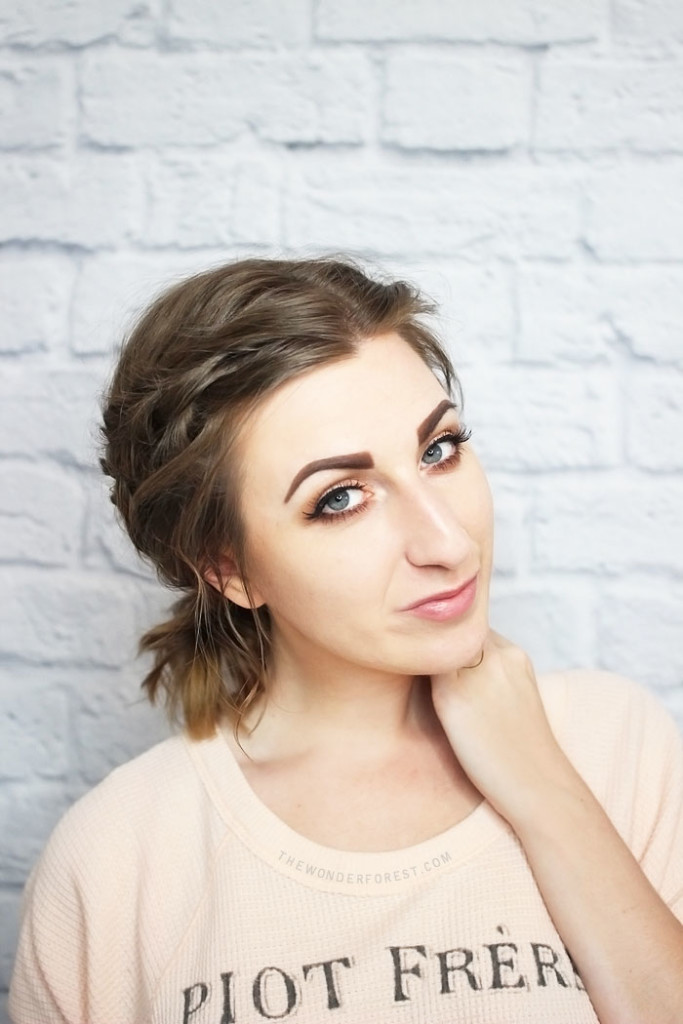
I love the look of a messy hairdo, and this one is great for anything, really. You can make it as neat or as carefree as you like, depending on the occasion.
Sometimes the best ideas are the quickest ones, too! If you know how to do a Dutch Braid, this will be easy as pie and done in a matter of minutes — perfect for busy days!

These instructions are pretty much the exact same as the other crown tutorial, so if you’ve tried that one just skip to the last step to complete this look.
Step by step – Messy Braid
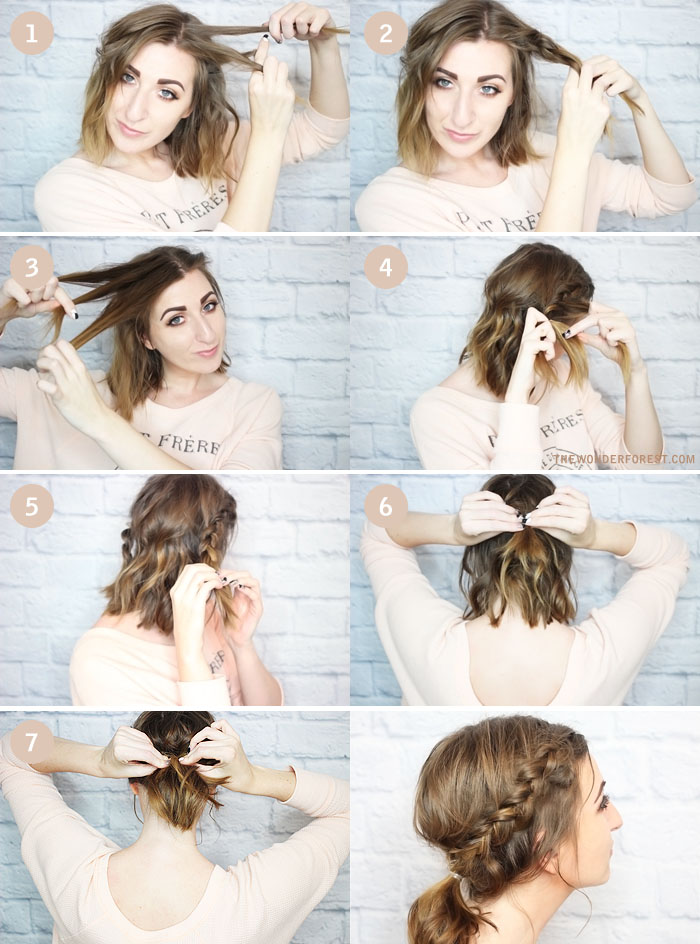
I’ve illustrated this below for you in photos, step by step. You can refer to the numbered photos when following the steps outlined underneath them.

Start with wavy hair for a bit of texture. I like to use a curling wand, or just spray some dry shampoo onto your locks before starting.
1. On one side of your head, grab a chunk of hair from the top hairline. Section into 3 pieces to start your braid. To create a Dutch braid, you’re going to want to essentially do a French braid, only backwards. Instead of passing the pieces above one another, pass them underneath. (i.e. take a piece from the outside, pass it under and into the center)
2. Continue braiding, grabbing chunks from the top layer of your hair and incorporating them into your current braid strand. When you arrive at about two inches behind your ear, continue the braid without adding any more strands. Pin temporarily in place while you work on the other side.
3. Do the same on the other side. Grab your three strands…
4. … Add pieces from the top layer…
5 … And continue the braid to the end.
6. Grab both braids and tie them together at the back of your head with a clear elastic.
7. Now with another elastic, loosely gather all of the remaining hair and tie it into a ponytail at the base of your skull.
You’re done! Wasn’t that easy?!

It’s always nice to be able to change up a single hairstyle with just a little tweak, am I right?! You get two hairstyles in one! I hope you girls like this look!
Last Updated on
