Today I wanted to share a project that I seriously do all the time. This is my go-to method for creating quick and easy pillow covers that literally take minutes to complete.
If you feel like your decor needs a little pick-me-up, changing your pillows can make for an instant improvement. If you don’t feel like spending the cash on some brand new ones, try making some of these using your favourite fabric. Need to switch up your seasonal decor?? Easy! Need some holiday themed pillows!? Simple!
The best part is, they are totally removable so you can change them up whenever you want, or toss them into the wash for a cleaning.
UPDATE: Check out this video I created for a similar pillow cover to see how I do it.
For this tutorial, I created a mini version of the new outdoor pillow covers I recently made so you could see just how I did it. All you will need is a front fabric piece, a back fabric piece, scissors, and a sewing machine or needle and thread (though it might not be 5 minutes by hand!).
You can use a variety of recycled fabric for this project including old shirts, tablecloths, cute tea towels, or blankets!
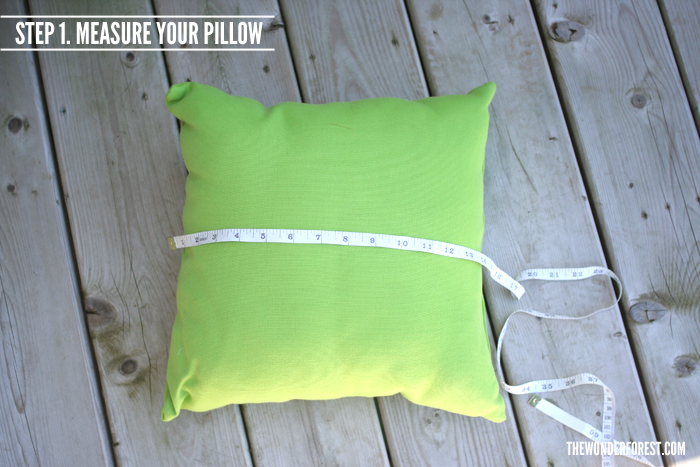
Pillows generally come in standard sizes. Measure yours to find out how big you need to cut your fabric. My pillow above measured 15 inches from one side seam to the other, so I went with a 16 inch square of fabric so I had a little wiggle room.
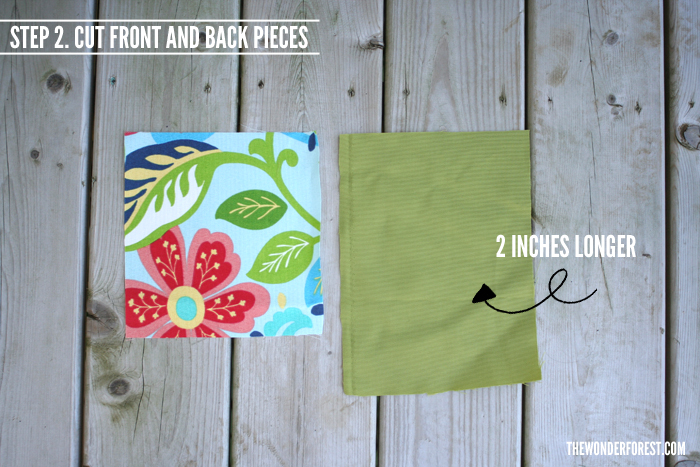
Once you have your measurements, cut your fabric. For the back piece, add 2 inches to the height. My original square was 16×16 for the front, and 16×18 for the back.
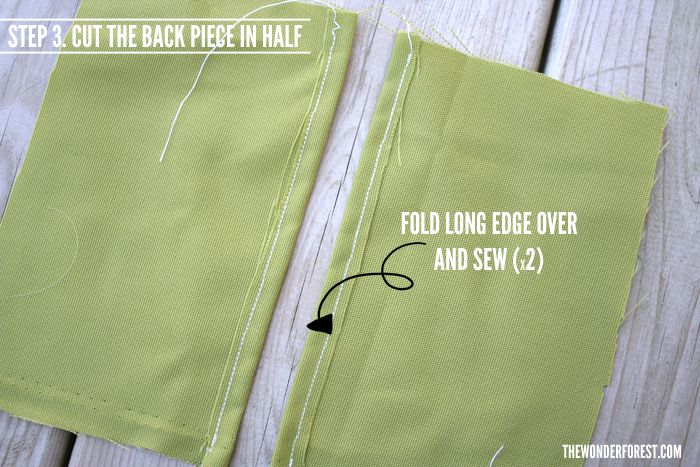
Then, fold your back piece in half and cut (on the longest end, so for example my length was 18″, and cutting in half made both pieces 9 inches). Fold over the long edge about 1/4 of an inch and sew. Do this for both pieces.
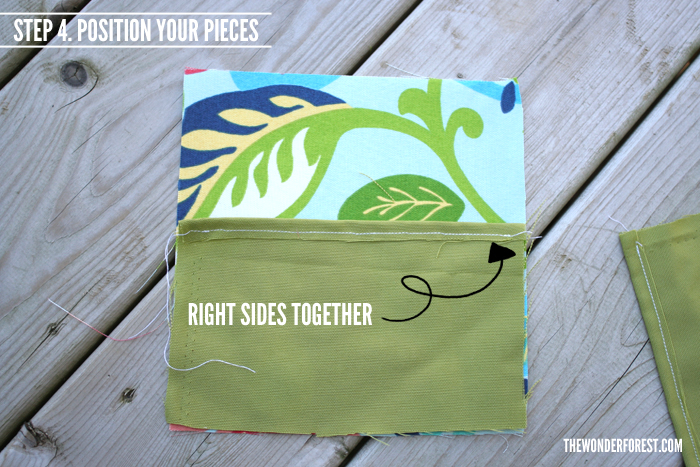
With your front piece facing up, place the first back piece facing down on top of it as shown.
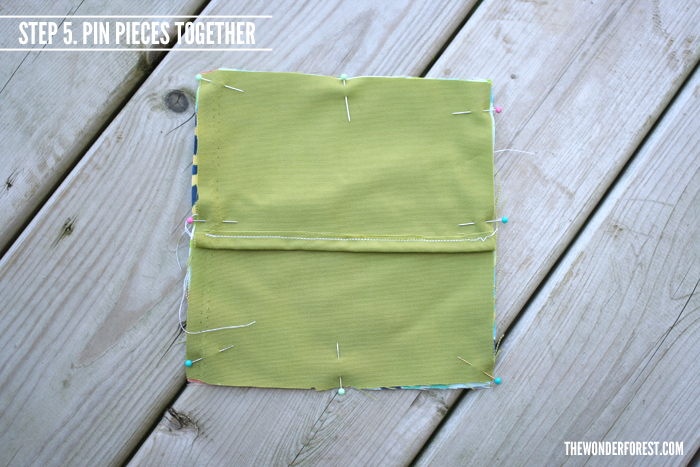
Then, place the second back piece on top with the sewn edge overlapping the first back piece. Pin all the way around to hold in place.
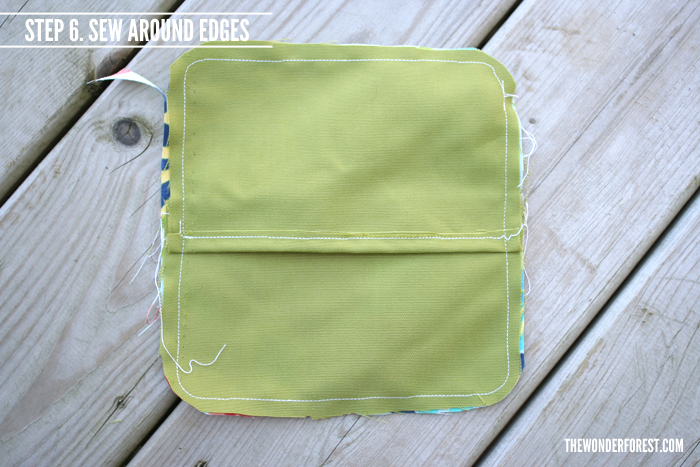
Sew all the way around the edges. I like to round my corners then clip them off because it makes the final product not so pointy.
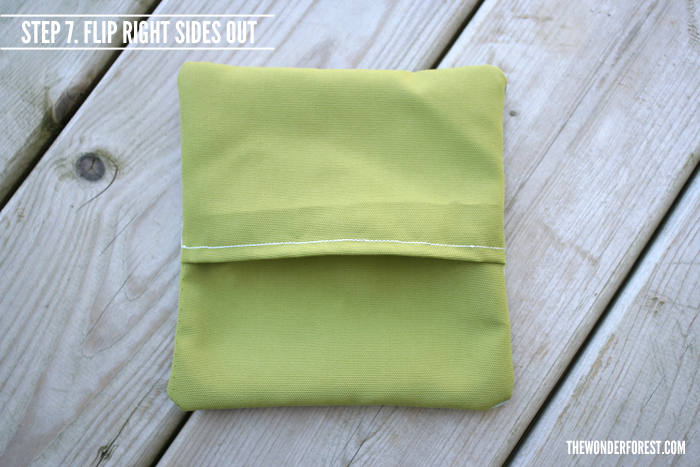
Flip your pillow cover inside out (or is it right side in?) and insert your pillow! See how we created an envelope style opening so that your pillow can easily slide in and out?!
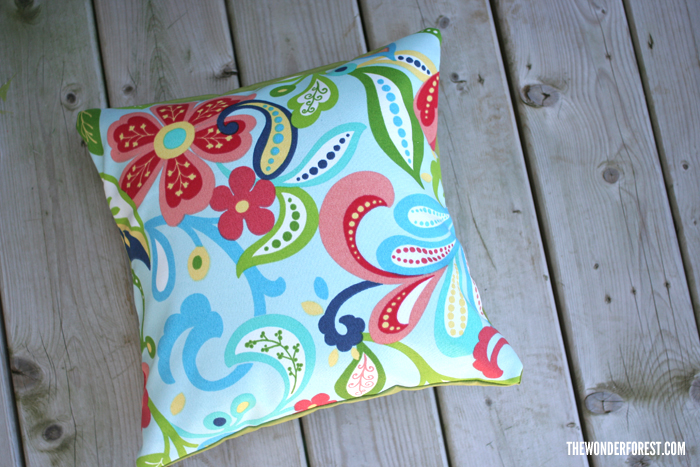
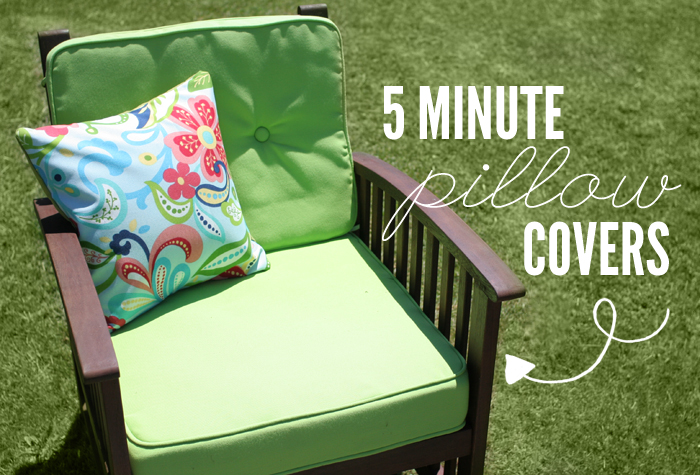
This is the actual larger pillow. I made 4 of them to go with my outdoor set. Bye bye ugly, boring green pillows!
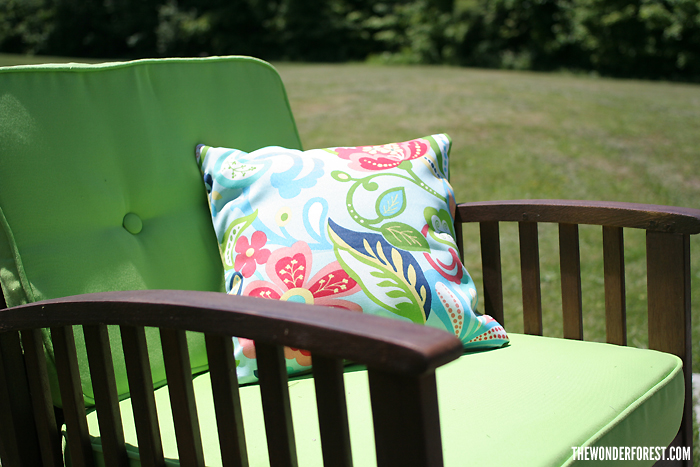
Once you get the hang of this process, you’ll want to cover every pillow in your house. Now you have the technique to easily transform any one of them as you wish!
Hope you enjoyed this tutorial!
WANT MORE? Make a geometric pillow cover in just 10 minutes!

I purchased best pillow cushion-pillow.com, this article is really helpful thanks