
If you own a small business or ship packages to customers, you know how important it is to create a unique brand identity. Promotional, marketing and shipping supplies like postcards, stickers, and mailing labels are important products to have on hand — but they can also be costly and can sometimes eat into your margins if you’re not careful.
Custom stickers in particular can be expensive, and sometimes the stickers you can purchase online don’t cut it. Most businesses want a design that better matches their branding, even if it’s a simple “Thank You” sticker to place on the outside of your packages.
I’m going to show you a super helpful hack for creating your own custom stickers WITHOUT ink and with virtually unlimited possibilities.
You will need a few supplies to get started, but trust me when I say that these supplies are absolutely worth investing in because they will transform the way you do business.
The first is a thermal label printer for shipping. If you ship products and are constantly printing off shipping labels, a thermal label printer is a MUST. I ran my business without one for way too long and looking back, I can’t believe I didn’t purchase one sooner.
How does a thermal printer work?
Thermal printers use zero ink. Instead, they use heat to “burn” an image or text into a special type of (thermal) label. The typical label size is the 4×6 shipping label that you normally see on your Amazon parcels or your package from your online shopping spree.
Do thermal printers use ink?
Nope! Since this type of printer uses zero ink, the text cannot bleed or run if it gets wet. They also print off super quickly, saving you lots of time.
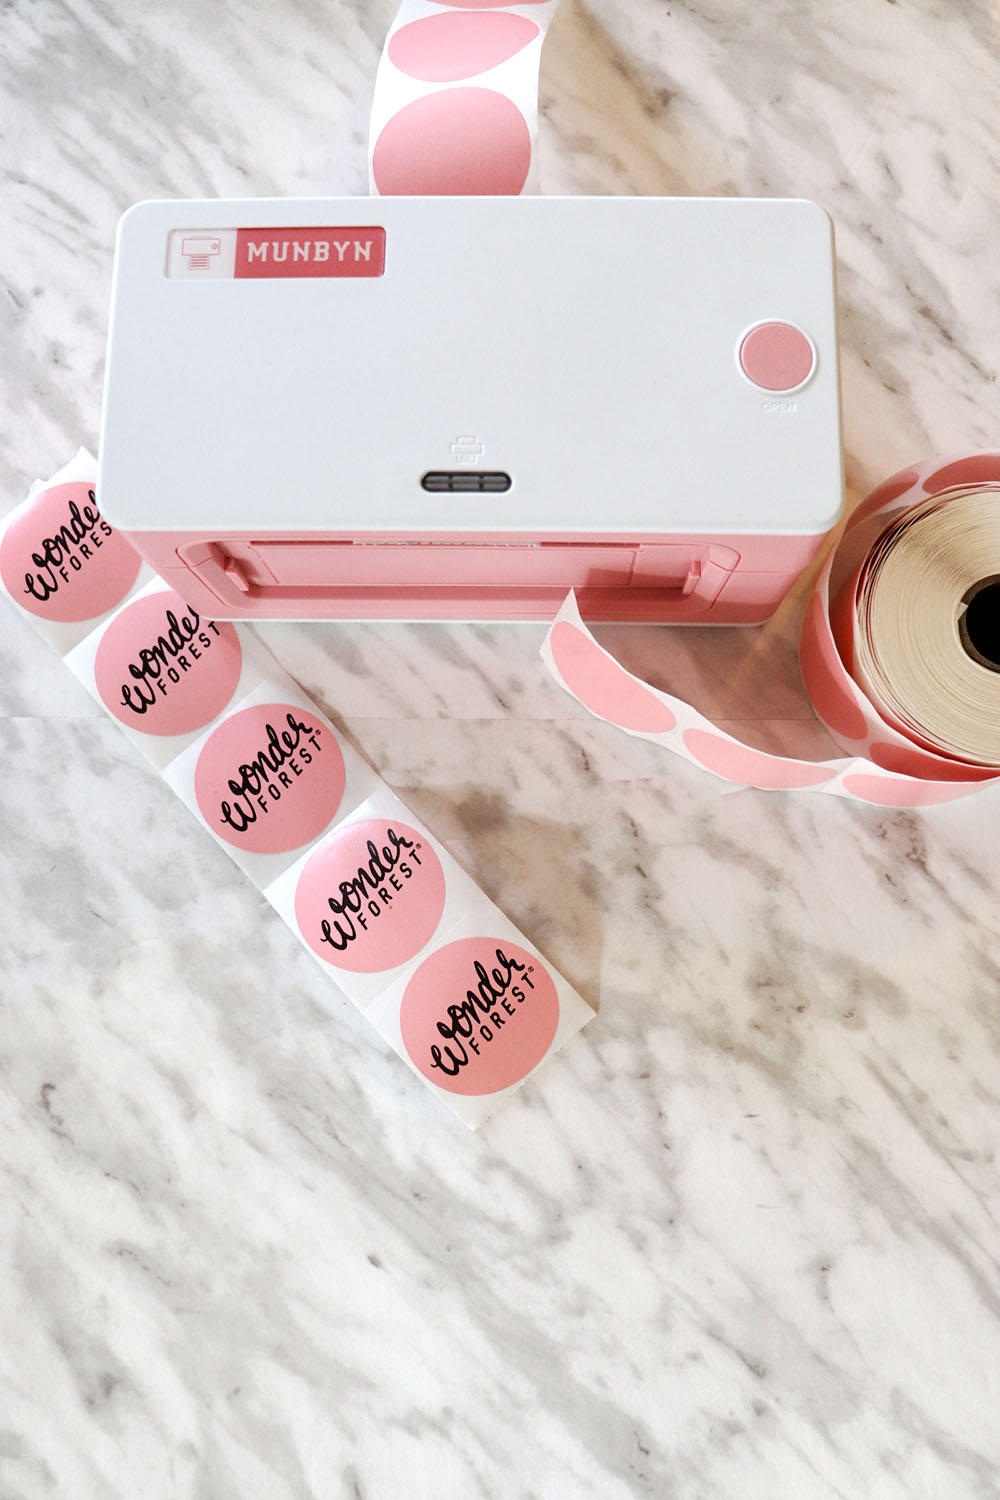
For this tutorial, I’ll be using this super cute thermal shipping label printer that Munbyn sent to me. It is my second label printer and probably my favourite.
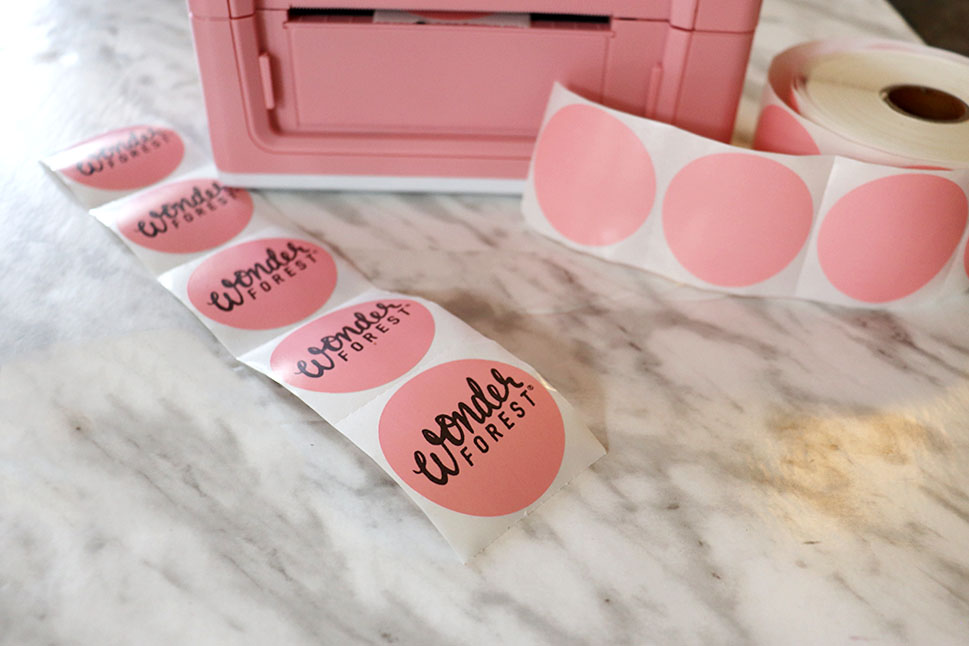
Instead of the usual 4×6 thermal labels, I will be using their pink coloured circle 2×2 thermal labels to create unique custom stickers in less than a minute flat.

How to make stickers on a thermal label printer
The process is honestly so simple. The Munbyn printer is easy to set up and attach to any computer. First, you’ll want to load your label paper and calibrate the machine. This allows it to automatically detect the size of the label before you print.
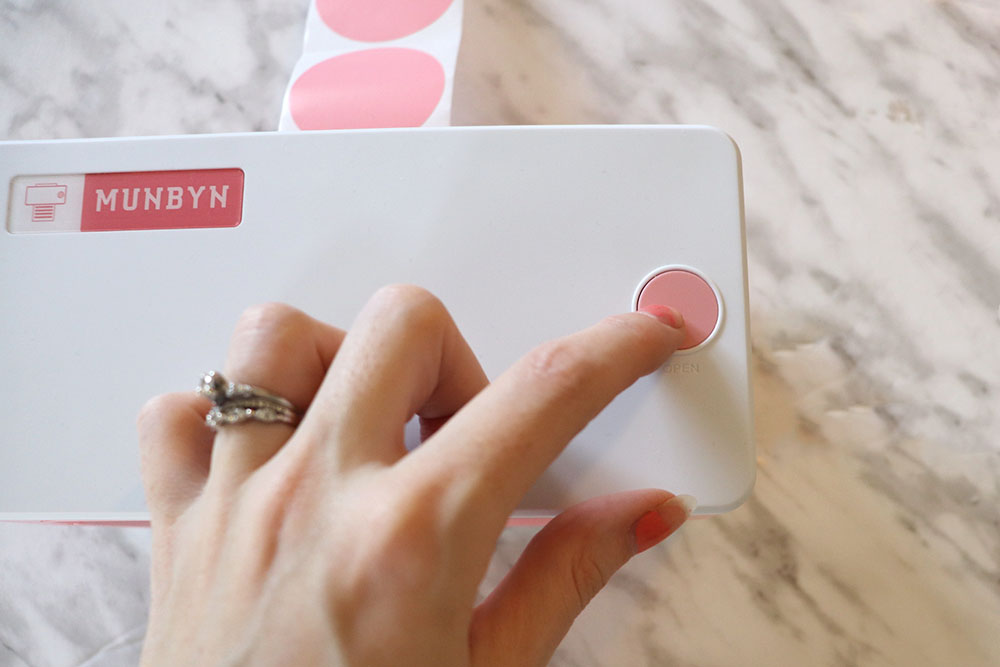
Press the button to open the cover of the printer.
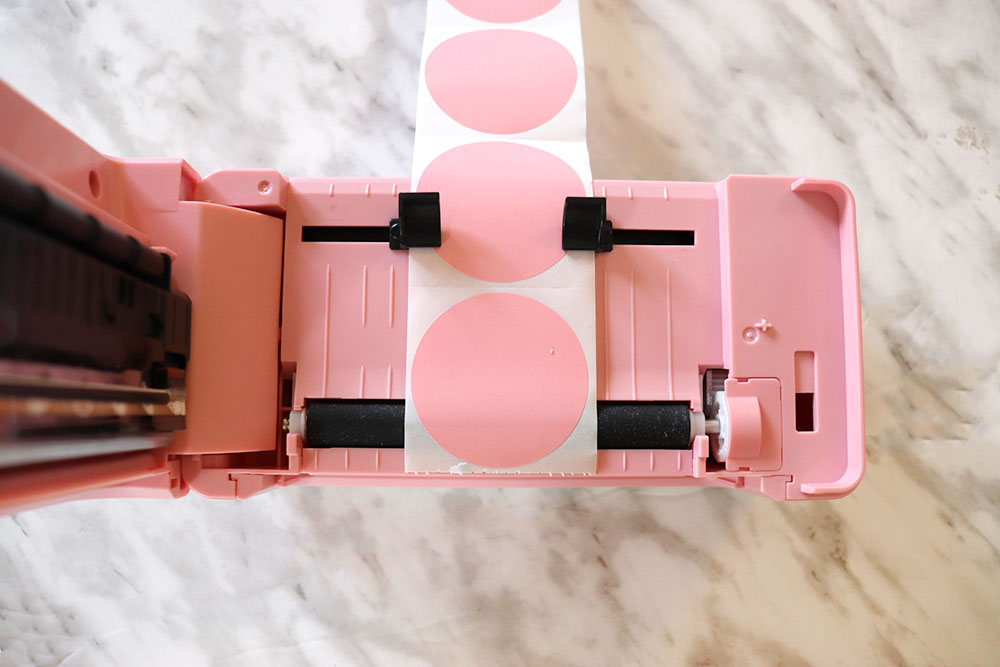
Then you’ll want to adjust the black label holders to fit your label size. Insert the label and, using your fingers, push the holders toward each other until they are snug against the sides of the label.
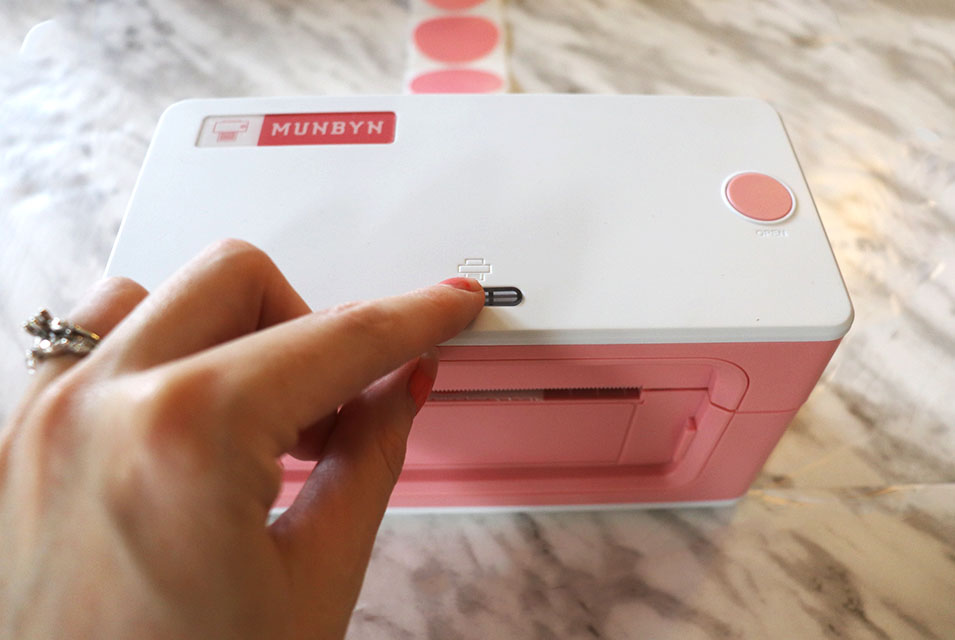
Pull the label paper through a little bit and then press and hold the Feed button until it beeps. The printer will calibrate and be ready to print! Tip: If it flashes red, open the top again and pull more of the label paper out of the front before closing. Then press and hold the button again.
Now you are ready to print your design!
Creating your design
All you need to remember when choosing a design to print is that the size of the image must fit within the 2×2 inch sticker area. I like to design my image a tad smaller to allow for the border space.
The image must also be black in colour as a thermal printer can only print in black (no ink, remember!). For best results, create a 2×2 inch image at 300dpi and increase the intensity of the black in your image editing program (you can use Photoshop or something like Canva). Save it as a JPG or PNG.
Printing your thermal stickers
When you’re ready to print, simply open your saved image and choose Print. Note for Photoshop users: depending on your printing preferences, the image might not be totally centered or might skip a label as it prints. I found it easiest to just print directly from my native photo viewing app instead of messing with Photoshop’s print settings.
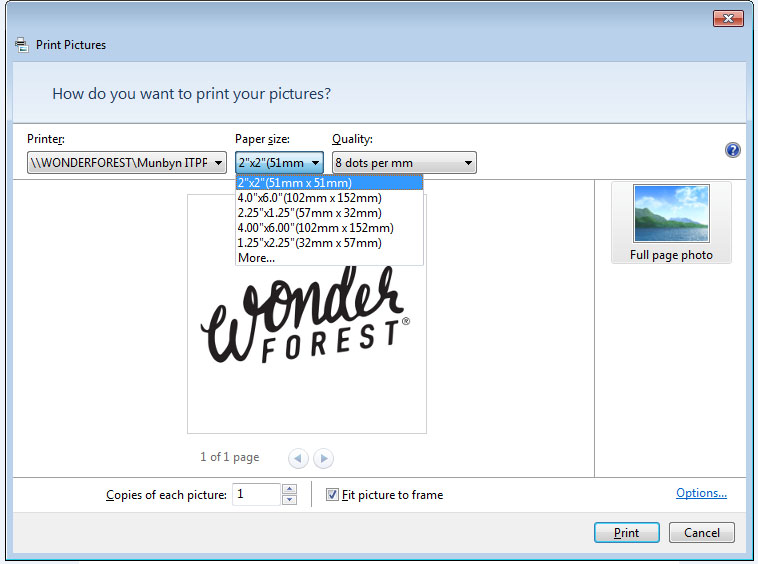
Make sure to choose the proper printer from your printer selection dropdown. In this case, Munbyn. Also choose the proper paper size, being 2″x2″ for these circular labels. Choose how many you want to print and you’re good to go! Try a test print first to make sure everything appears how you want it to.
I printed some of my logos to include as sticker seals for my packages I send out, but these would be great for labeling your products as well (for example, if you make candles you can use these as your candle labels!). You can also try some of these ideas for packaging:
- Thank You For Your Order
- Thanks For Supporting Small Business
- Do Not Bend
- Fragile
- Happy Mail
- Open Me
Try creating some cute little graphics. I find the simpler, the better! Remember, the image has to be black so using a photograph or multicoloured graphic won’t look the best.
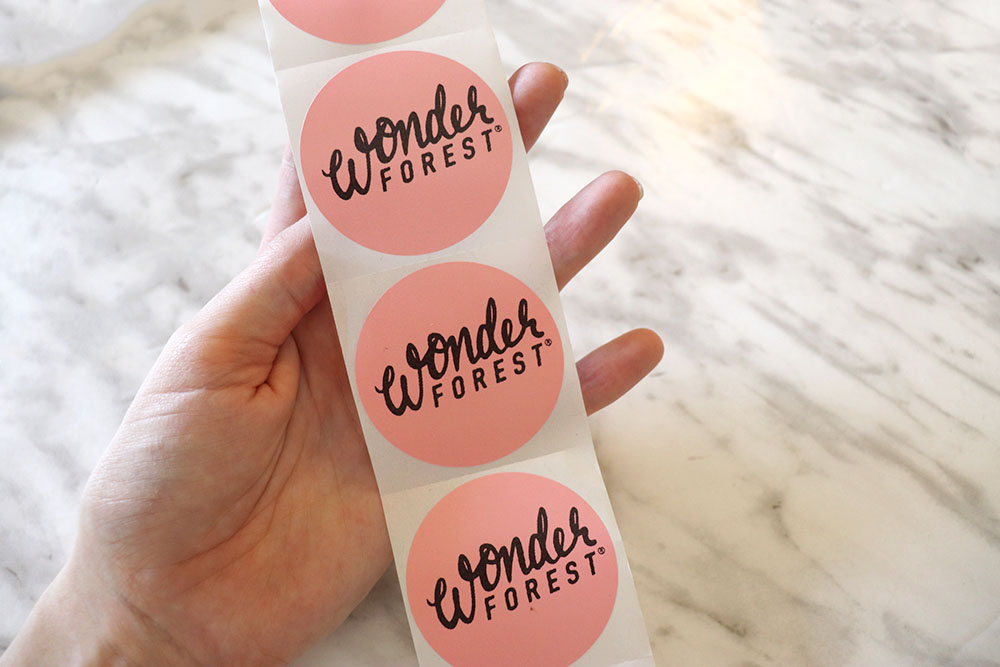
Now you can print as many stickers as you want! No need to worry about ink running out or replenishing stock in a hurry. You’ll save on packaging costs printing your own vs. purchasing from a third party company.
These labels come in a variety of colours! You can also get small rectangular ones if circles aren’t your thing.
Happy sticker making!