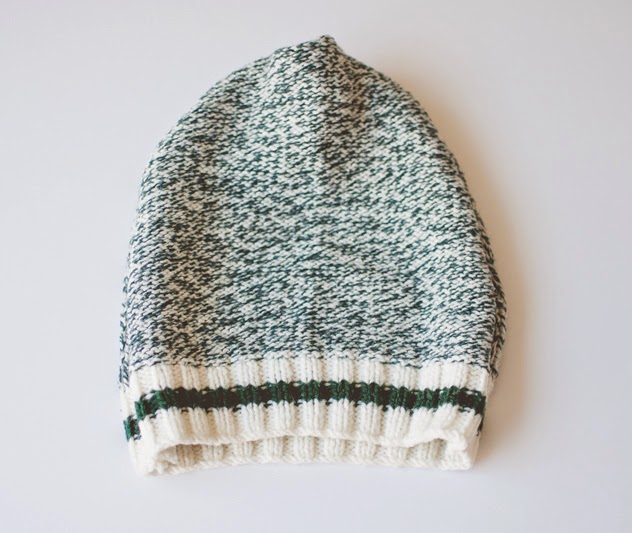
 Hi everyone! I’m glad to be back with another guest post, helping you to get the most out of your wardrobe. This month’s post is a bit of a wardrobe hack to help transition you from summer into the fall weather. Like it or not, summer is slowly making its exit and that leaves us with an awkward period between seasons to dress for. My number one go-to item to give that Autumn feeling to any outfit is a perfect, slouchy beanie. I like to have a variety of different coloured beanies on-hand, but of course it comes with a price – that is, unless you can make them yourself. I’m going to show you how to re-purpose an old sweater into the perfect, slouchy beanie that will take your summer wardrobe well into Fall. The best part is this DIY beanie required absolutely no sewing. Read on to see how you can remix an sweater into a beanie for Fall.
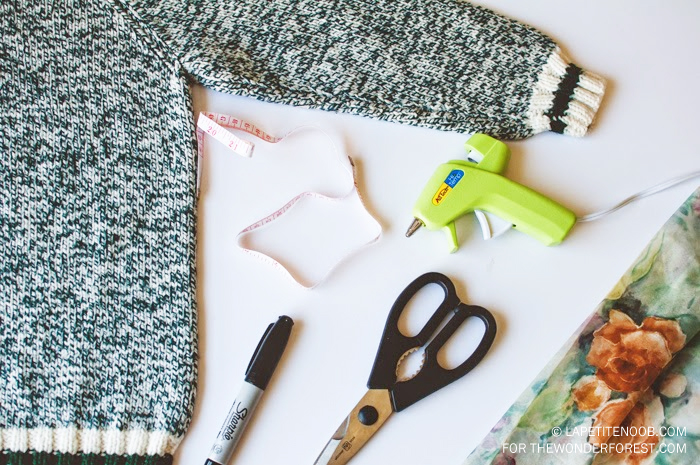
Materials Needed:
- An Old Sweater (I found this particular sweater in my local thrift shop, in the little boys section)
- A Scarf
- Measuring tape
- A Glue Gun (preferable with fabric glue sticks, as these tend to be more flexible and wash better – but regular glue sticks will work fine)
- Sharp Scissors
- A Sharpie
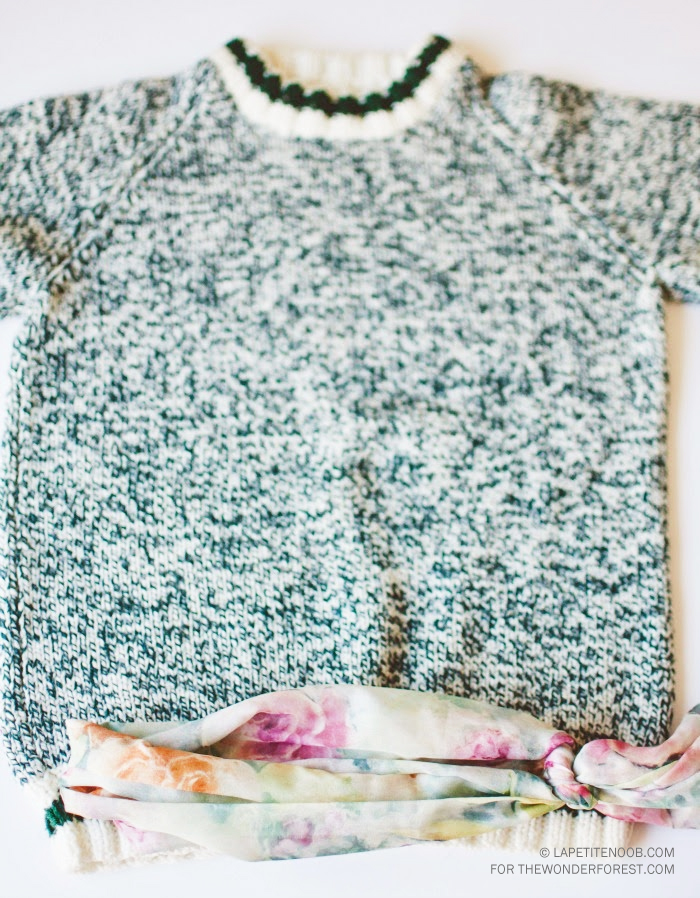
Start by wrapping your scarf securely around your head, and making a tight knot in the back. This will be how we obtain the correct width of our beanie so that it fits comfortably on our heads.
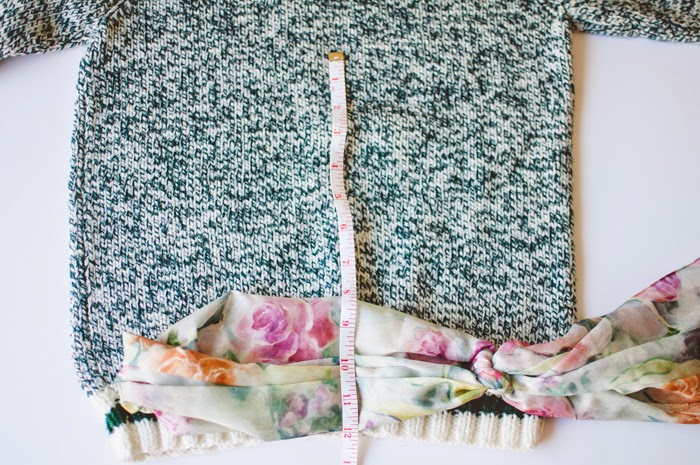
Place the scarf on the bottom of your sweater. The length of our beanie will be measured from the top of the scarf to the beginning of the knot on the opposite side.
Use your measuring tape to mark the height of your beanie, placing it in the middle of your scarf. I measured 12 inches for a very large, very floppy beanie. If you want a more snug look for your DIY beanie, keep the height at 9-10 inches.
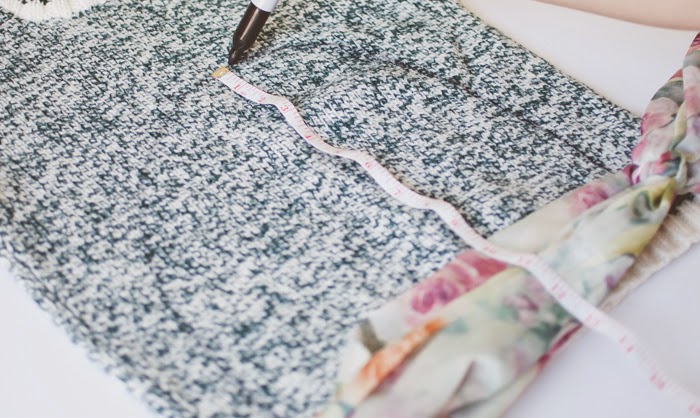
Mark out a rough shape for your beanie with your sharpie, starting from the tip of your scarf all the way to the top of your measuring tape. Don’t worry too much about the line you’re drawing on the sweater, it will be covered up later on.
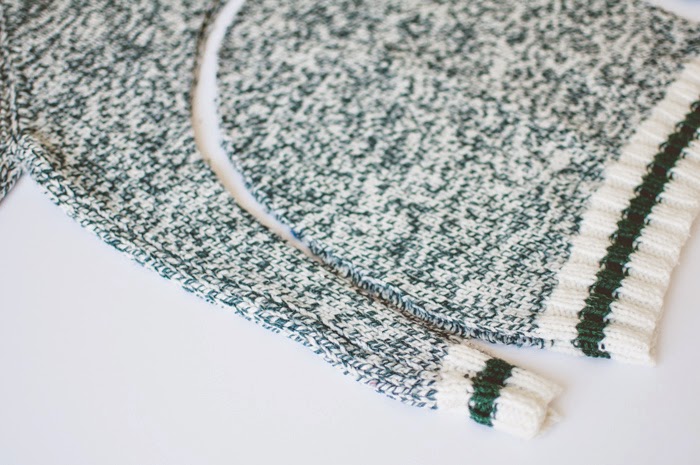
Once you have achieved the shape that you like, begin cutting on your marked line – making sure to cut both layers of the sweater at the same time. Cutting both layers is a little difficult, so take your time and make sure not to shift the fabric too much as your cut. We want to have two identical beanie-sized pieces of fabric by the time we’re done.
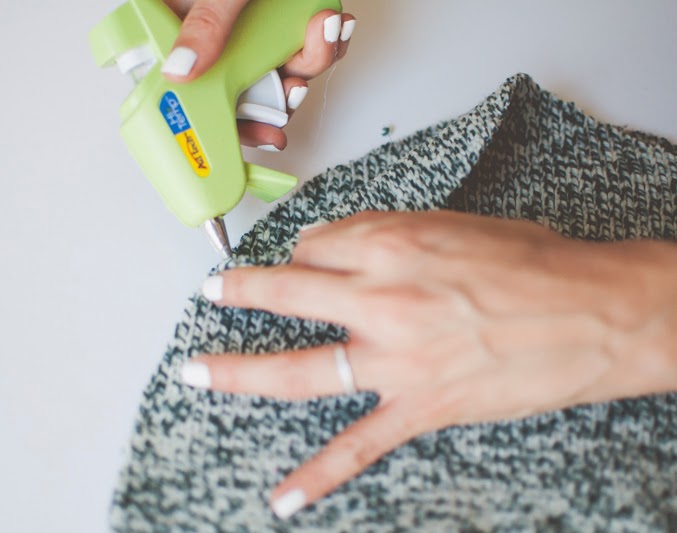
Once you have your two pieces cut, turn the pieces so that the outside of the sweater for both pieces are touching and you are seeing the inside pieces (which will ensure that the nice side of our sweater will be the outside of our beanie). Use you hot glue gun, and glue both pieces of cut sweater together placing the glue on the edge of your fabric. Make sure to glue along the entire edge of your fabric, from one corner to the next.
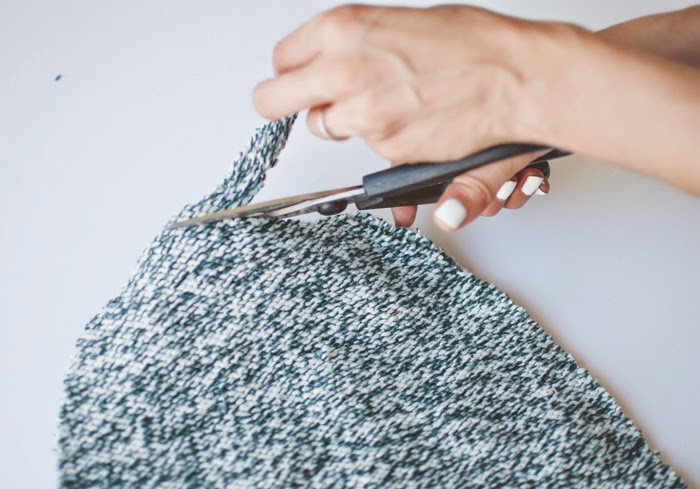
Once you have securely glued both pieces of sweater together, cut off an inch of fabric right at the top of your beanie – this will be to prevent any ‘cone heads.’
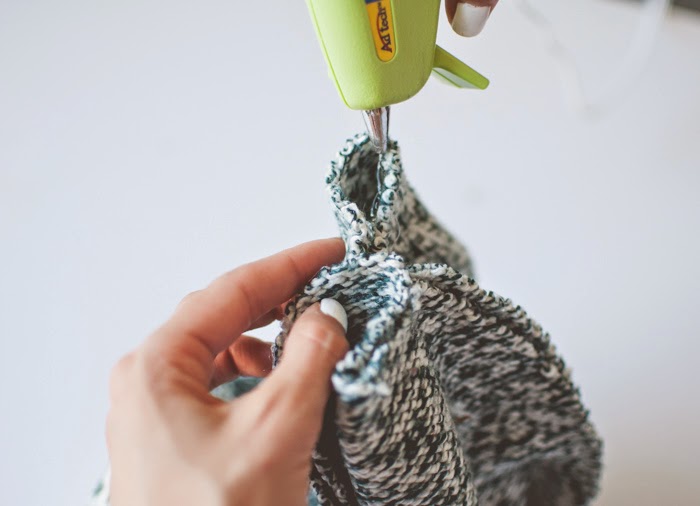
Pinch and gather each side together, forming two loops – exactly as you see in the photo above.
Use your glue gun to glue each loop together, using glue on the edge of the fabric.
Once the glue has completely dried (which only takes a few minutes when you use a hot glue gun), turn the two glued pieces of sweater inside out to reveal a one-of-a-kind, slouchy beanie – perfect for transitioning your wardrobe from summer to fall!
Last Updated on


