Bam! Strike a pose, ladies! If you’re looking for a flawless, photo-ready face, highlighting and contouring is a must! It’s really easy to do, you just need the right tools. Note that I don’t recommend this for everyday wear… at least personally. There is a lot of product that goes on your face and for me, wearing such heavy coverage makes my skin go nuts. However, if you need a glam look or photoshoot-type makeup, give it a try! If you want to check out my tutorial using one single product for a really quick contour and highlight, go here instead.
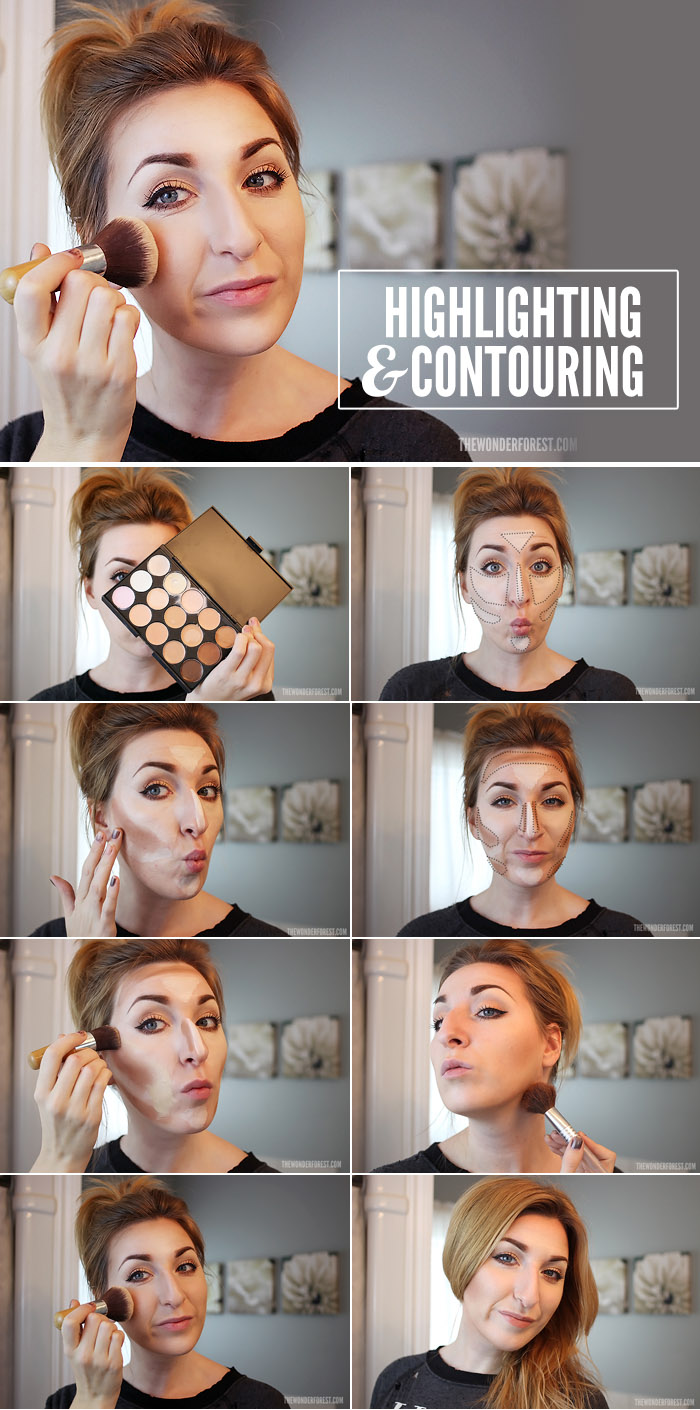
The above image is Pin-able, but I’ve included larger photos and instructions below so you get the gist.
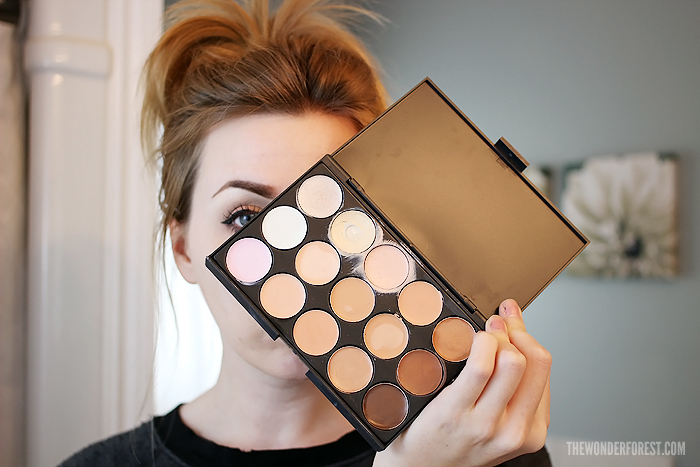
You’re going to need a foundation palette like this, or two individual shades. You can get this one here. Depending on your skin tone and how dramatic you want it, choose shades that are quite a bit lighter and darker than your natural skin tone. For this example, I’m using the lightest shade for highlights and the darkest for the contouring so you can see it well.
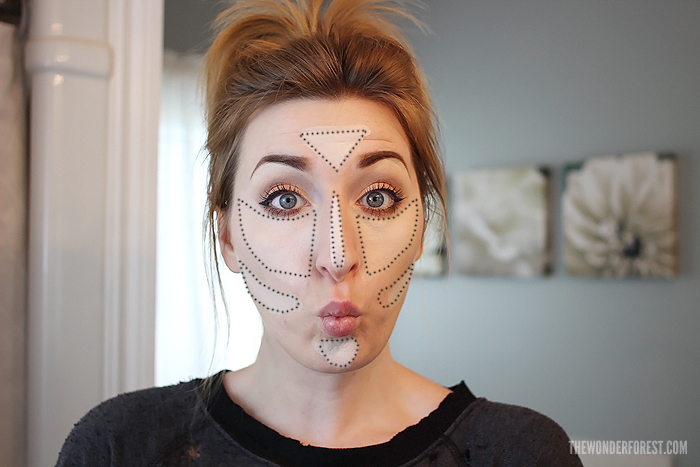
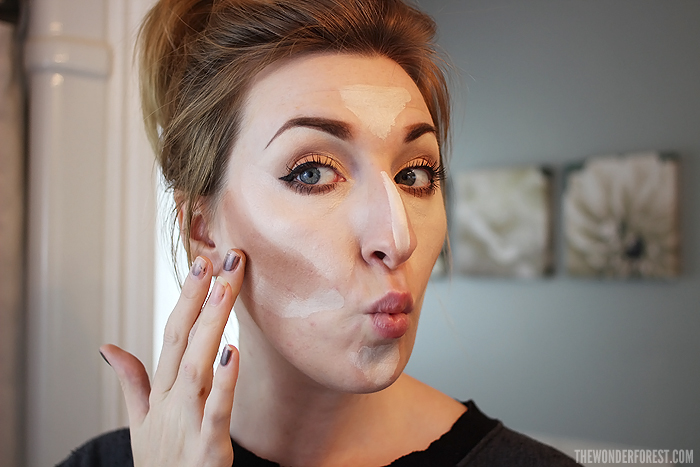
Time to make silly faces and hope that nobody knocks at the door! Start with the light foundation and apply it to these areas. It doesn’t need to be perfect, we’re going to mess it all up later.
With your darker foundation, fill in all of the areas you want recessed, or to not stand out as much. Basically highlights = emphasize, contours = de-emphasize. Make a funny fish face like this to see where your natural indents appear.
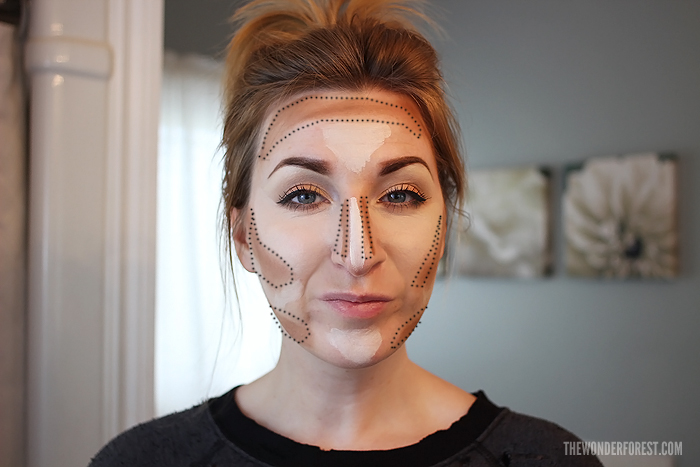
These are the areas you’ll want to work with above. The bottom dotted areas are supposed to be under your jawline more, but for photo purposes I did it this way so you can see. Depending on where you put your dark foundation, you can also make your cheekbones appear higher or lower.
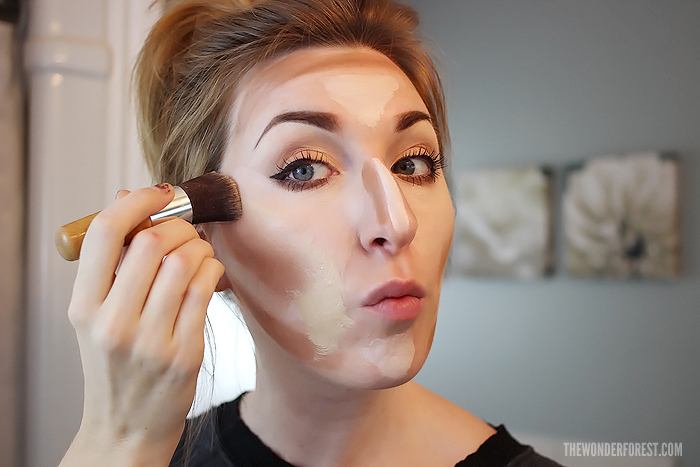
Then with a foundation brush and your regular (skin tone matching!) foundation, go over everything, blending it all together. You might think “hey I’m ruining this gorgeous masterpiece I just created on my face” but trust me, it will all work out. We’re going for a more “natural” look, not a pre-plastic surgery look.
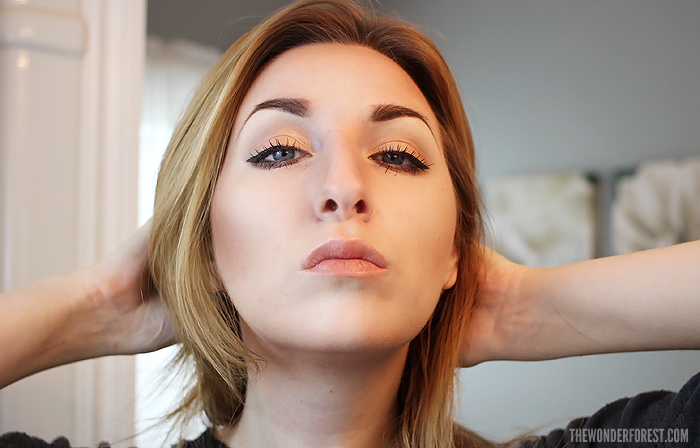
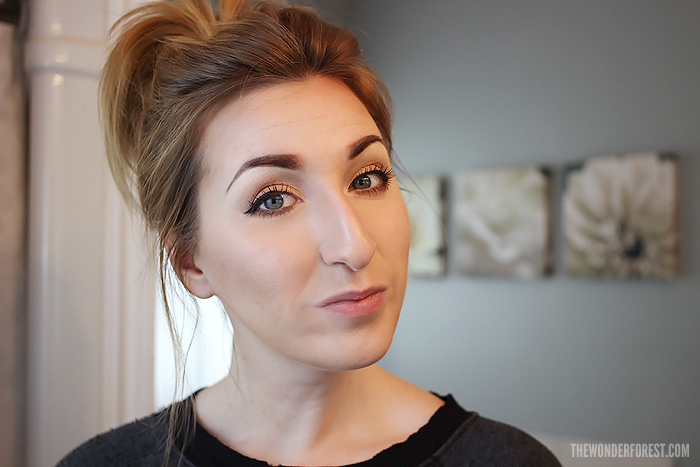
Once it’s all blended it will look something like this. The photo probably doesn’t do it justice, but the shading and highlights are still there, just much more muted.
Next, grab a loose powder and set your makeup with it.
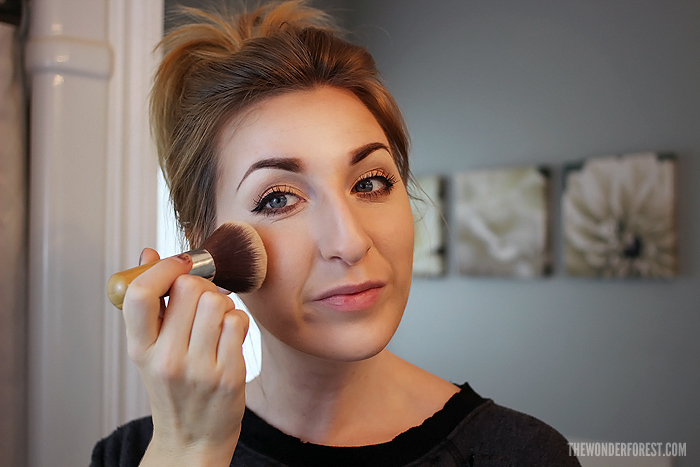
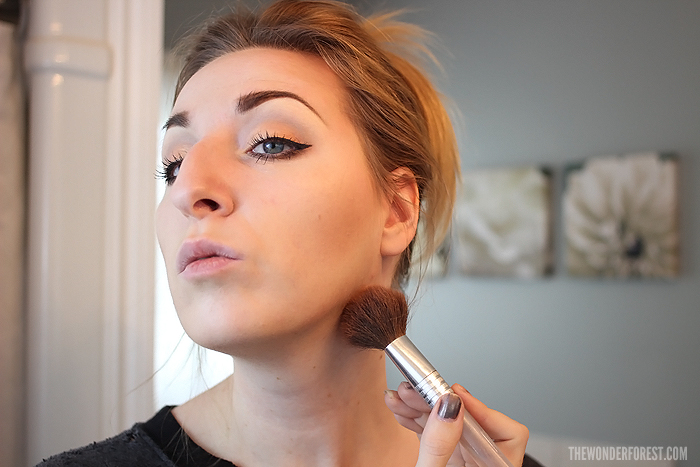
To add some more drama, go back in with a bronzer and lightly brush it over all of your darkened areas. Don’t forget your neck!!! Blend blend blend! If you’re a blush person, add that too.
Now go take some photos and enjoy your sculpted new face. 
UPDATE: check out my new tutorial for a QUICK contour & highlight using just one product!
Grab a palette:
Last Updated on

 JavaScript is currently disabled in this browser. Reactivate it to view this content.
I got my first c&h foundation palette. I was nervous at first. (I am an artist and can make skin color with prime colors, I shouldn’t be nervous lol.) Anyway, after doing it i must say i love it! Also, ignore the lady who commented about your nose. Some people just can’t comprehend things. I saw a comment once on a diamond eye shadow palette, one I love and adore for it’s pigmentation and glitter, that the glitter was only on the top and not to waste your $. Hello!!! It always appears that way but if this person had tried the palette more than once she would have seen that the glitter goes all the way through. Anyhow, I will continue to perfect my talents with the foundation palette and I appreciate your step by step instructions. My one question though, what about the white color in the foundation palette? I used it in the end, before powdering, to highlight the lighter areas a little extra. Did I do that right? How does one use the white? Or is it something you’d only use occasionally or never? I’m pretty close in tones to what you are. Thanks again.
Hey girl! Thanks for a great tutorial. I actually watched your YouTube videos on blogging. I came across your blog by accident. Glad I did!
xo!