
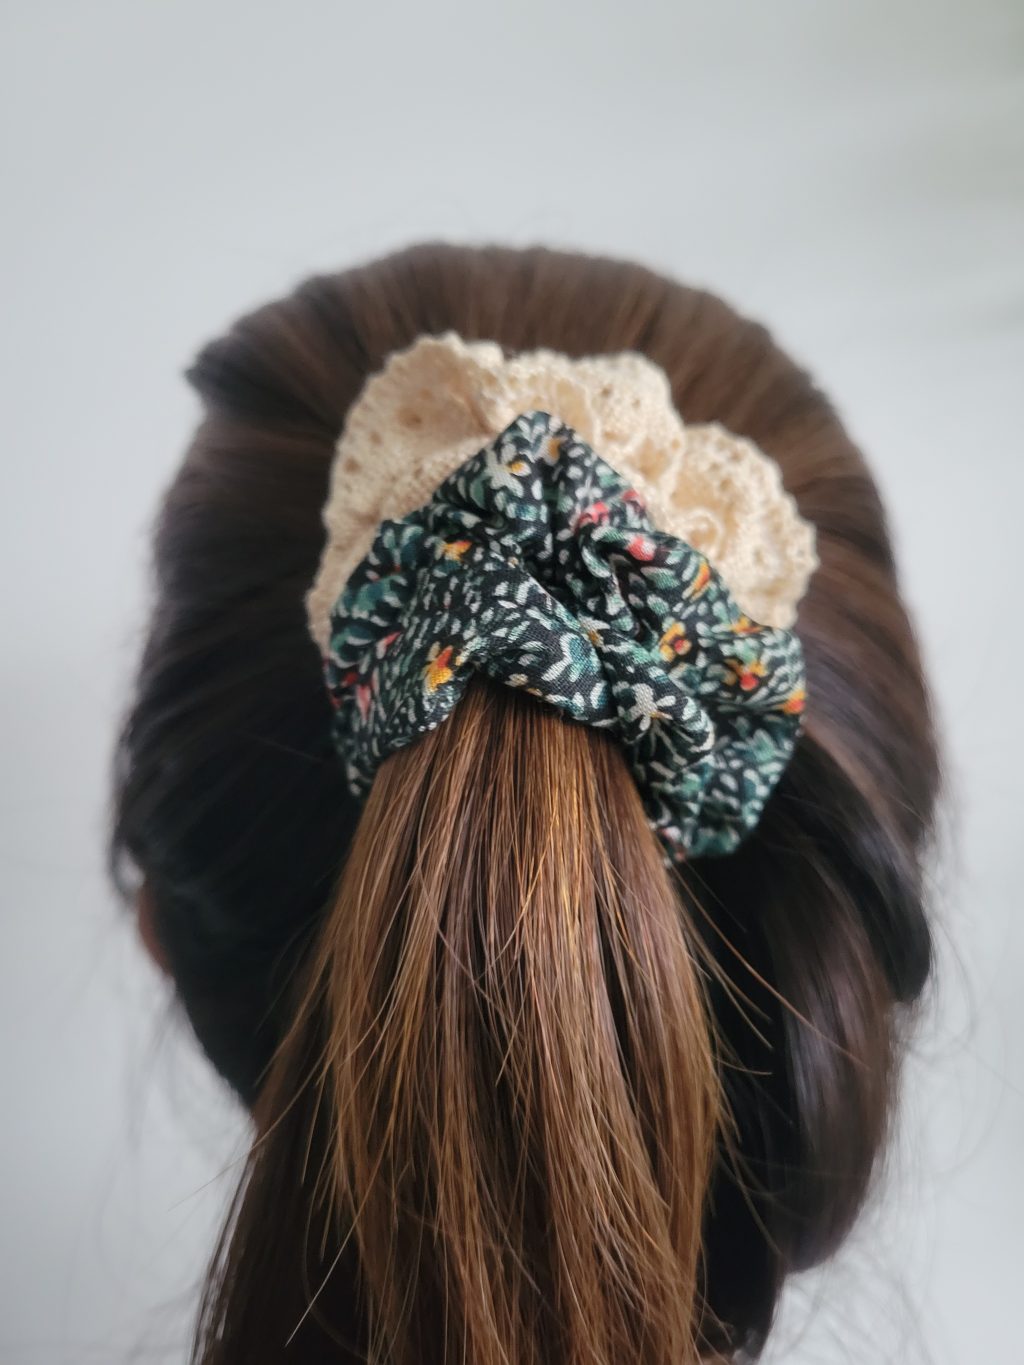
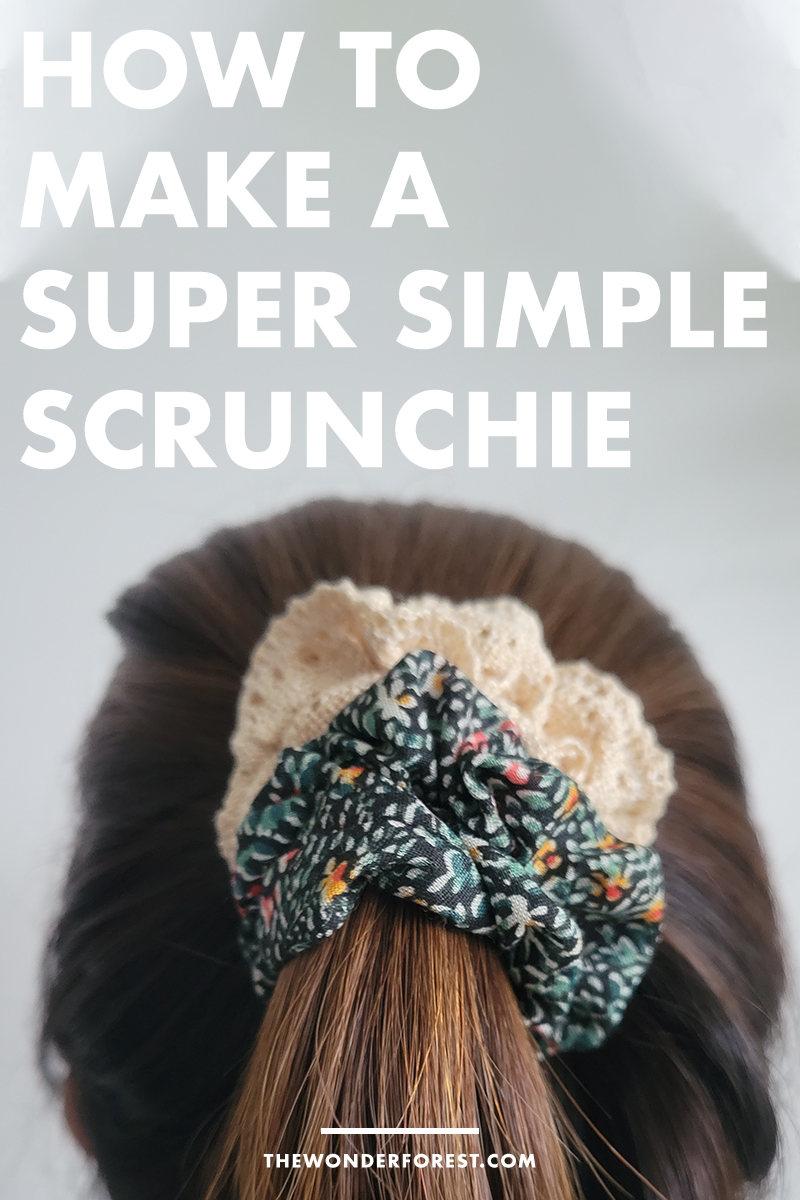
Hair accessories are back these days! Especially the scrunchie! I remember sporting these as a kid and now they are trending again and I couldn’t be happier!
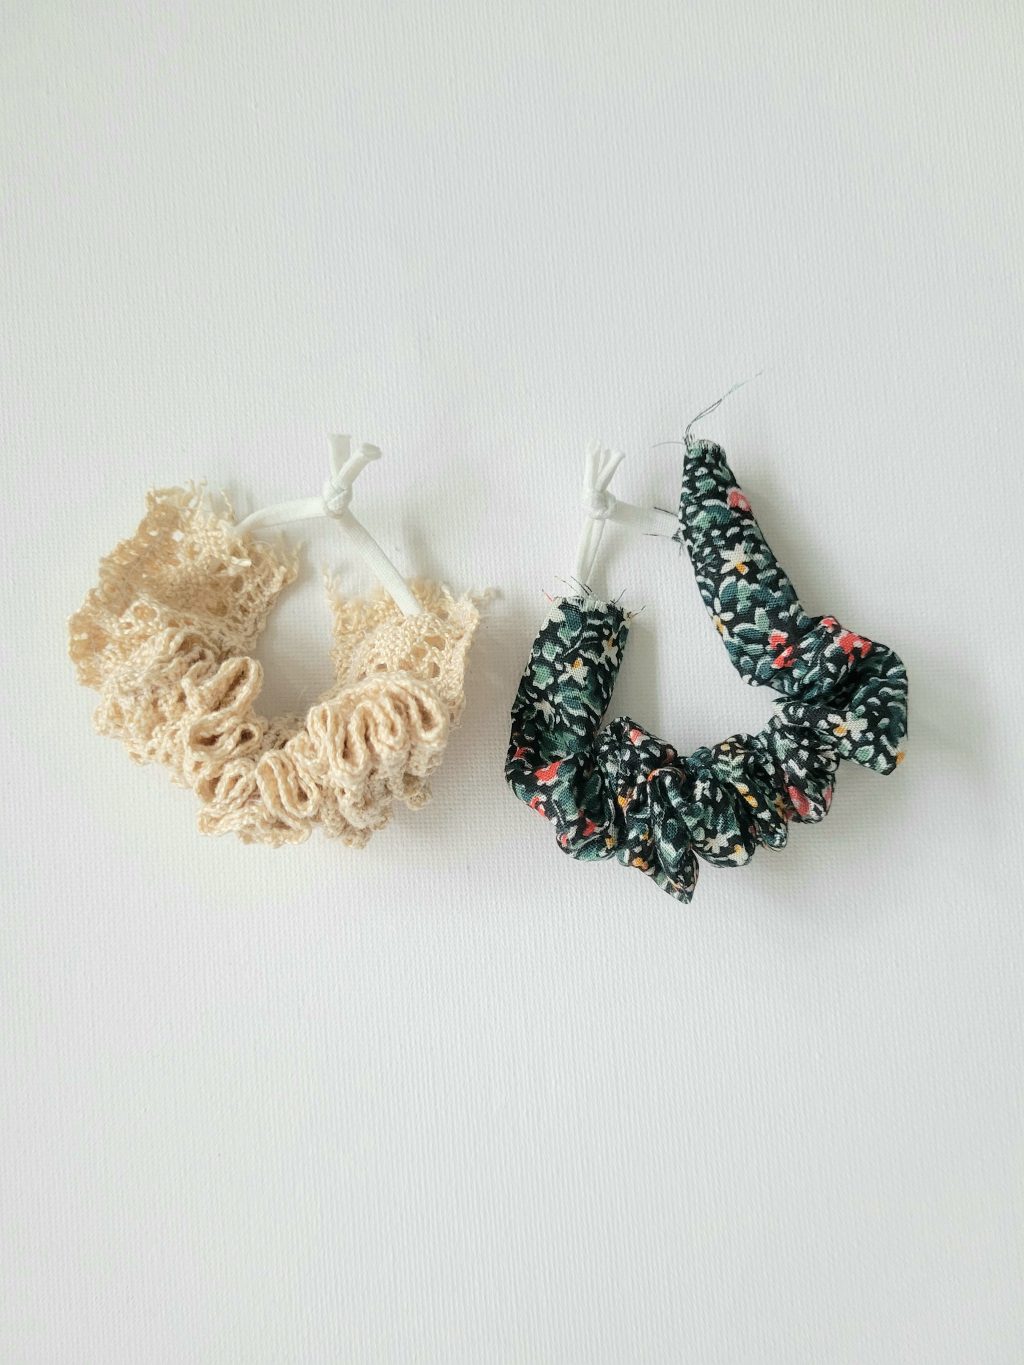
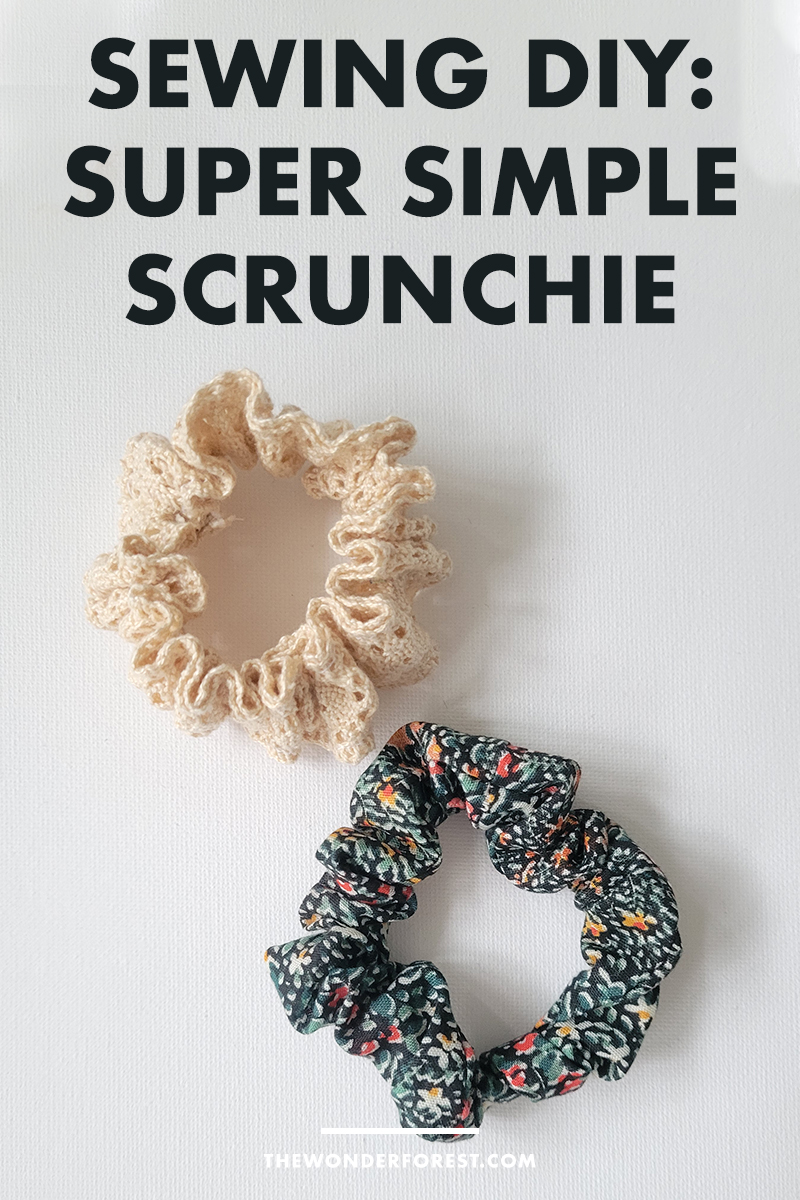
Today I’m going to walk you through a tutorial for making a simple DIY scrunchie using any leftover fabric you may have. I made two scrunchies, one with lace material and one with a patterned fabric.
Materials needed:
- 7 inch piece of elastic (or longer if you want it bigger to fit around your wrist, I measured 7 inches from my regular hair tie)
- Fabric 14” by 3”(length is double your elastic length)
- Safety pin
- Scissors
- Sewing machine
- Needle and thread
How to make a scrunchie
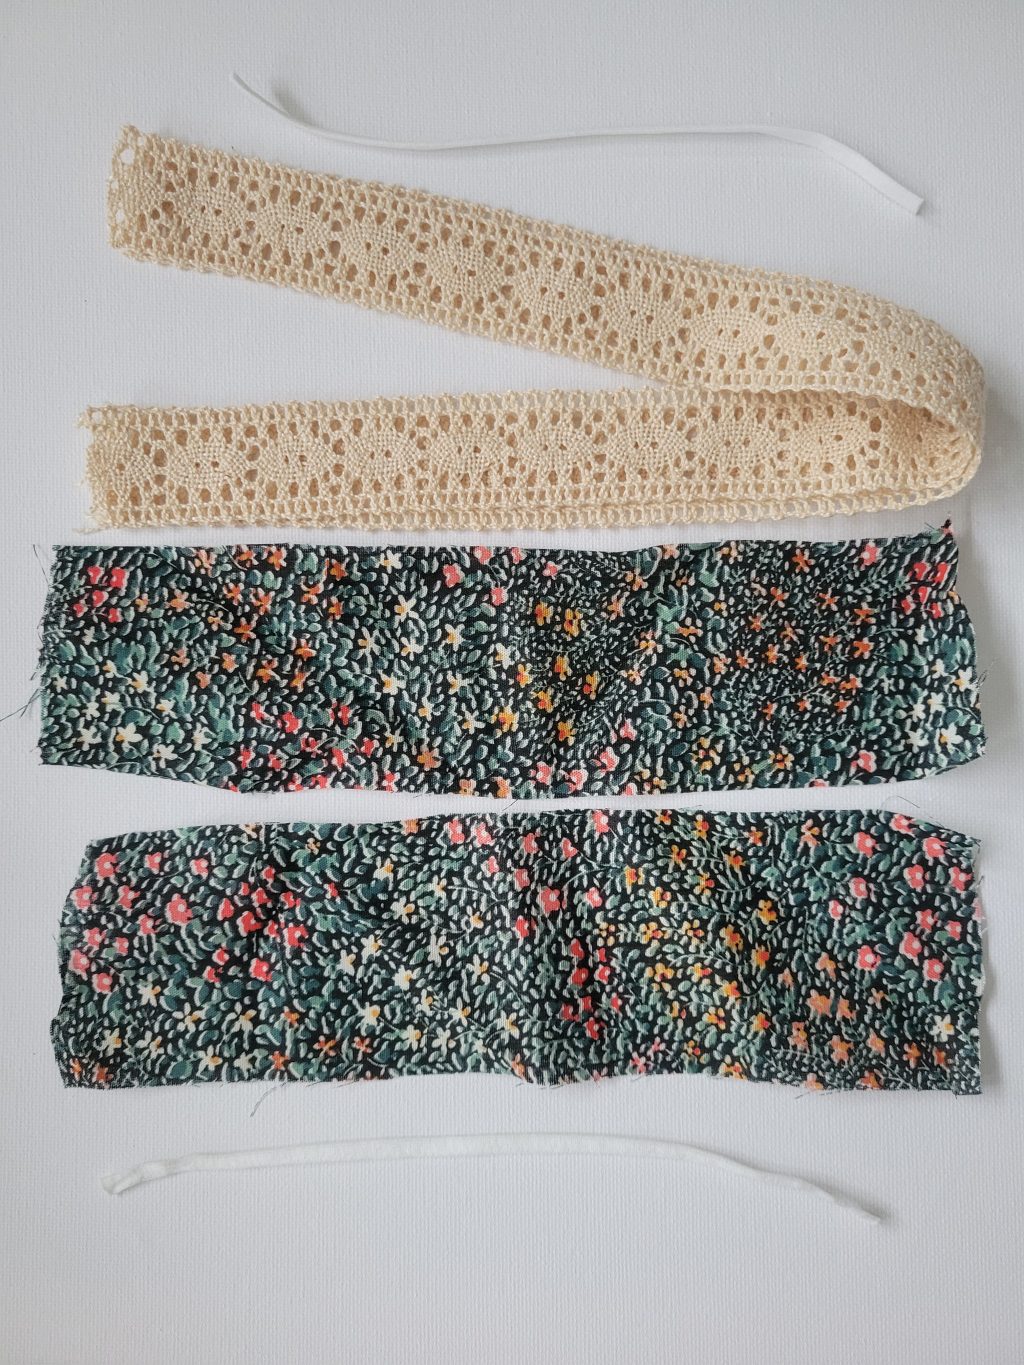
Begin by getting your fabric ready. I used two 7” by 3” piece of patterned fabric for one and two 14” by 1” piece of lace for the other one.
For the patterned piece, I had small pieces of fabric so I chose to cut two pieces to get up to the length of 14”. The joining seam really doesn’t matter because you won’t see it when the fabric is scrunched up.
The thickness of your fabric depends on the effect you like. The thicker you go, the more voluminous and big your scrunchie will be.
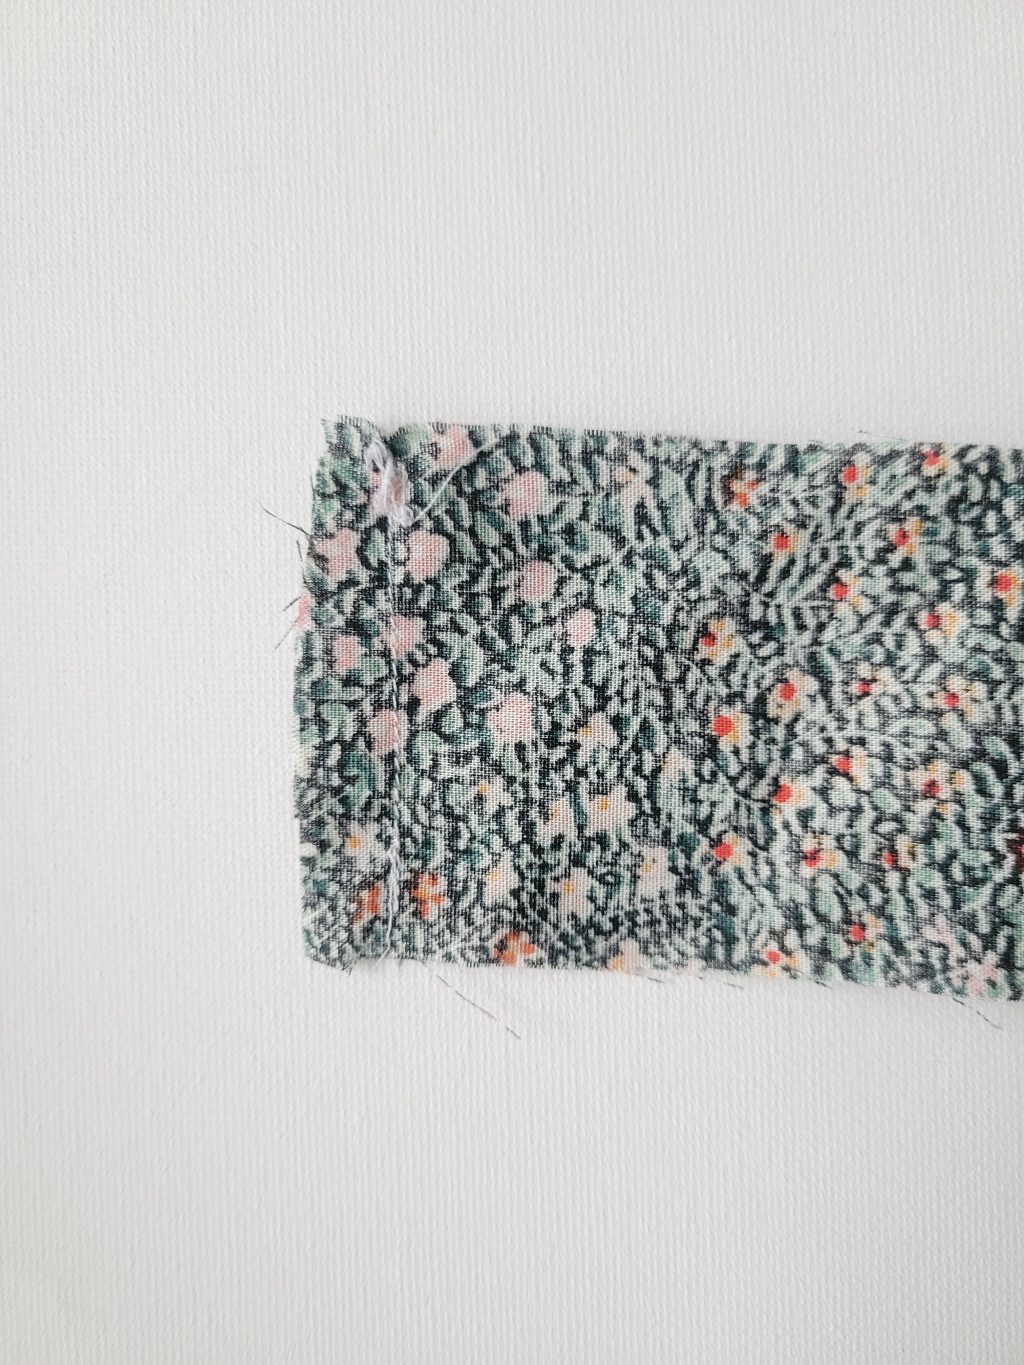
To connect two pieces of fabric together to make one long strip of patterned fabric, place the right sides together and sew the short end (see above photo). Now we are ready to make the tube.
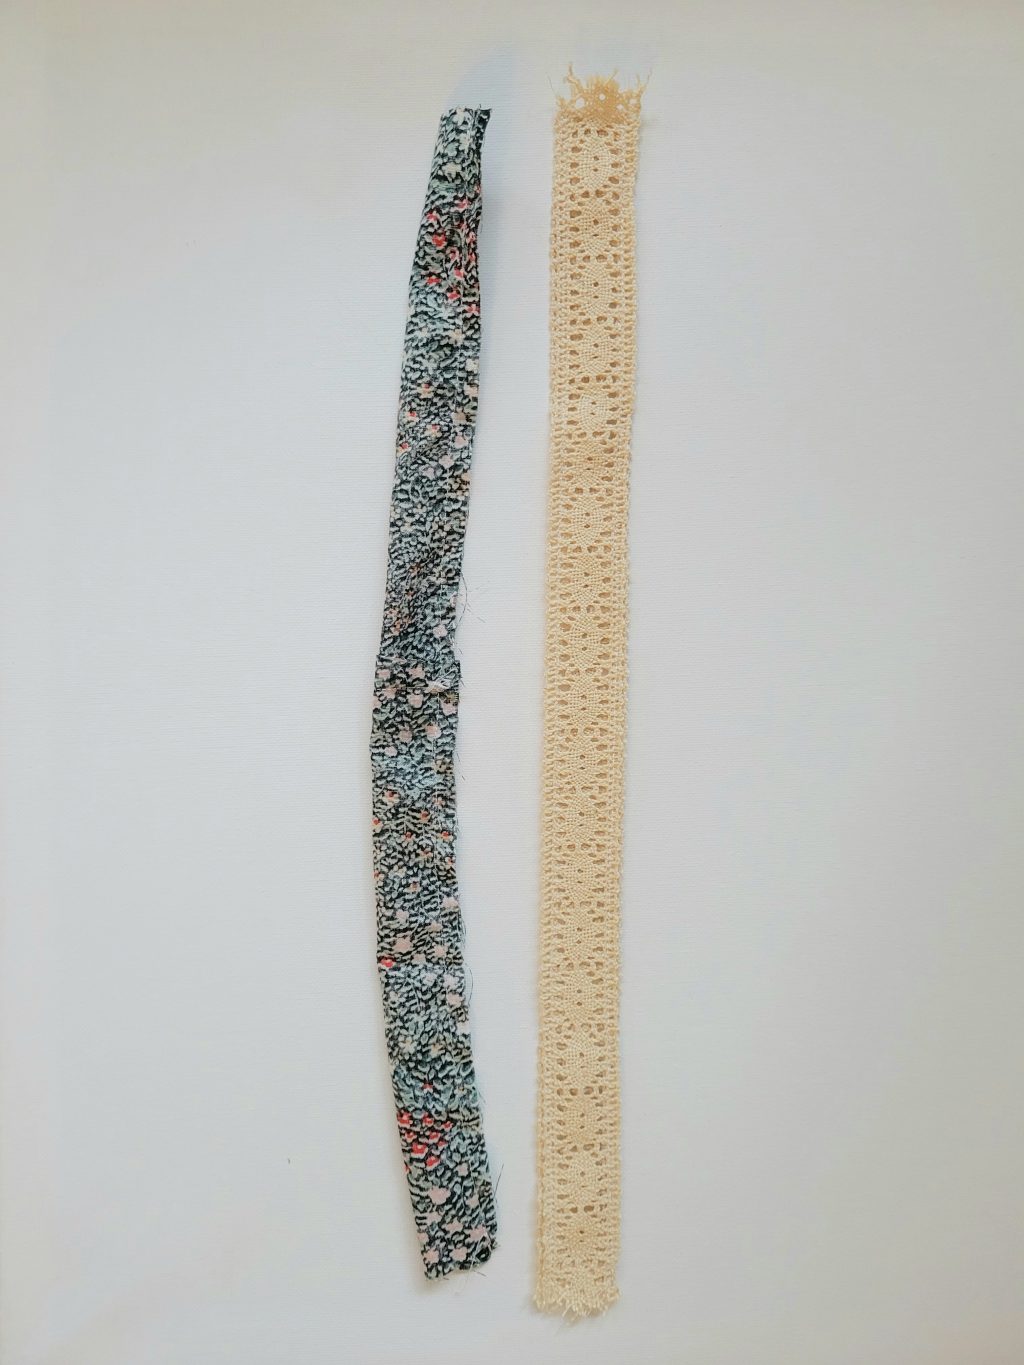
Fold the fabric in half horizontally so you now have a 14” by 1.5” piece with the right sides facing together. Then, sew across the entire length of the fabric with a 0.5 cm seam allowance.
I chose to have small seam allowance so it wouldn’t be too bulky when I put in the elastic. Now, attach a safety pin to one side and flip it in on itself so the right side of the fabric faces out.
For the lace scrunchie, I stacked the two pieces on top of each other and sewed on both edges. I decided to not flip it because I liked the edge of the lace.
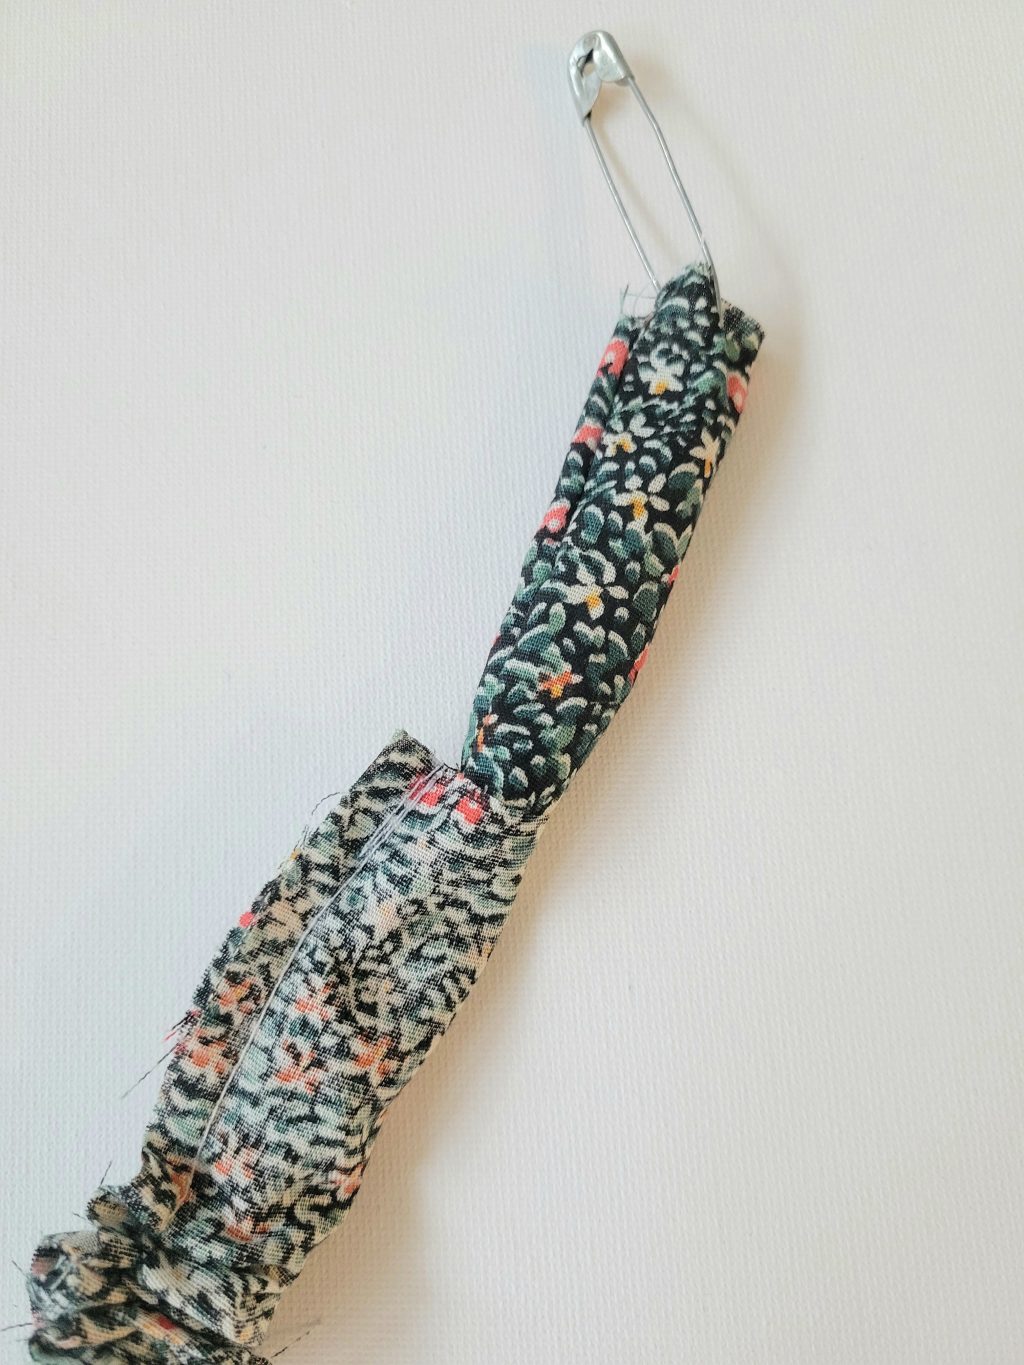
Now you will essentially have created a tube that your elastic will go inside. Thread the elastic inside by attaching the safety pin to one end first, then insert it into the fabric tube. Remember to hold one end of the elastic or it will disappear into the tube since it is longer. When you have both ends together, tie a knot.
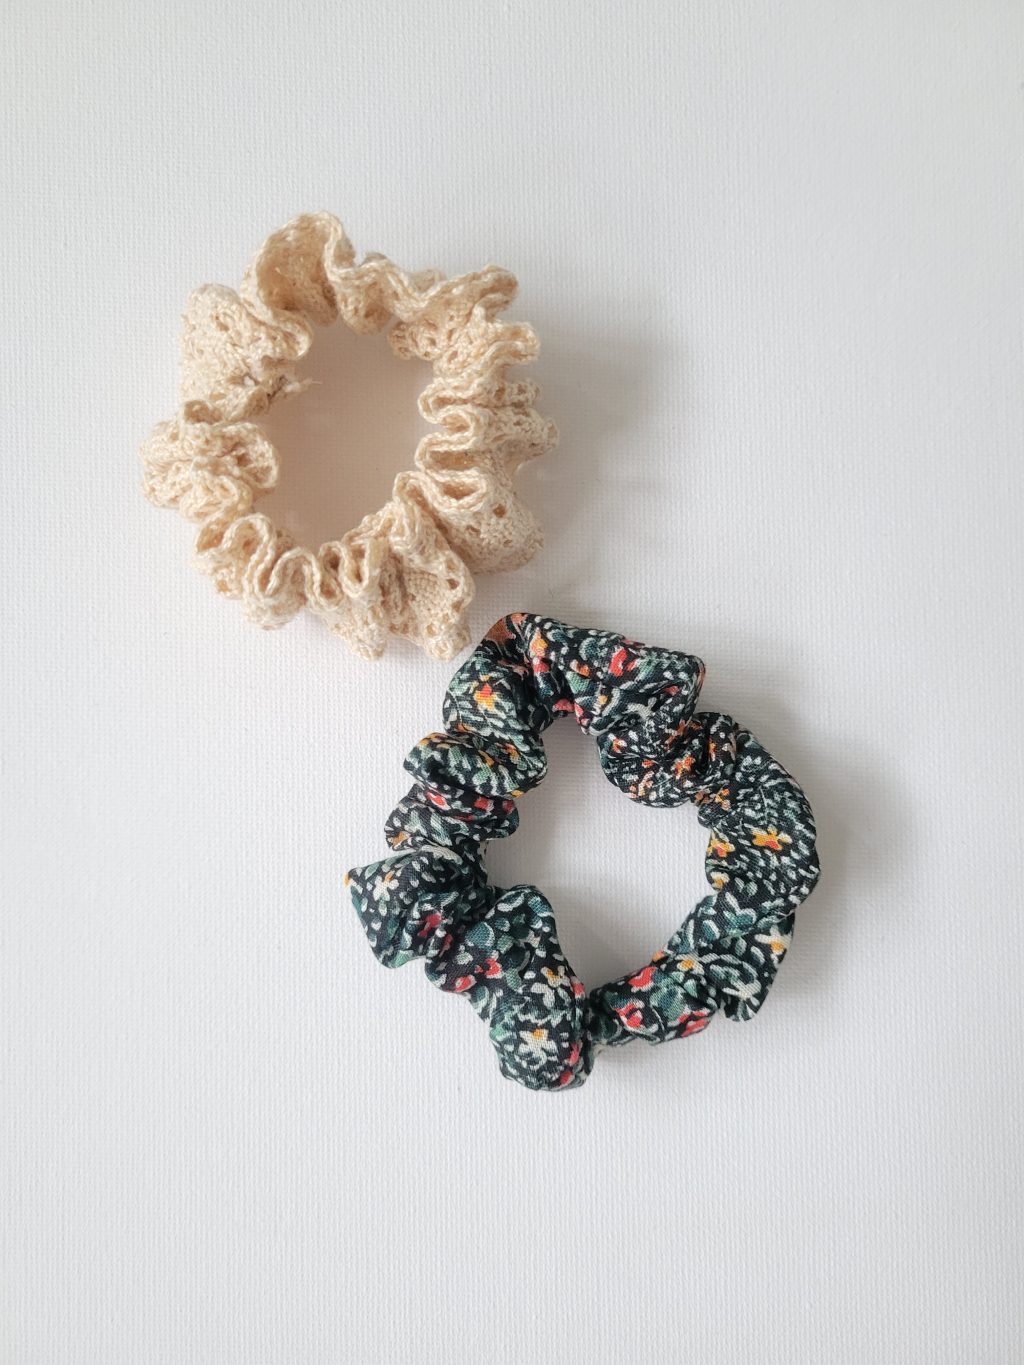
Sew the two open raw edges of the tube together with a needle and thread. I found it easier to use an invisible stitch to close up the edges. This doesn’t have to be perfect and it can be difficult when there is not a lot of material. However, it will still look great when you’re done because it will be hidden!
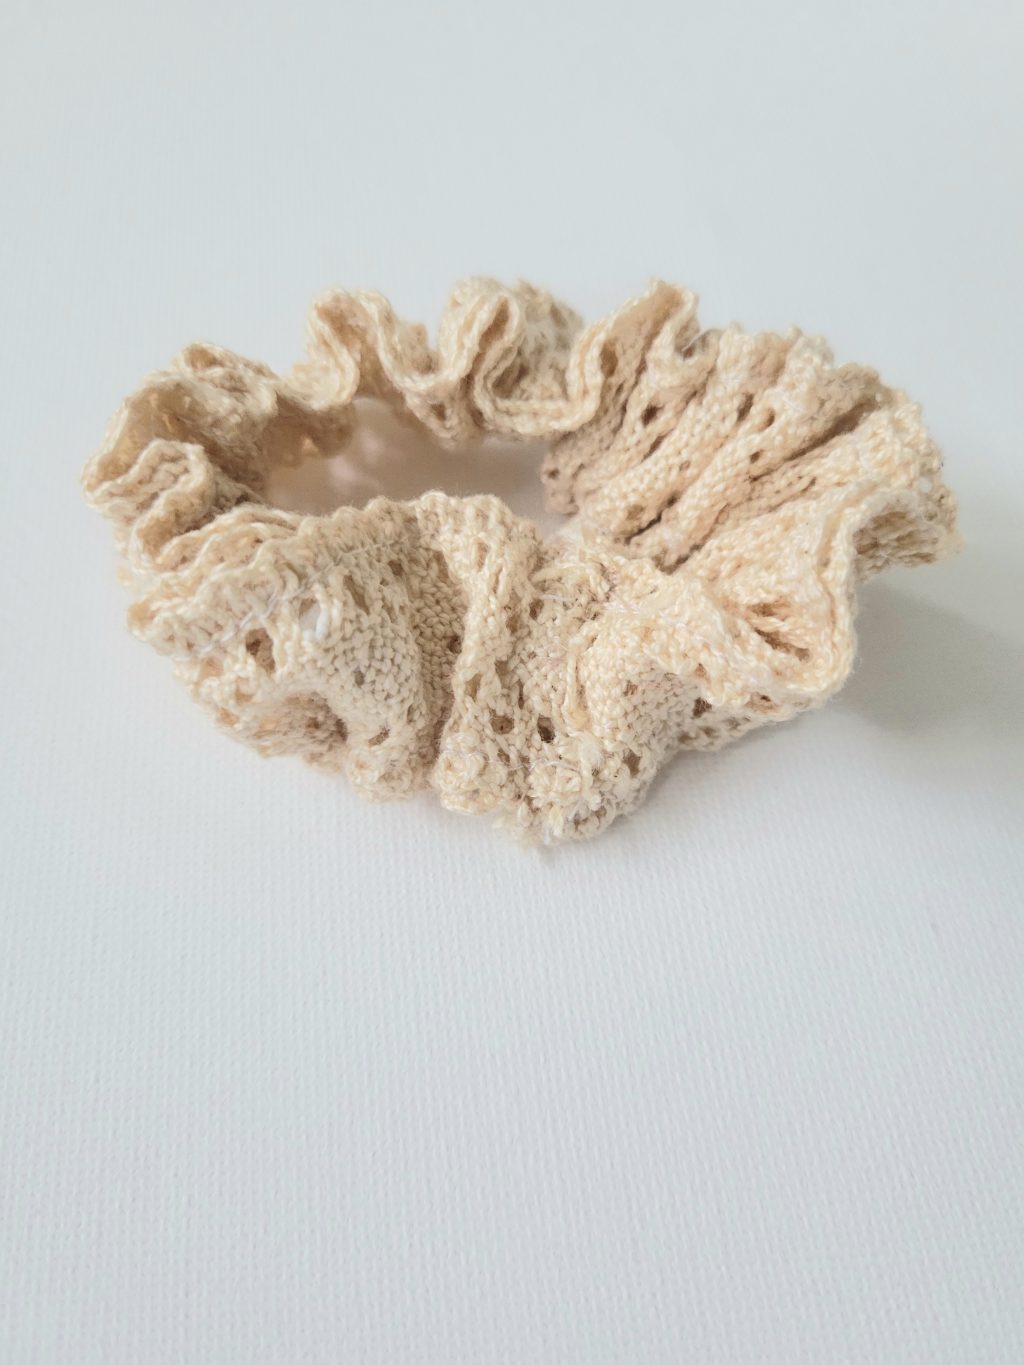
And that’s it! You can experiment with different types of fabric and widths for different effects. Just remember that your fabric needs to be double the length of your elastic or you won’t be able to stretch it when you’re finished!
PIN THIS:
Last Updated on