
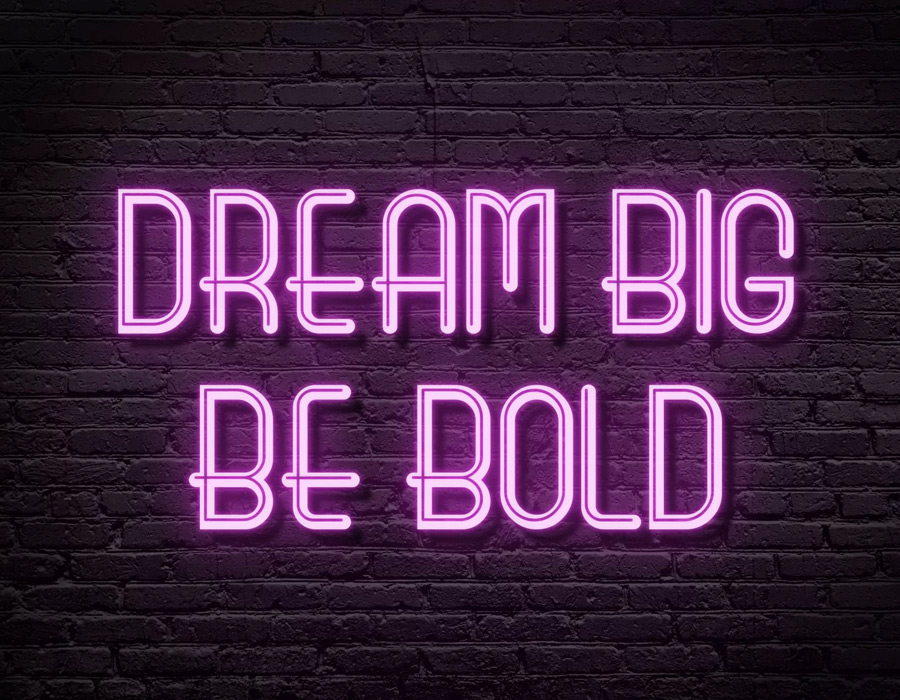
Do you want to create a fun, bright, and glowing neon sign in Procreate? Well, keep on reading! This tutorial is easy to follow and well suited to artists of all skill levels. What’s more – you can use your new skills on anything you draw in Procreate – you’re not limited to just text.
So, let’s get started.
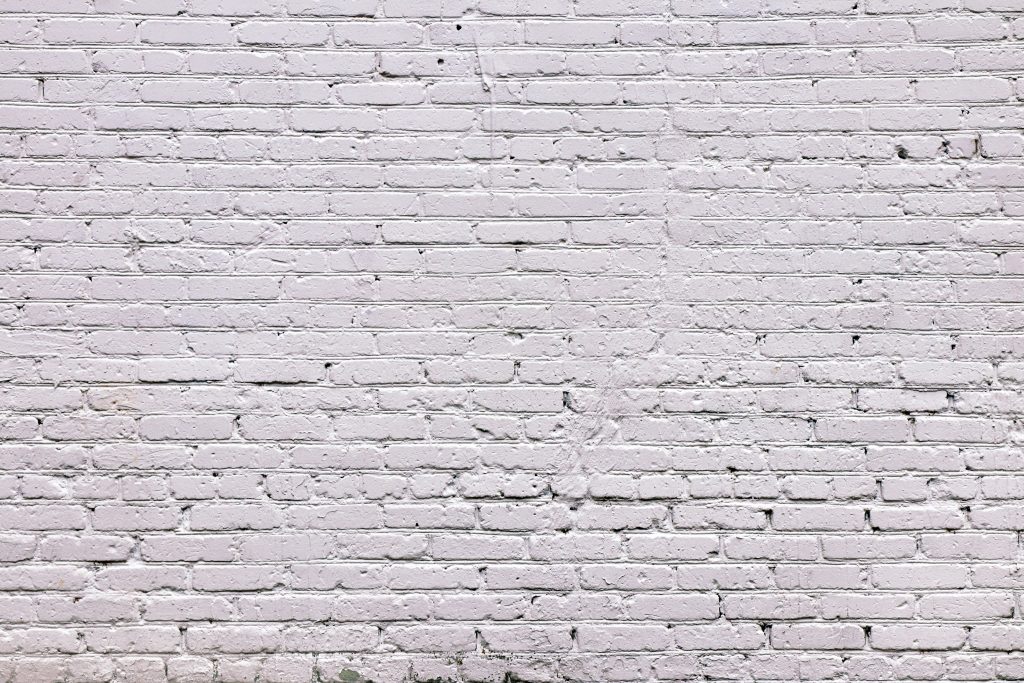
1. Find a photo of a brick wall
For this tutorial, I chose this photo by Marina from Pexels.
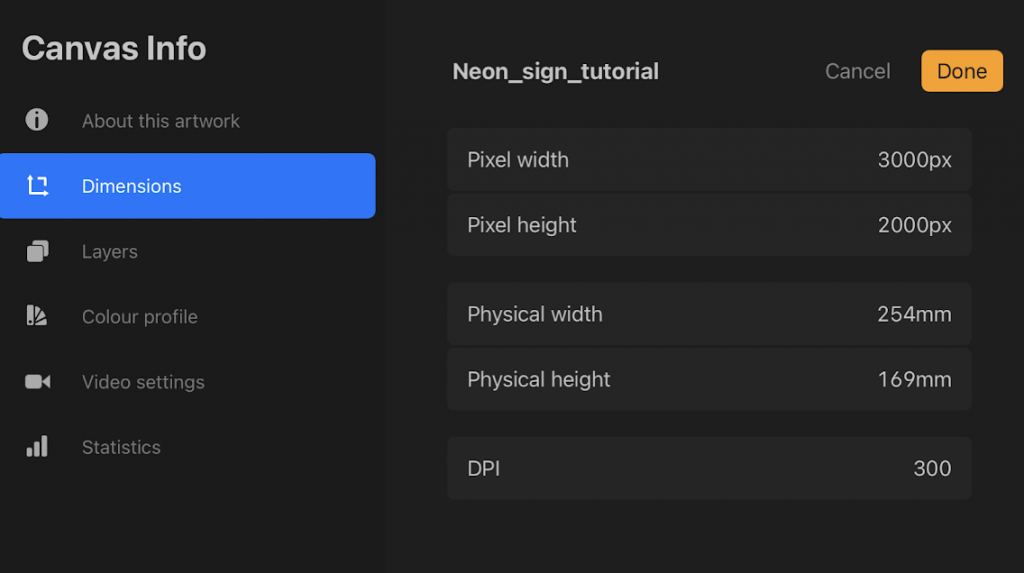
2. Set up your canvas
When you open Procreate, click the ‘Plus’ icon at the top right of your screen to open a new project. Set your canvas to 3000px by 2000px
3. Load your photo
To insert your photo in Procreate, click the wrench icon at the top left (next to ‘Gallery’), select ‘Add’, then ‘Insert a photo’. Find and click on your photo to insert it.
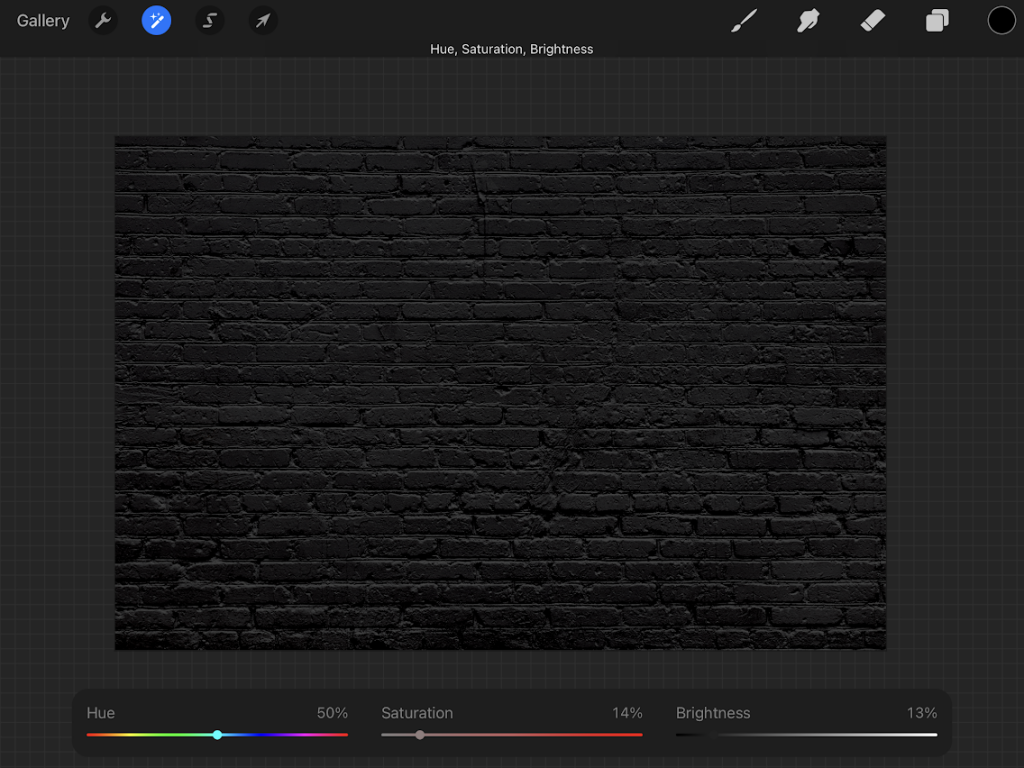
4. Prepare the photo
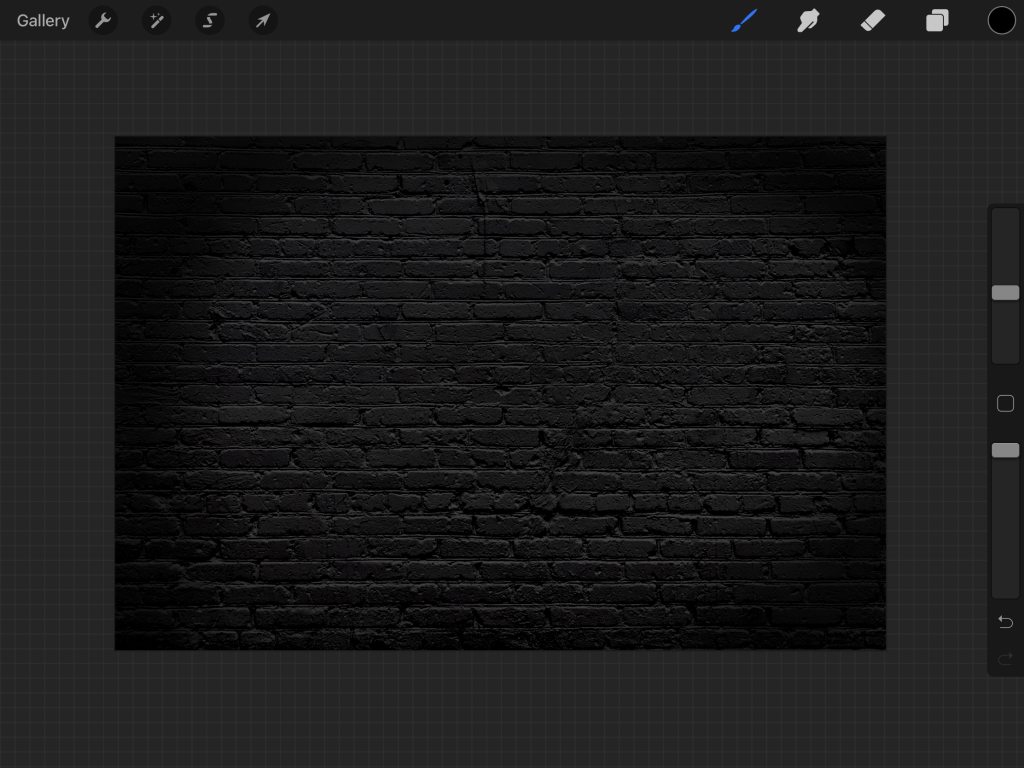
Now we can start the fun part! First, let’s darken the wall to really make our neon sign pop later on. To do this, click the magic wand icon at the top left (next to the wrench), and click ‘Hue, Saturation, Brightness’. Turn down both the saturation and brightness to 14%.
Now we’ll darken the edges of the photo. Create a new layer (click the layer icon at the top right of your screen, and then the plus symbol).
Click the brush symbol at the top of your screen, and scroll down the menu on the left until you find the ‘Airbrushing’ menu. Select the ‘Soft Brush’.
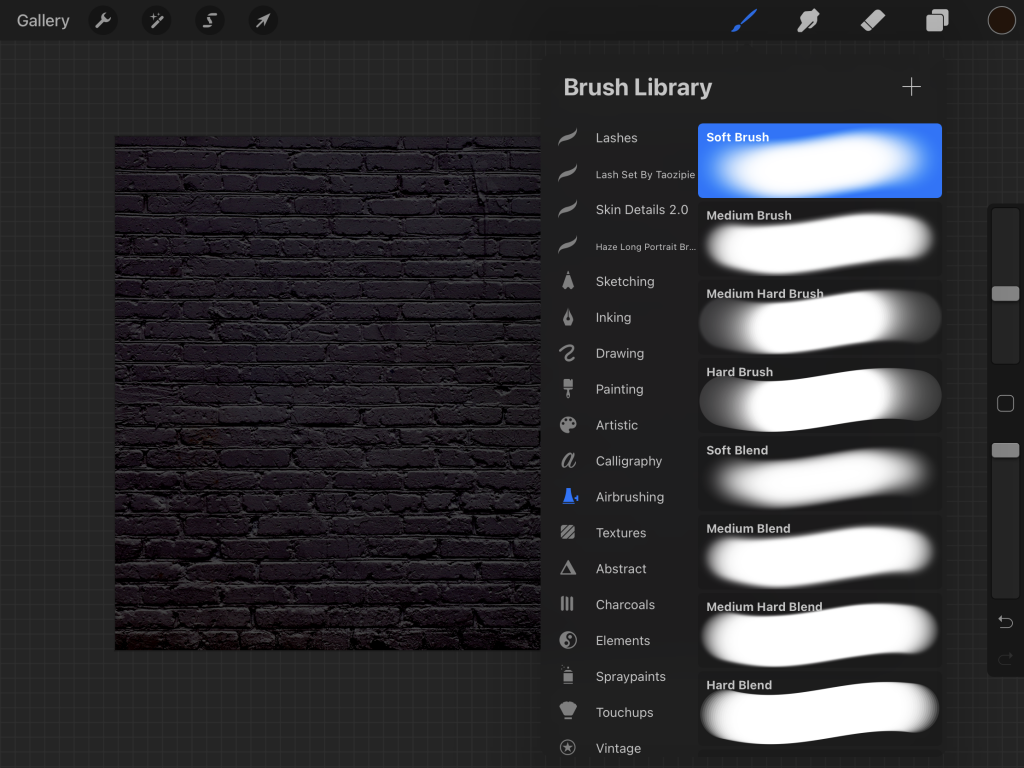
Set the colour to black (click the circle at the top right of your screen. You can choose a colour from the ‘Disc’, or by selecting ‘Value’ at the bottom of the panel and inputting ‘#000000’ into the hexadecimal text box).
Use the brush toggles to make your brush size 18%. Gently paint around the edges of the photo to darken it. You should end up with something like the below.
Add text
Click the wrench icon at the top left of your screen and select ‘Add text’. You can customize your writing however you like; however, if you’d like to follow along with me, see the photo below for the settings I used:
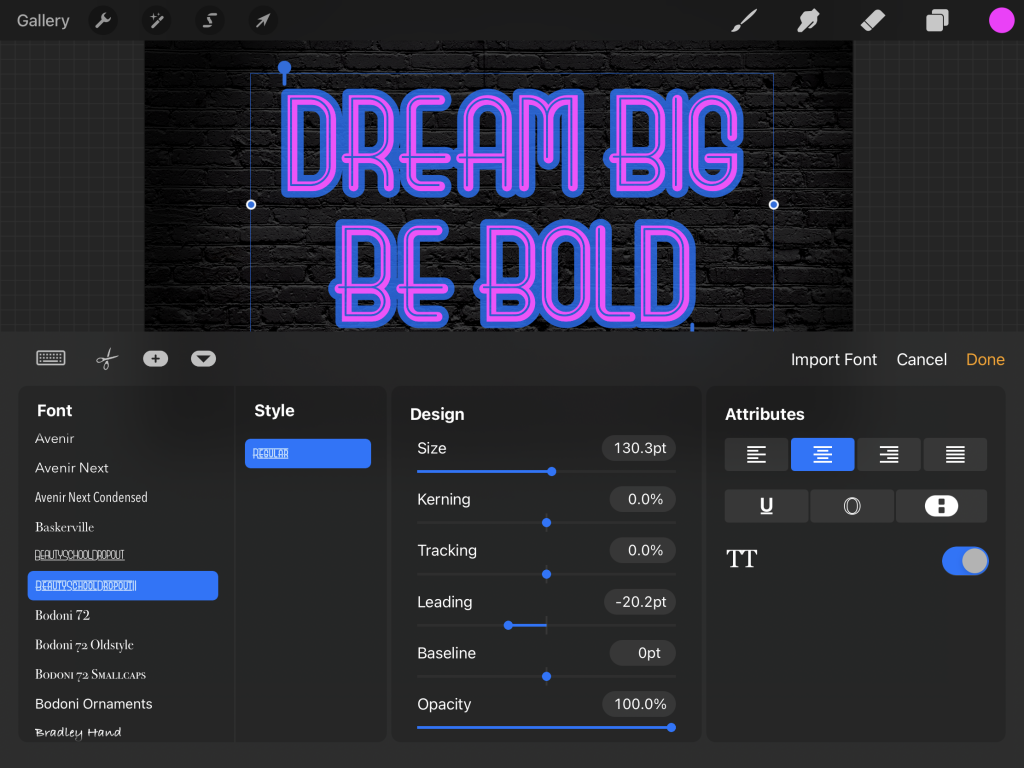
I used this font, which you can download for free, and the colour I used was: #ff45ff. Once you’re happy with the writing, move it around on the screen until you’re also satisfied with the positioning.
Time to glow
Duplicate your text layer four times. To do this, open the layer panel, select the text layer, and swipe it to the left. Select ‘Duplicate’ and repeat.
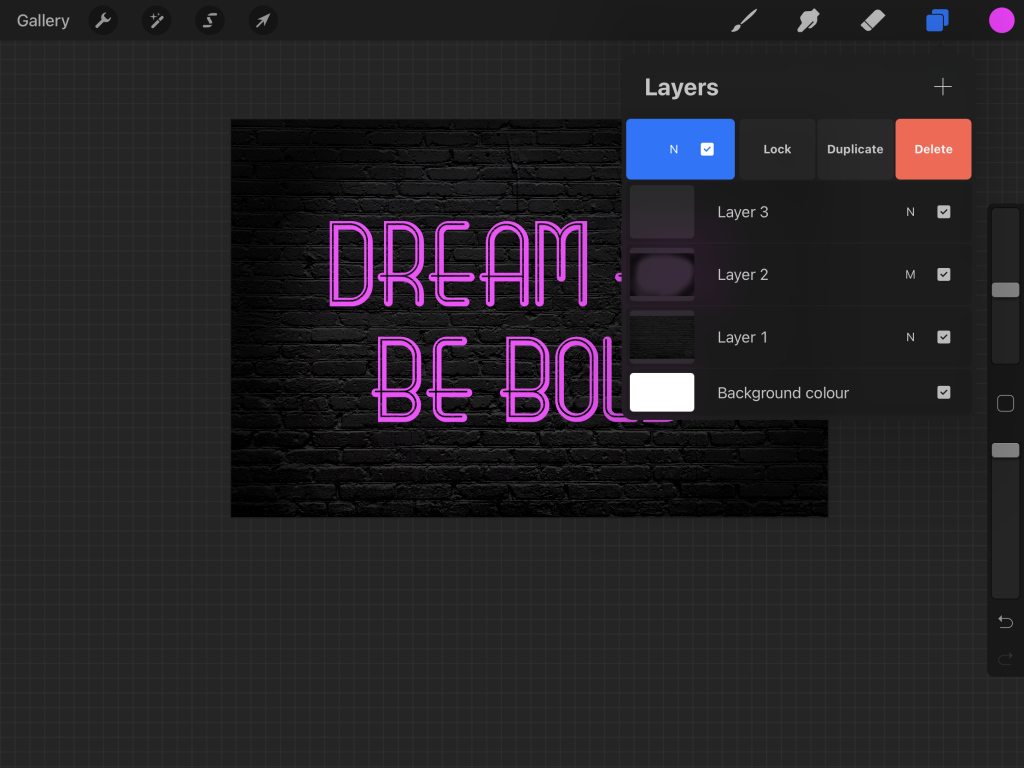
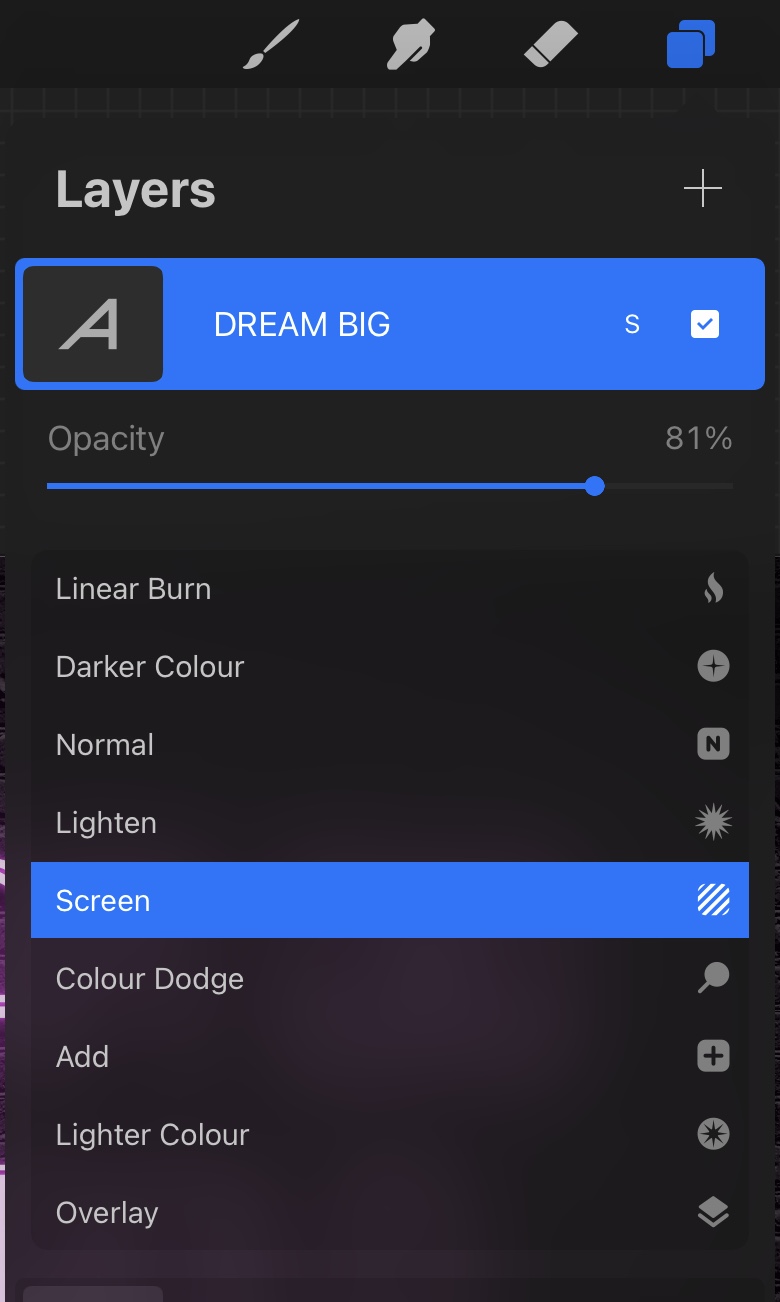
Select your top layer, and change the colour at the top right of your screen to white (either choose from the Disc or enter ‘#ffffff’ into the hexadecimal text box). The text on this layer should now be white. Lower the layer’s opacity by clicking the letter ‘N’ and sliding the opacity down to 80%. Change the blend mode to ‘Screen’ by scrolling down through the options.
Now, select the second layer from the top. Click the magic wand button, and select ‘Gaussian Blur’, then ‘layer’. Slide your finger/pen to the right to blur the layer 20%.
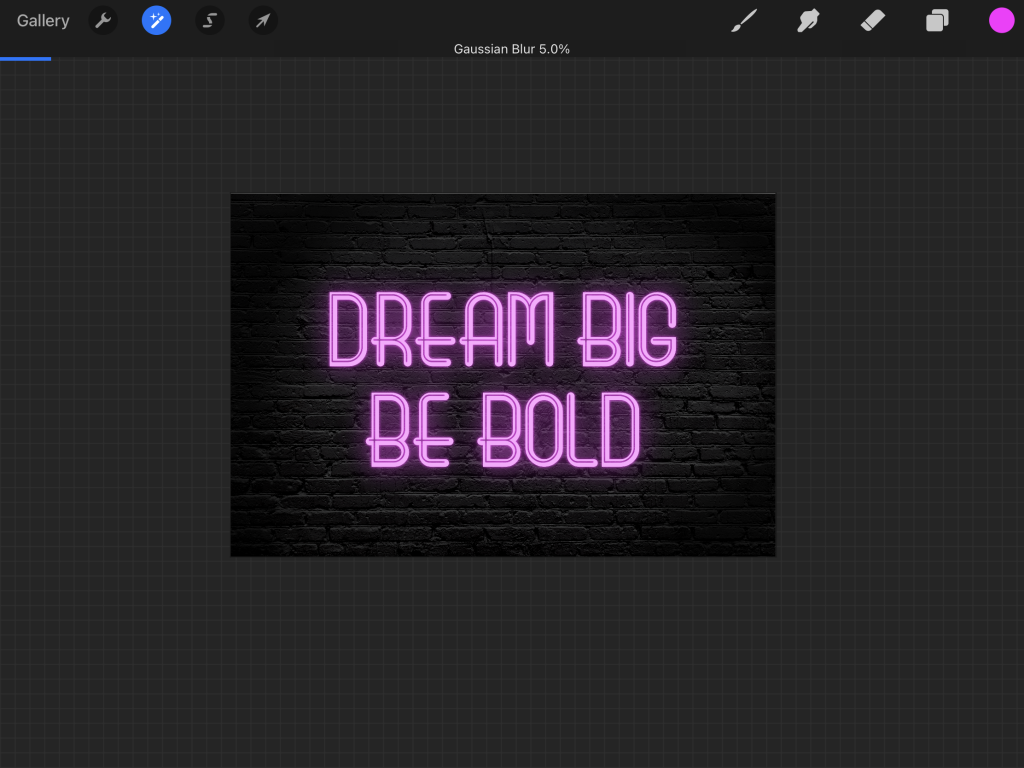
Now, select the third layer from the top. Follow the steps above, but only blur this layer to 5%.
It’s starting to come along! We need to add a shadow now to give our sign some depth. To do this, click on the fourth text layer. Change the colour to black (enter ‘#000000’ into the hexadecimal value box).
Use the gaussian blur again to blur this layer to 4.5%.
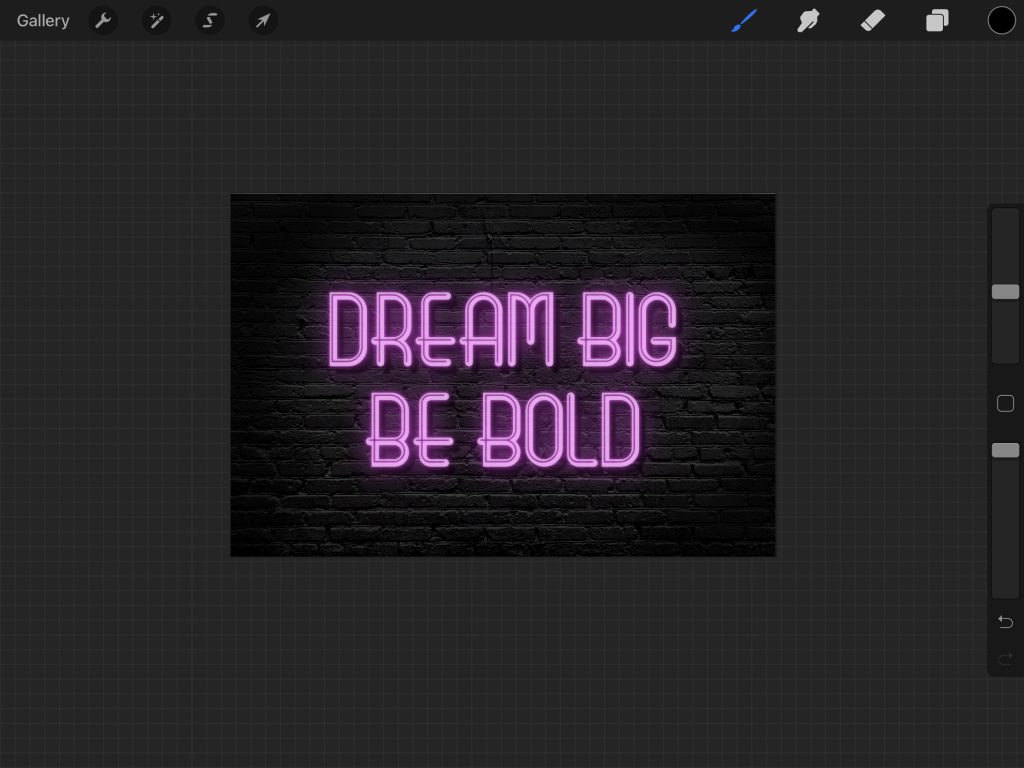
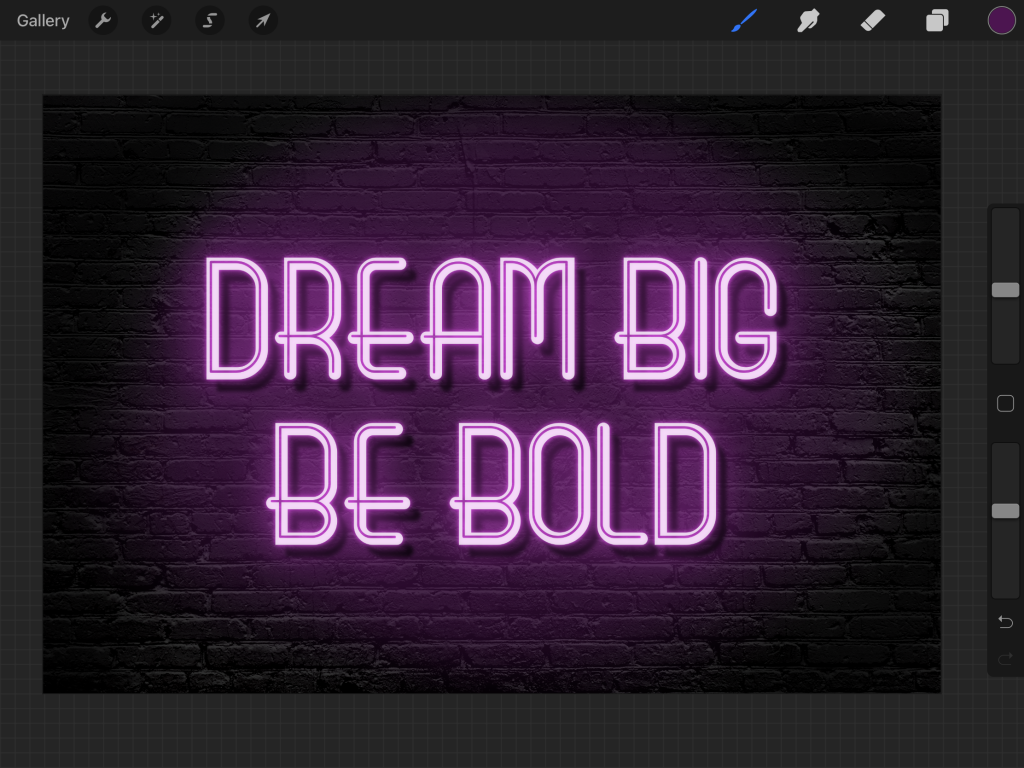
Now, select the arrow icon at the top of your screen. Click and hold the image to move this layer to the right and down slightly to give our sign a shadow. Your image should be looking like this:
Neon Sign Finishing touches
We’re almost there! We just need to add some pink light to the bricks around our sign.
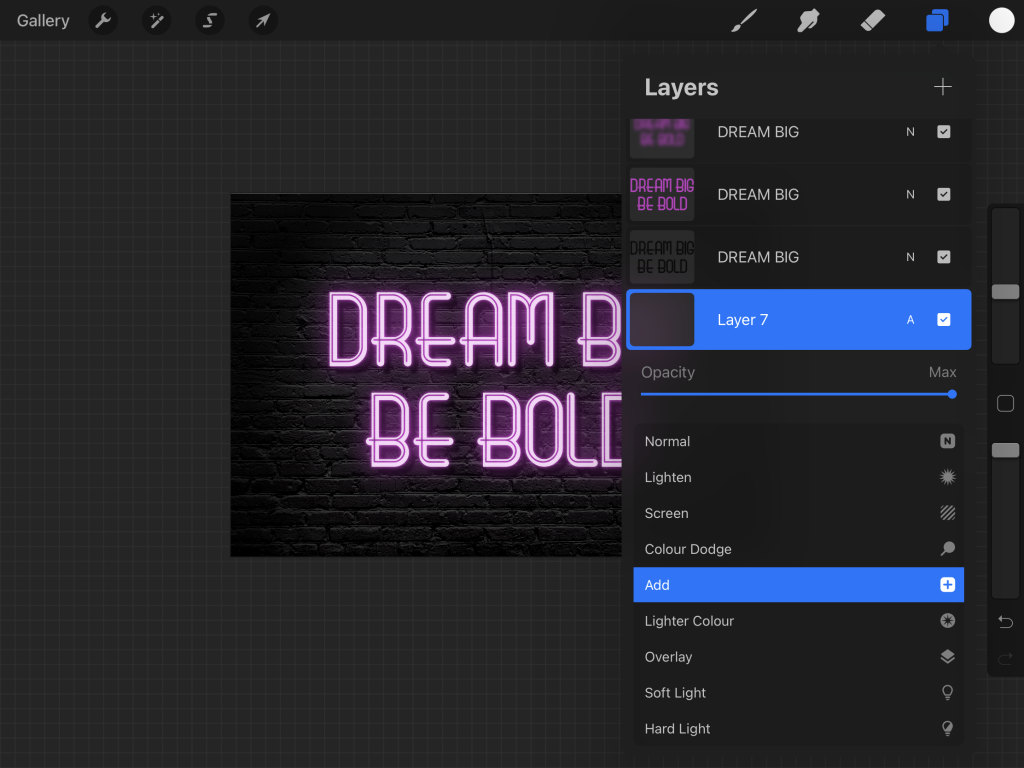
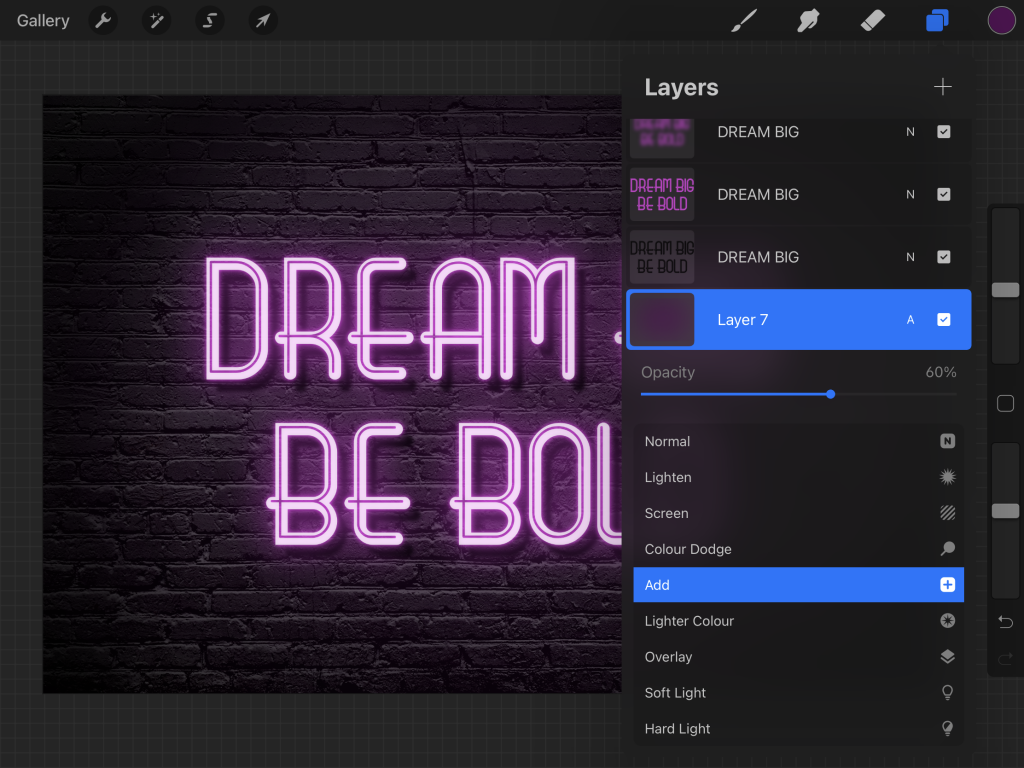
Make a new layer below the text layers (click on ‘Layer 2’, then press the plus icon to add a layer above it). Change the opacity to 60% and the blend mode to ‘Add’.
Click the brush icon. The soft brush should still be selected.
Choose a colour slightly darker than the colour of your sign. I used ‘#530f53’.
Change the brush size to 20% and opacity to 55%.
Roughly draw around your sign and on the bricks around it. It will look messy! Something like the below:
Ready for the magic to happen? Select the magic wand icon, choose ‘Gaussian Blur’, and blur the whole layer to 80%. Then, go into the layer menu, reduce the opacity of the layer to 60%, and change the blend mode to ‘Add’.
Ta-Da! I hope you enjoyed this tutorial. Feel free to share your creations on Instagram and tag @wonderforest so we can see!

PIN THIS:
Last Updated on