I recently discovered this nail trick, and I seriously think it’s going to revolutionize my nail art from now on. If you’re not the best at painting your nails with a steady hand, why not just make your own nail wraps and forget about trying to master the brush!?
All you need are some polishes and a plastic bag. You can also use waxed paper or anything with a glossy surface.
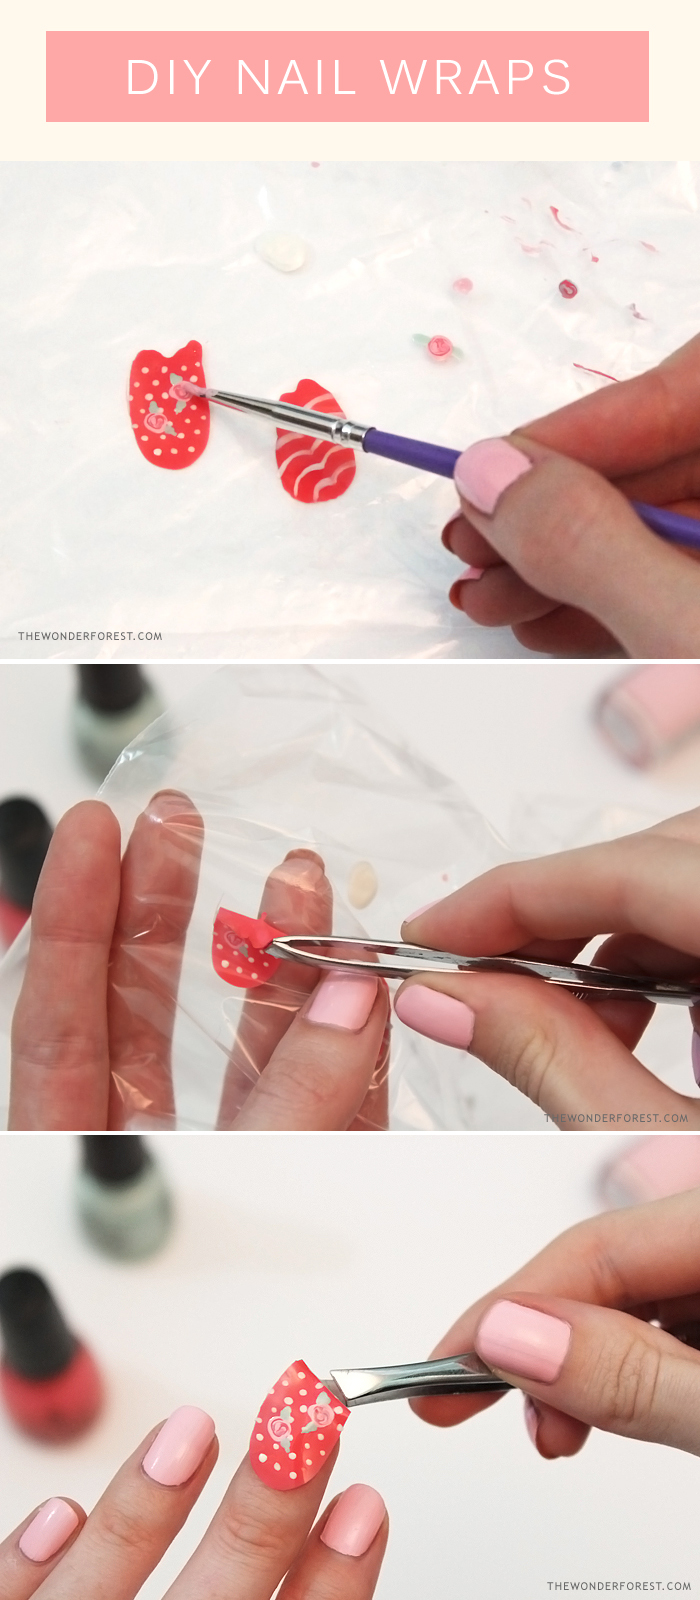
On your plastic, paint a general shape of a nail. Try to keep the polish thick so it’s easier to peel off later.
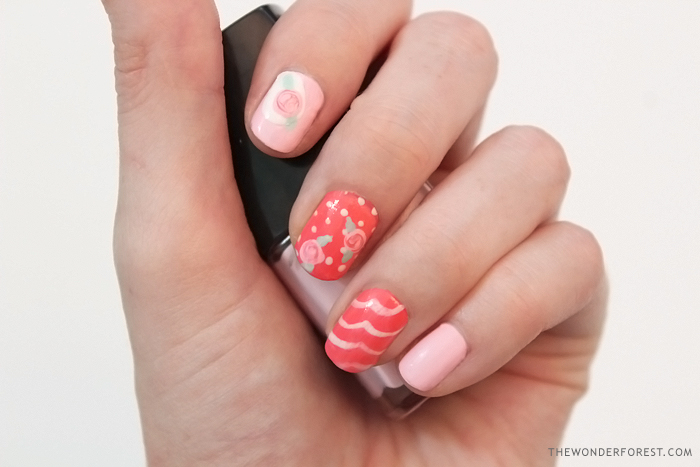
Let that dry and add your own nail art. I decided on some easy polka dots and flowers. You’ll need to let your finished creations dry for about an hour or so.
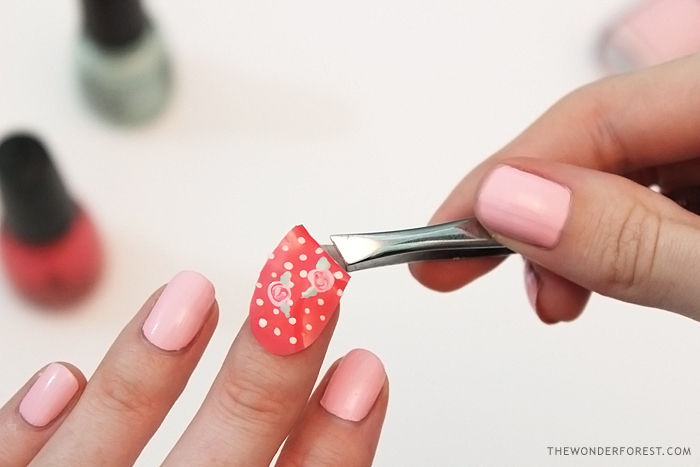
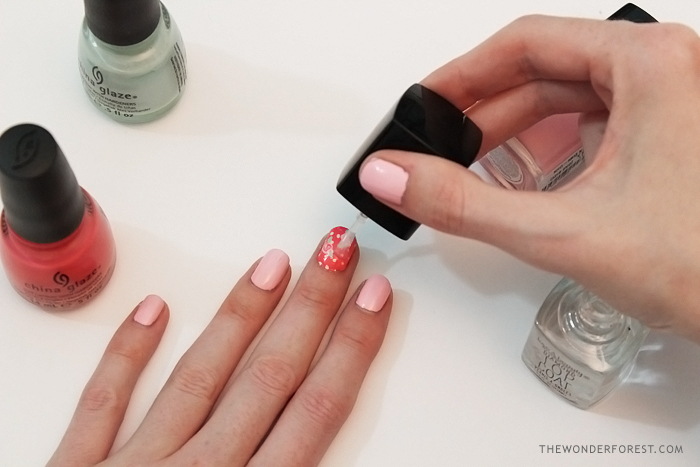
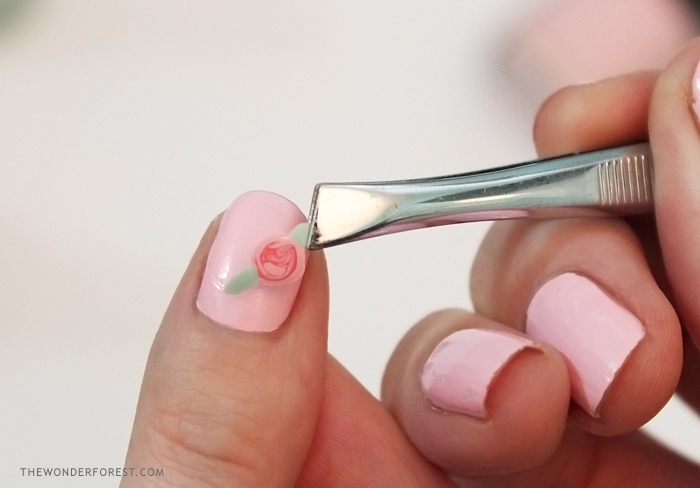
Paint your nails a solid colour. Once dry, grab some tweezers and gently peel the nail sticker off of the plastic. It should come off fairly easily. Position on your nail.
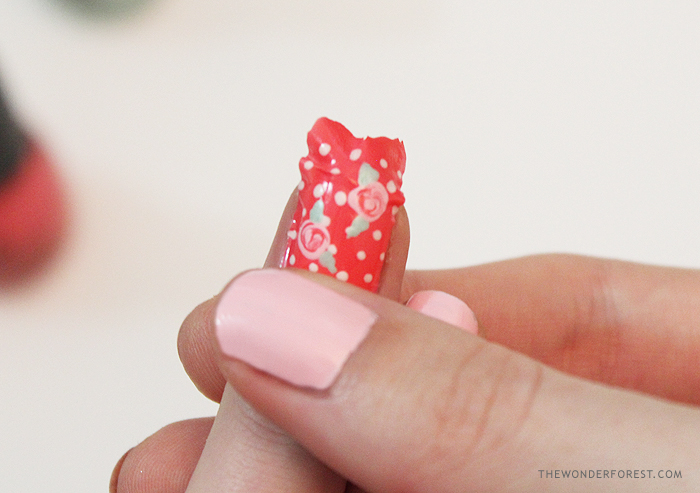
Using your finger or a nail tool, press the design onto your nail and smooth it out… just like you would with a store-bought nail wrap!
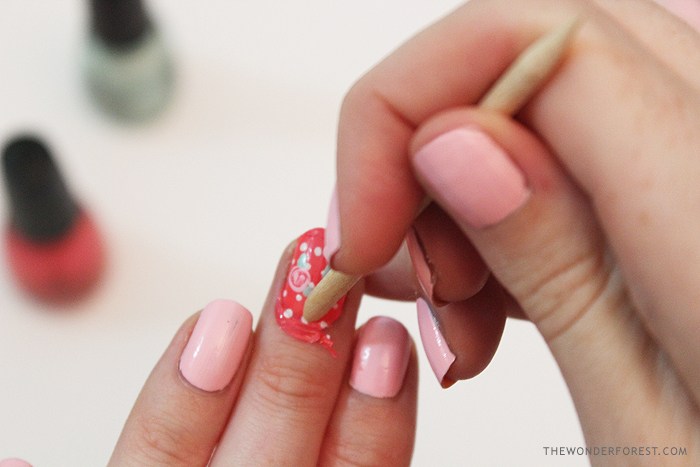
If you need to, you can “cut” off the excess wrap with a wooden nail tool or just use some nail polish remover on a q-tip or brush.
Finish by applying a clear top coat, and you’re done!
You can also create cute little singular decals like this flower and place them wherever you like!
Now you have no excuses for not being able to paint your nails with cute designs!
For more of my nail designs click here!
Last Updated on


I tried this – absolutely amazing! my nail wraps lasted 2 weeks but could have gone longer but i was bored of the pattern. the possibilities are endless!
Such a great idea! I’ll have to try it once my nails grow out again…Check out my website for awesome nail wrap designs! http://www.naturalfreshlook.com