
With little Wonder baby on the way, I’ve been DIY-ing up a storm! One of my latest projects was this custom macrame style mobile with a “sunshine and rainbows” theme.
I had seen these little yarn-wrapped woven rainbow wall hangings and decorations all over the place and thought that they couldn’t be that hard to make. And guess what… they really aren’t!
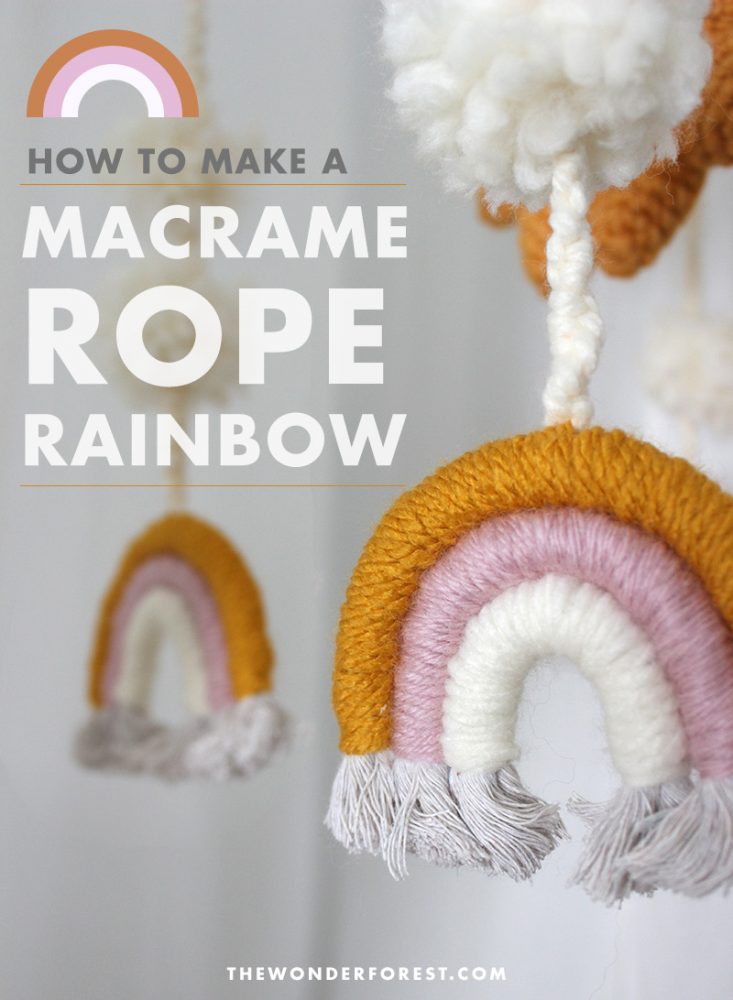
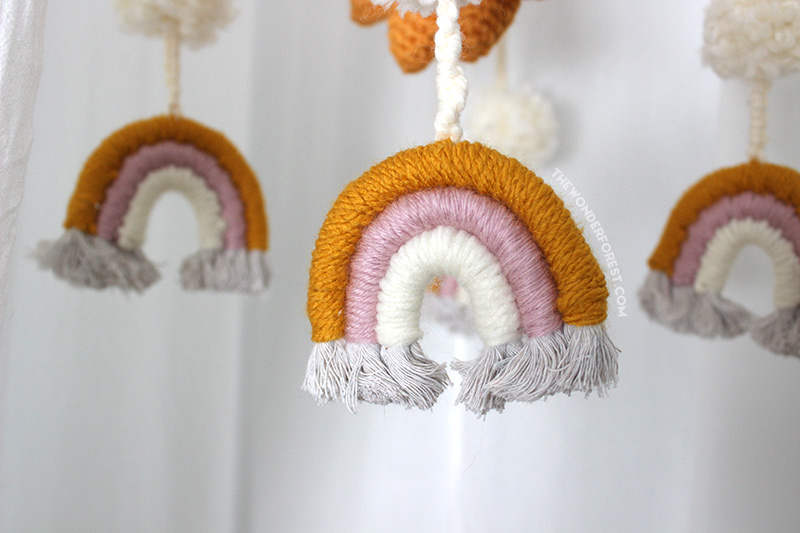
I opted to create a handful of little mini DIY macrame rainbow ornaments to hang from the mobile and I am so happy with how it turned out.
The best part about this project is that you can make yours into a rope rainbow wall hanging to match your existing decor, add additional layers of stripes, or make it on a much larger scale!
Whatever you choose to do, the method is pretty much the same as the one I am going to share with you.
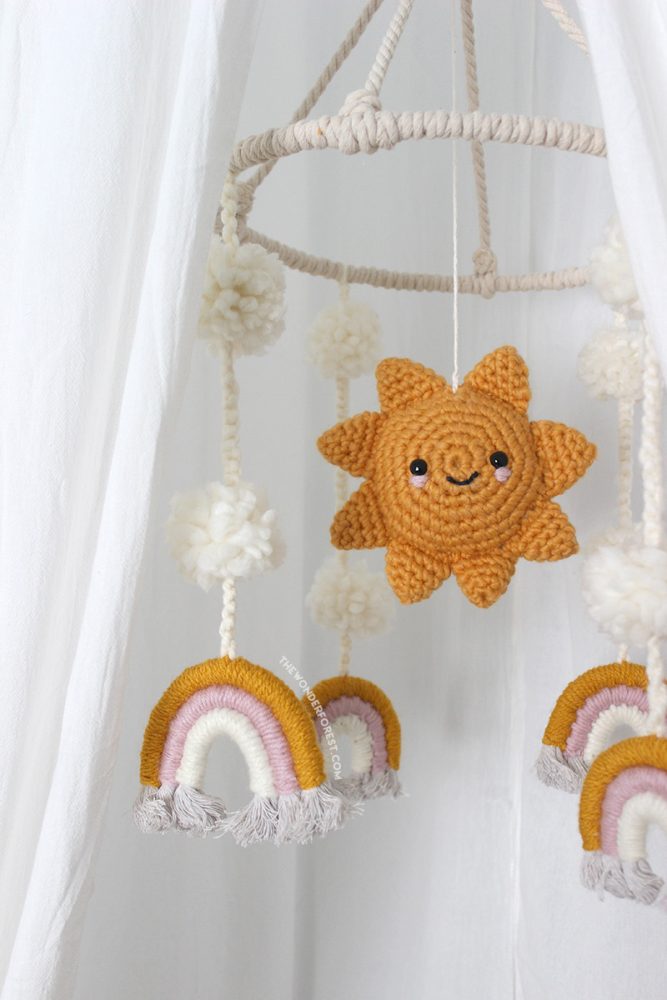
The mobile I made also showcases some handmade pom poms and a cute little smiling sunshine that I crocheted.
The cost for this project was pretty much zero because I already had the supplies on hand.
But in case you want to try to make some cute macrame rope rainbows yourself, here are the supplies you will need…
SUPPLIES:
- 3 colours of yarn of your choice
- Cotton rope (I used 1/2 inch from the Dollar Store)
- Scissors
- Thin wire or floral wire
- Thick needle/darning needle
How to make a Rope Rainbow Wall Hanging
I filmed the process of creating one of these mini rainbows below. Click here to watch or press play below! (p.s. be sure to subscribe for more DIYs!).
You can follow the steps outlined below as well.
Step-by-step macrame rope rainbow tutorial
I’ve outlined the steps to creating this woven rope rainbow below:
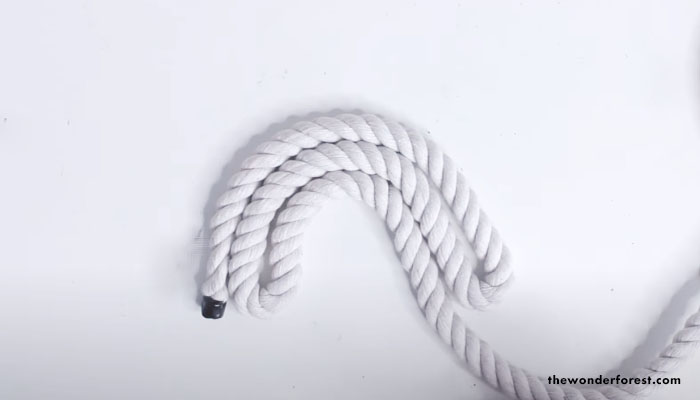
1. Start by bending your rope into a three-tiered rainbow shape to obtain the size you want.
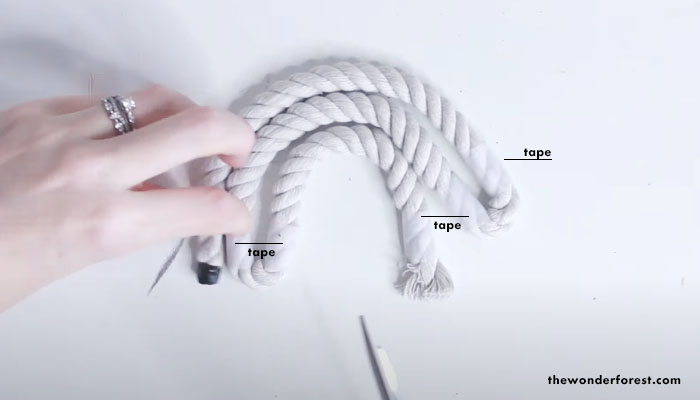
2. Using some tape, wrap it around the tops of each bend as well as the ends of the rope. This will help keep the rope from unraveling as you cut the rope and work.
3. Cut the rope in the center of each bend so you end up with three individual pieces of rope.
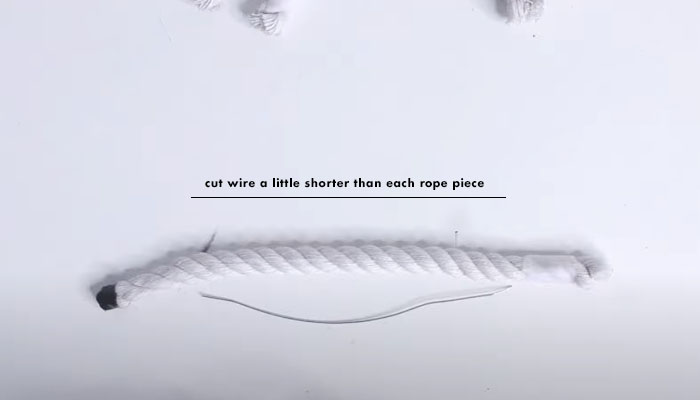
4. For each piece of rope, cut a piece of wire a little bit shorter than the rope on each end.
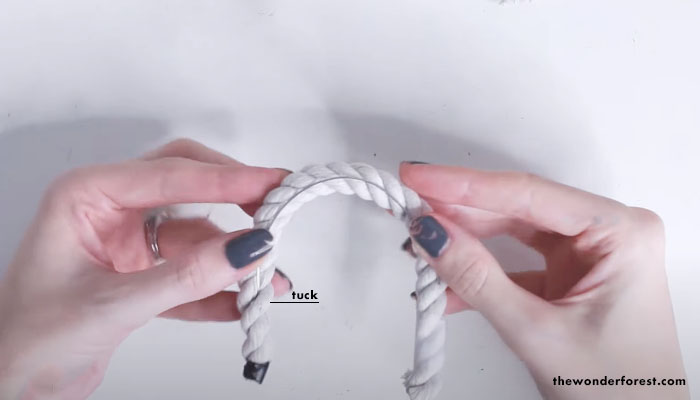
5. Bend the wire into an arch and tuck one end (your starting end) into the rope so it doesn’t poke out.
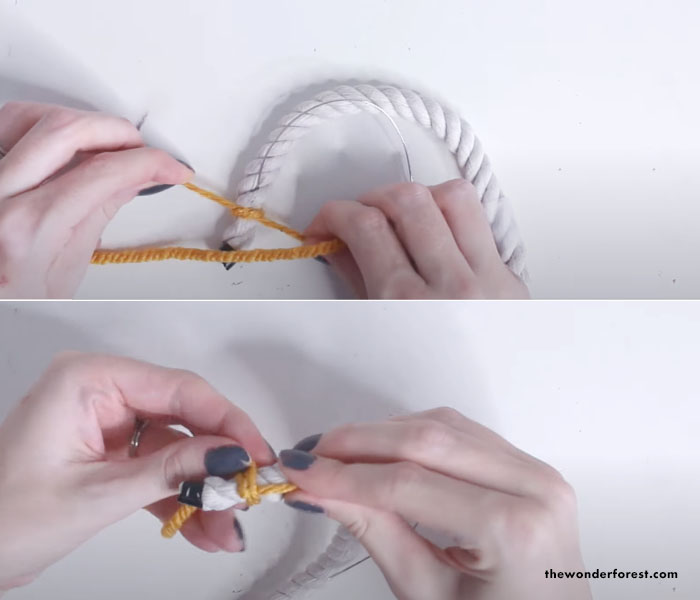
6. Tie your first colour of yarn around the start of your rope rainbow with a knot, leaving about an inch of the rope bare. Hold the end of the knot tight to the rope and begin wrapping the yarn around it.
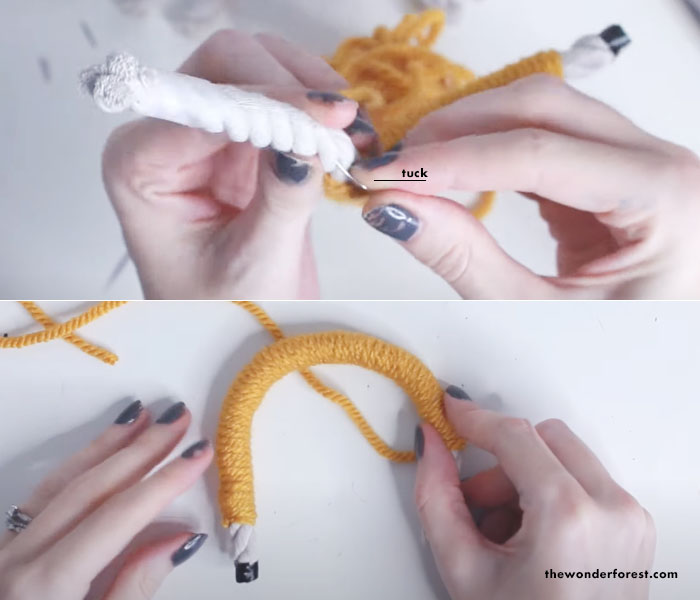
7. When you get to the end, tuck the remaining wire into the rope to hide the pokey end. Continue wrapping your yarn over the last bit of rope, again leaving some of the rope exposed. Don’t tie it off just yet.
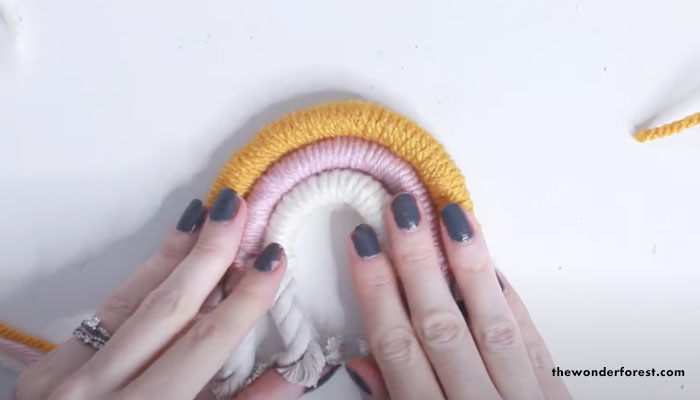
8. Repeat the above steps with the other 2 pieces of rope using your other yarn colours. Put each tier together and shape your rainbow with your hands. If you need to, remove or add more wraps of yarn to make sure each piece lines up properly.
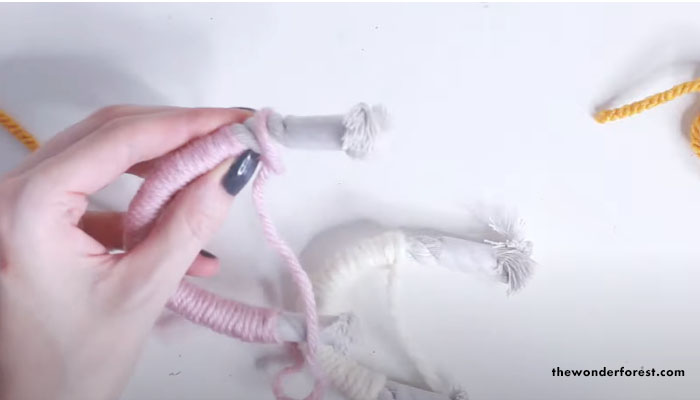
9. Once each piece is the right length, tie a knot around the end using the yarn. Don’t cut it yet!
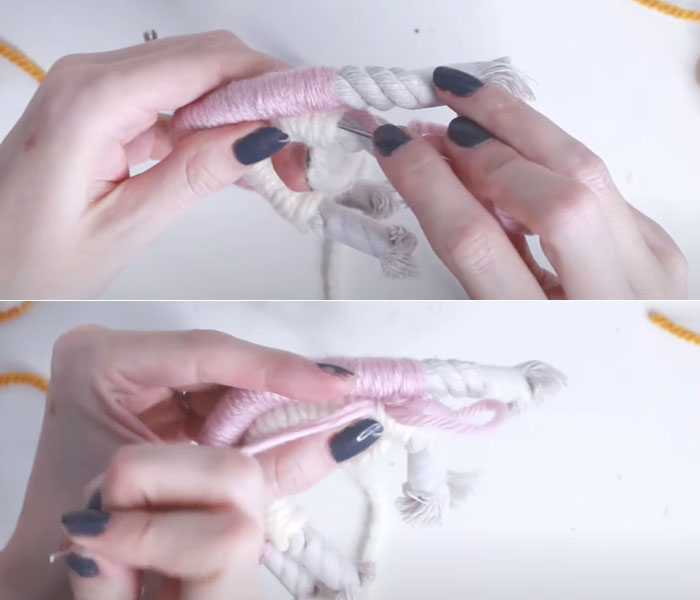
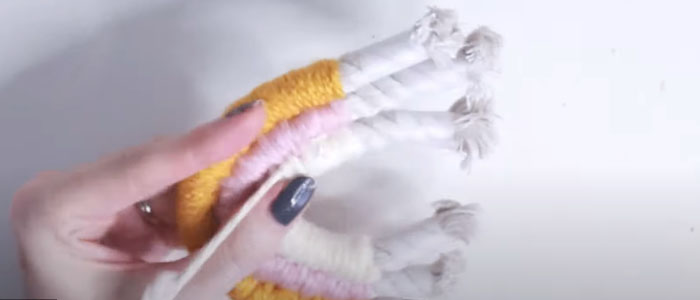
10. Use a darning needle and thread the yarn from the center piece (pink pictured here). Pull the yarn through the smallest piece (white), grabbing a couple strands of wrapped yarn as you go.
Then, alternate your stitch and thread the yarn through the first piece (pink). Continue all the way to the end, securing each piece together.
Repeat this using the top piece (yellow shown here) to attach it to the middle piece.
11. When you arrive at the end of the stitch, draw the yarn back up through one of the colours of yarn and cut off.
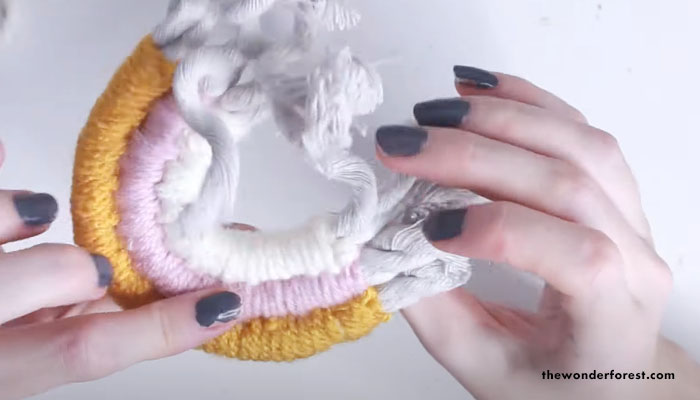
12. cut the tape off of your ends and unravel the rope.

13. Use a comb to comb out the ends and make them fluffy. Then use your scissors to cut the ends of the rope off, making sure both sides line up.
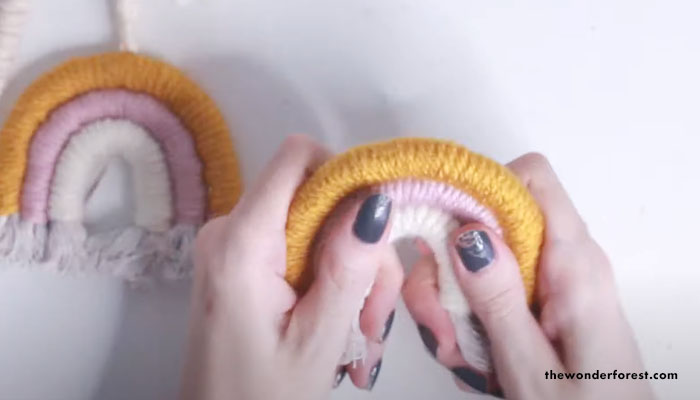
14. That’s it! Shape your rainbow with your hands if you need to. The wire makes it flexible. You can add a string to the top if you wish to hang it.
I truly hope you enjoyed this little project! I find making these so fun and calming. Perfect for a rainy day…. no pun intended 😉
YOU MIGHT ALSO LIKE:
UGG Style Crochet Baby Booties Pattern
Beginner Friendly Macrame Projects
Last Updated on