
You’re browsing through the internet, and you happen to come across a trendy piece of furniture that you would be a perfect addition to your home.
Unfortunately, that trendy home item may be on the pricey side. If you’re crafty, you can always thrift flip an old piece of furniture and make it trendy!
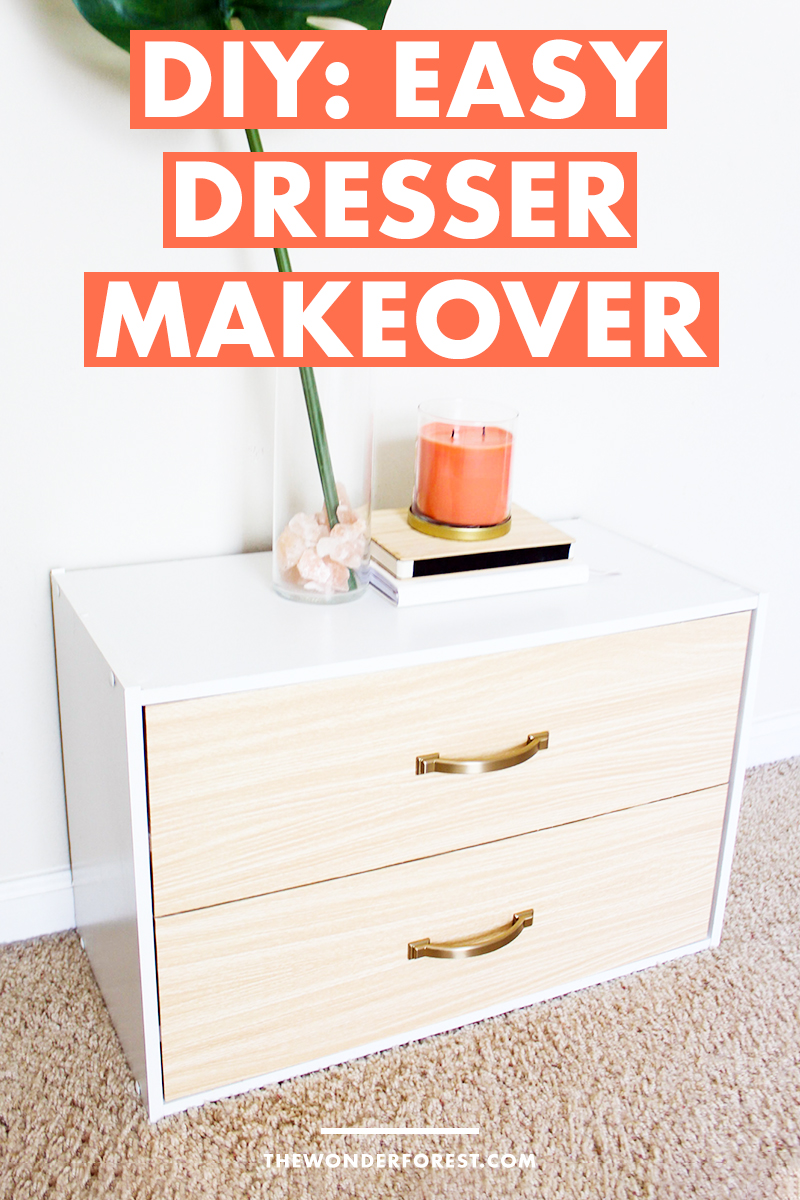
Very recently, I have been seeing furniture that have a combination of textures. One particular trend I have been really loving are wooden textures combined with clean solid colors and gold. It’s a little bit mid-century and a little bit boho chic. Since these types of pieces are pricey, I wanted to make one on my own DIY dresser.
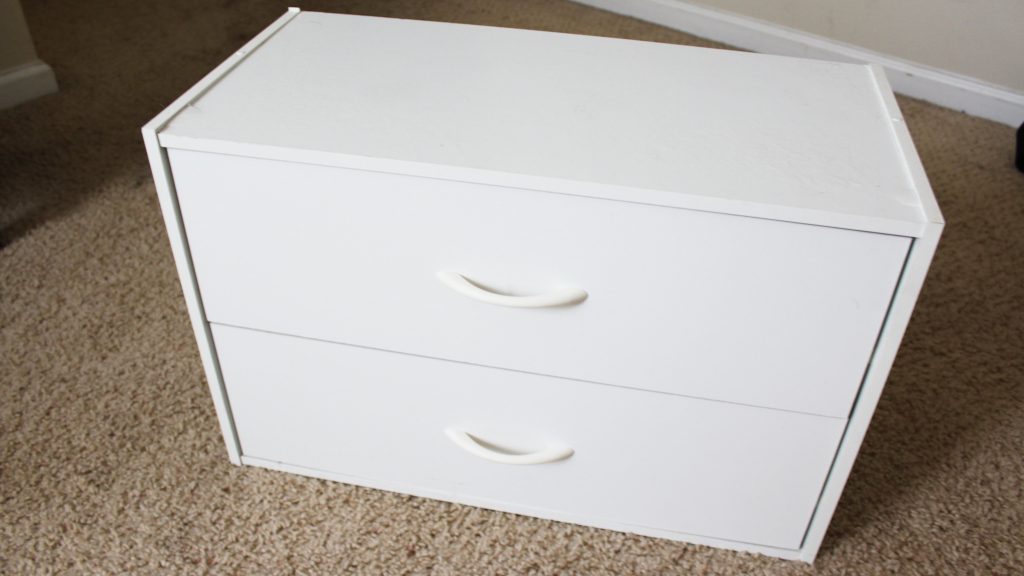
I went on the search for a piece to makeover at local thrift stores. There have been great pieces out there but none that fit what I was looking for. Luckily, I had an old nightstand at home that was in need of a makeover.
I went out to the local hardware store to find materials to make over my nightstand.
DIY Dresser materials
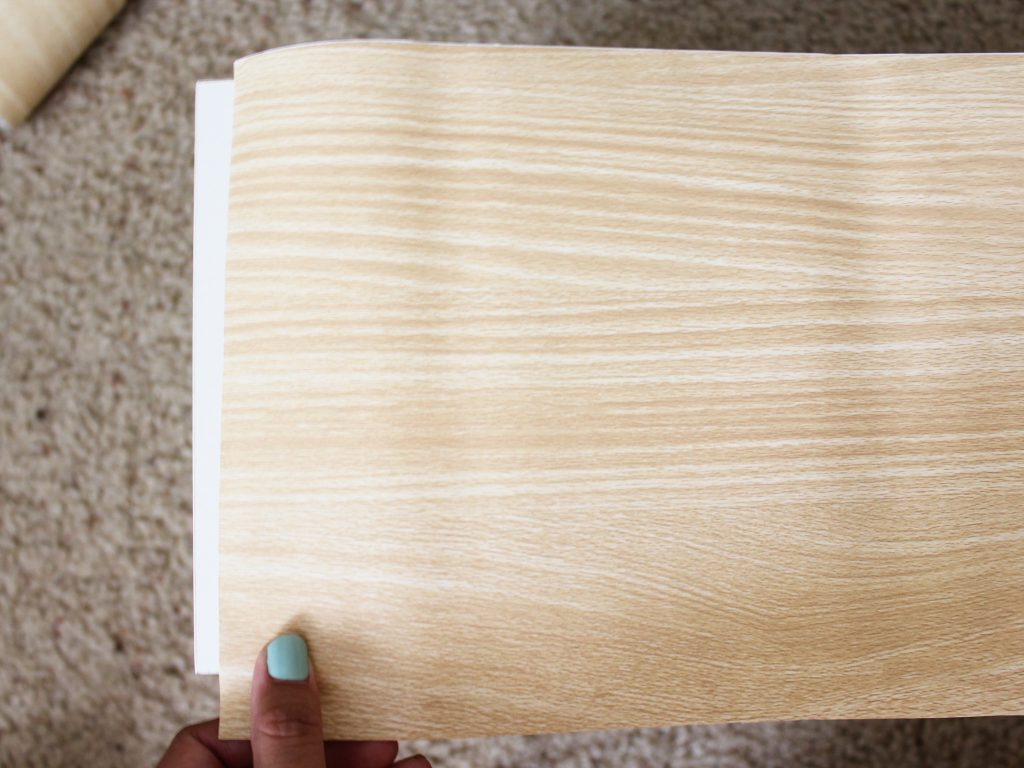
For this project, I bought two brass drawer handles and a large roll of self-adhesive vinyl wood contact paper. You can always buy paintable wallpaper if you want a more tangible texture. But for this project, I just wanted to keep it quick and simple.

After buying the materials, it was time to prep the old nightstand for its makeover. First thing I did was remove the drawers and emptied them out. I wiped all the surfaces of the drawer down with a cleaning wipe. This will not only clean the surface but will allow the contact paper to adhere better.
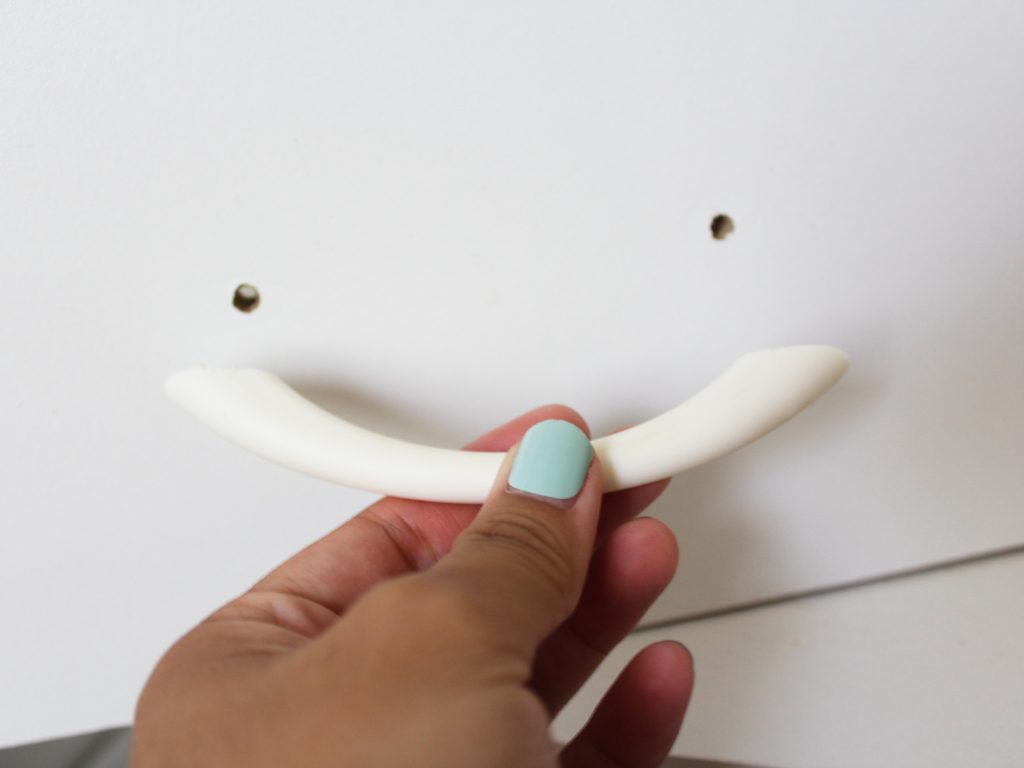
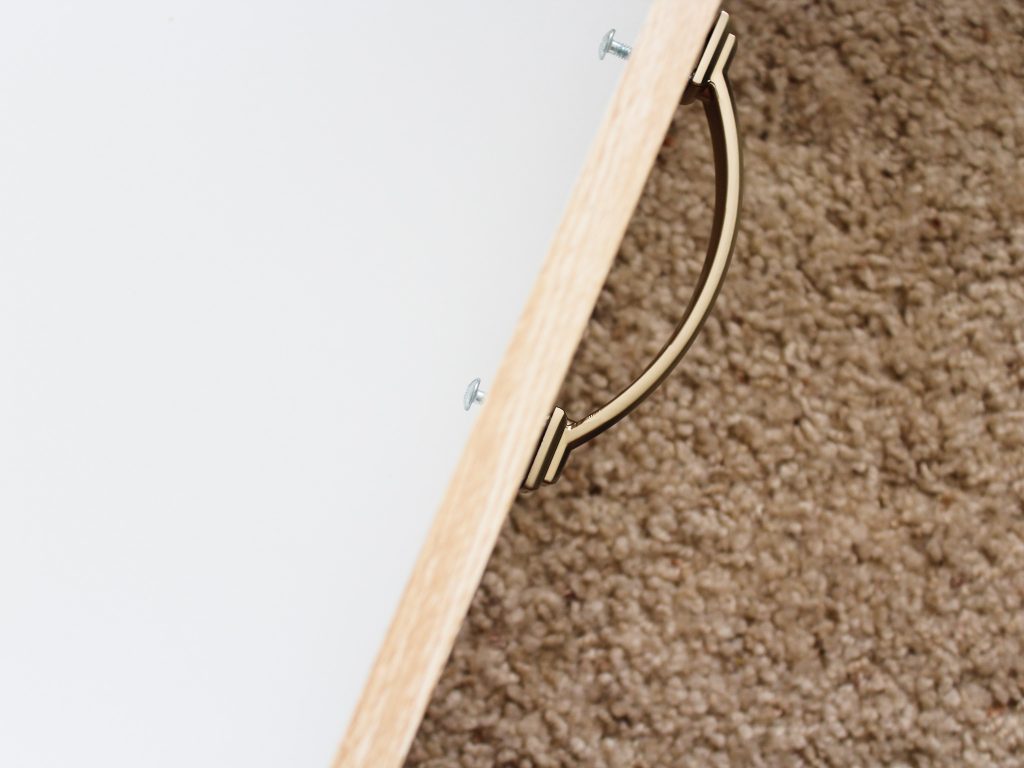
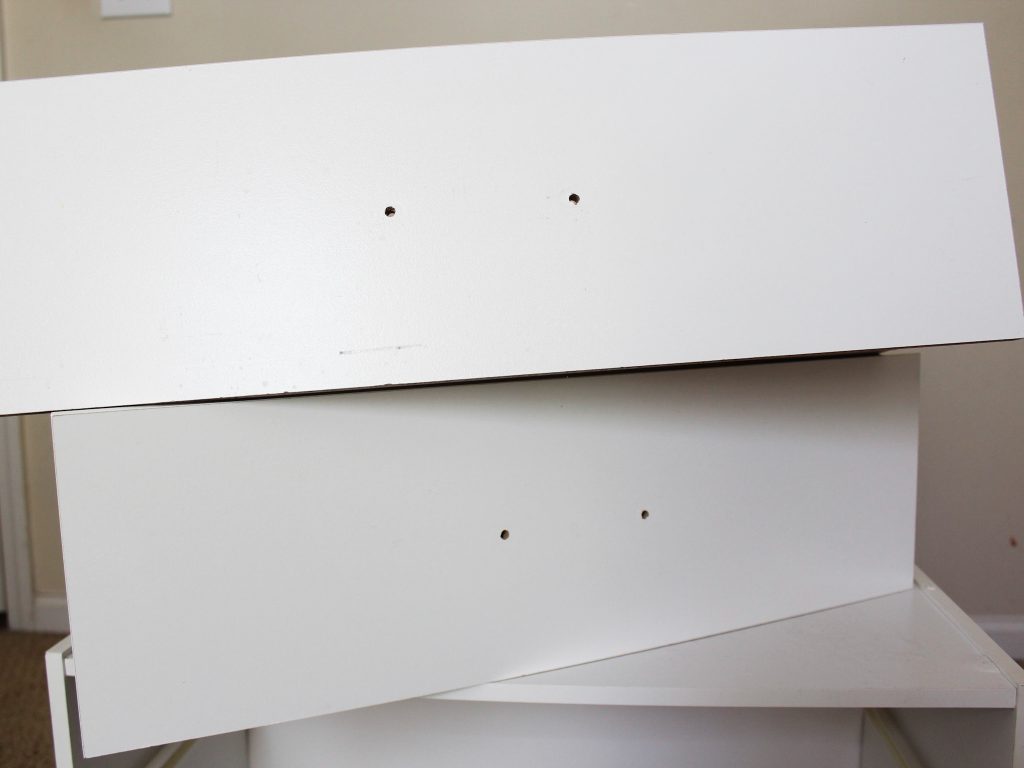
I then removed the old handles. A good thing about the handles I bought at the hardware store is that they already come with screws so there is no need to use the old ones. (You can always reuse them for other projects!)
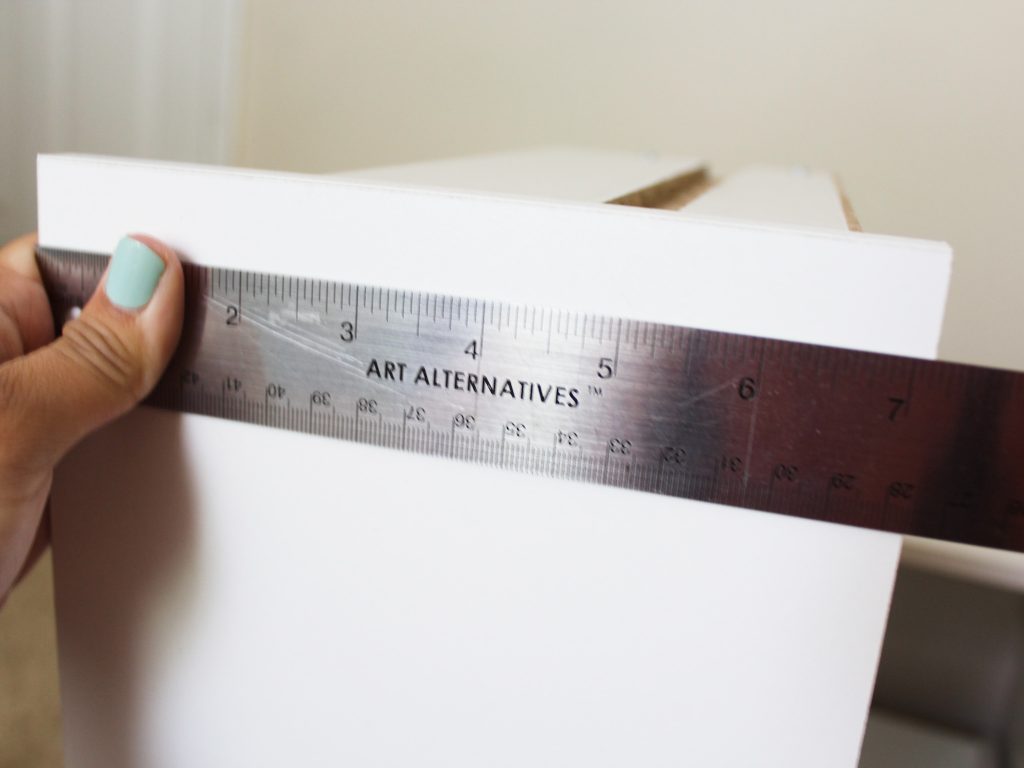
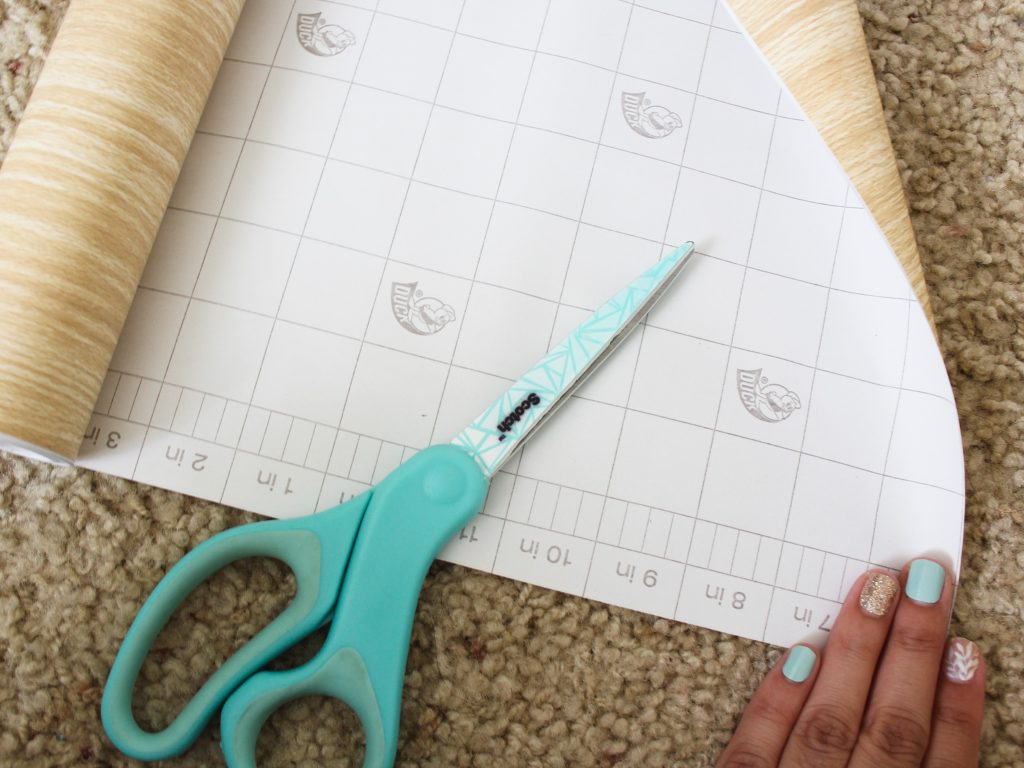
To cover the drawer surface, I measured out the size of the front of each drawer. I cut the vinyl to the size I measured plus one inch. Adding one inch allows me to fold it over the edges. It also gives it enough material for shrinking.
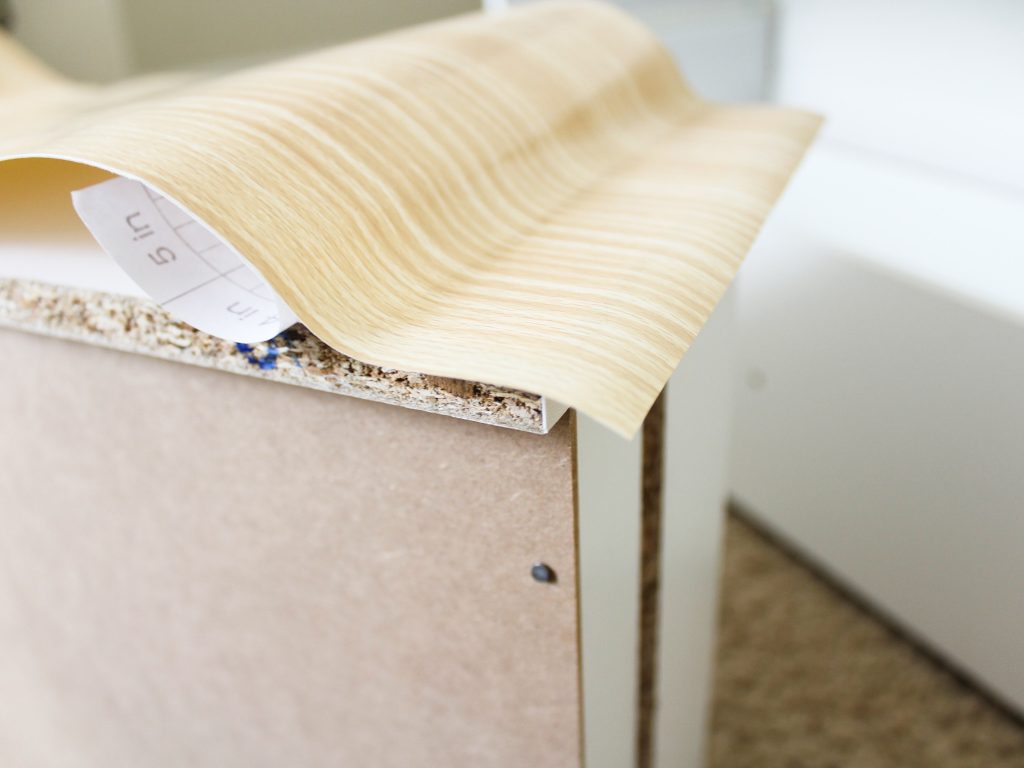
I cut the vinyl to size, I place it before peeling the backing on the front of the drawer to get a feel of where how I want the pattern to look. I also try to make sure that the vinyl fits the surface.
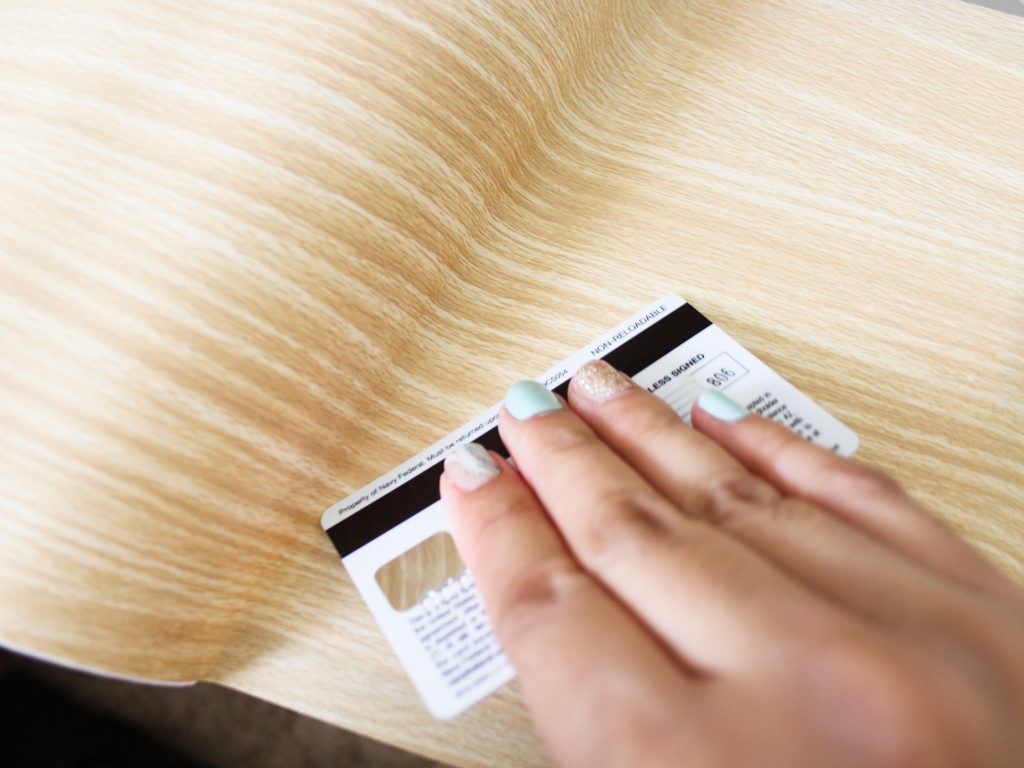
After double checking my measurements, I peel the backing of the vinyl and carefully place it on the drawer surface. I smooth out the bubbles of the vinyl with a credit card.
A little hack that I learned when adding vinyl to a surface is using a hair dryer on the hot setting and blowing the hot air over the vinyl. It helps reveal little air bubbles that you might have missed when you first place the vinyl. When the little air bubbles show up, they can simply be smoothed out with a card.
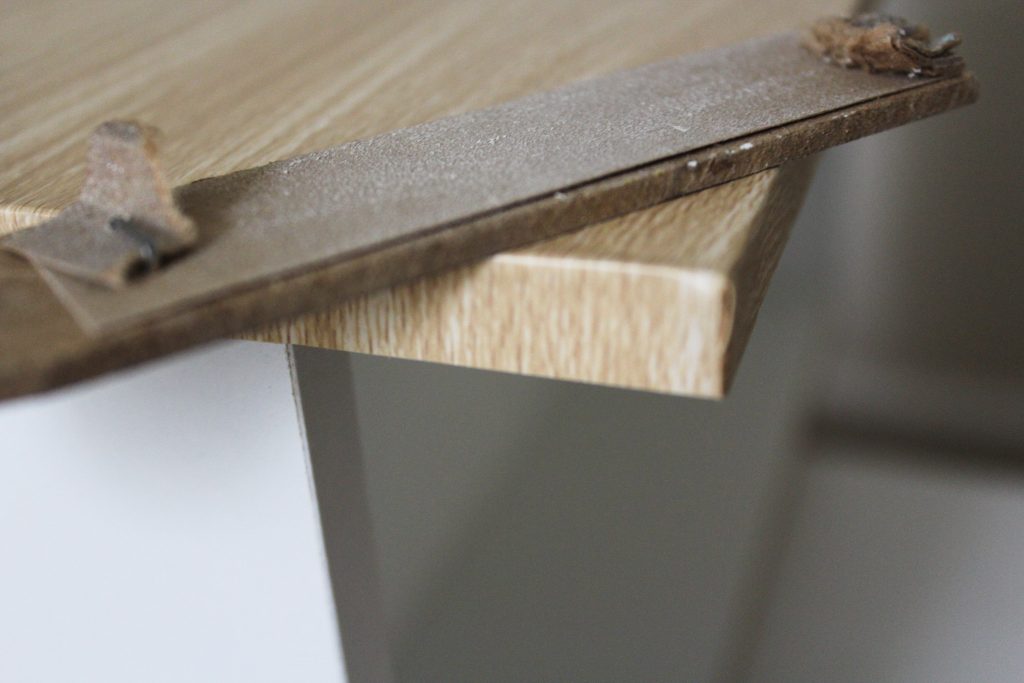
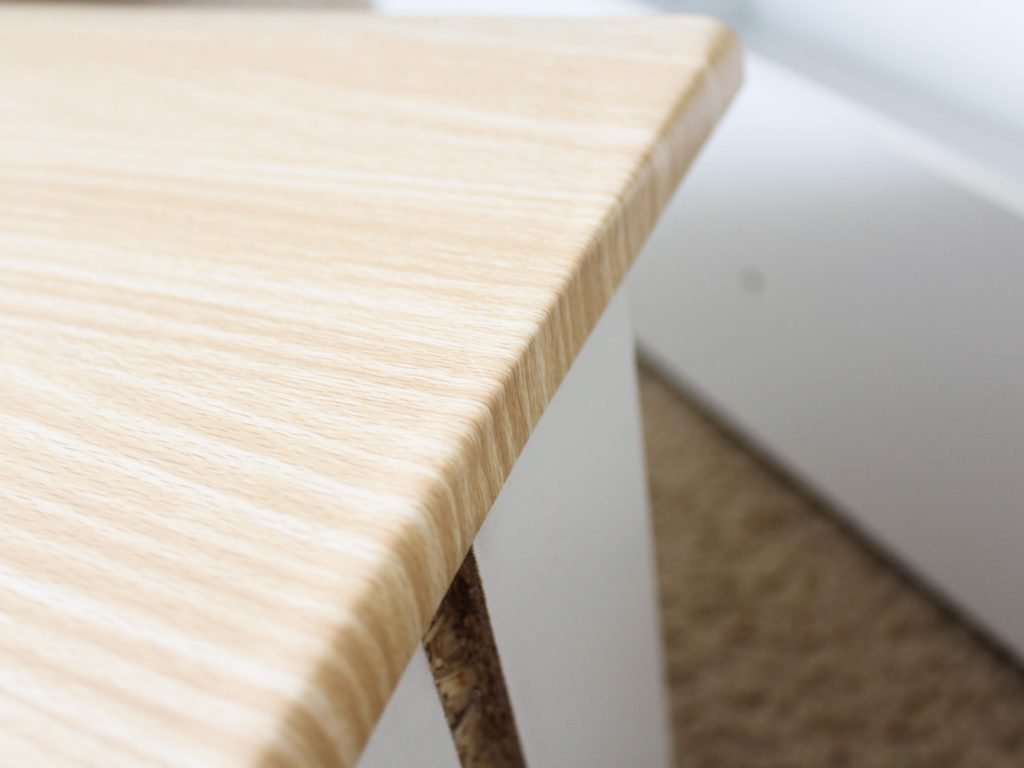
Once the vinyl is secured, I trimmed the hanging edges using a box cutter. There were a few hanging edges that I couldn’t cut, I used sandpaper to shave them down. I repeated the previous steps with the vinyl on the other drawer.
The last step of the makeover is to add the handles!
Now, put back the newly created drawers. Then you’re done – you have your own trendy home piece!
It doesn’t have to be expensive to update your furniture. If you ever want that trendy new home item, I highly recommend doing a little thrifty flip of those old pieces because they deserve a little makeover too!
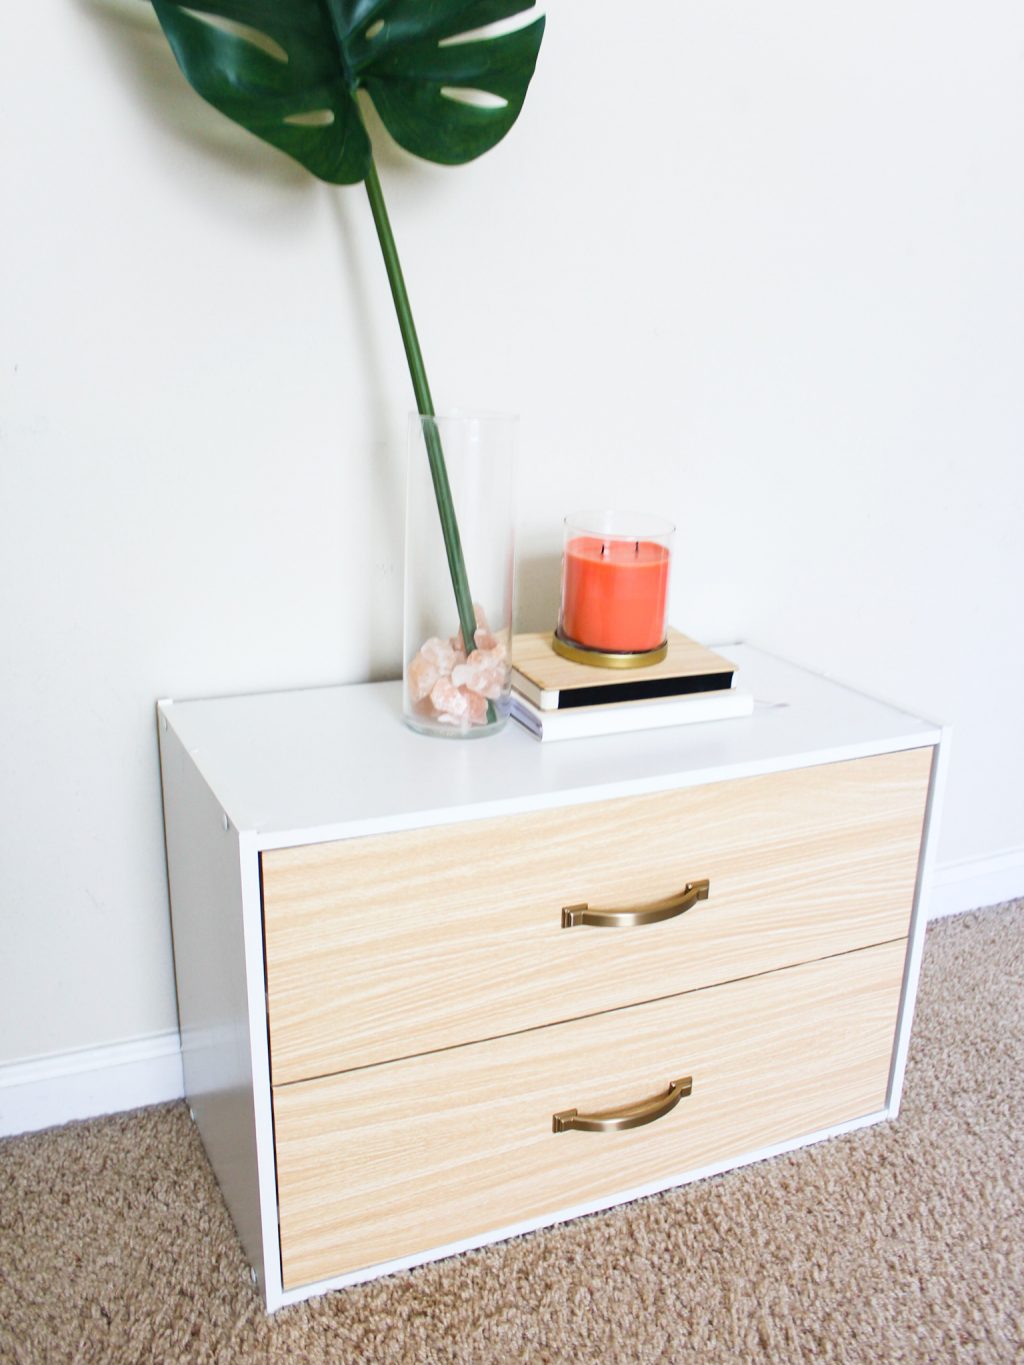
THE RESULTS

Last Updated on