
You can never have too many pillows, am I right?! When Christmas comes around, there’s nothing better than filling your sofa with a ton of soft, cushy holiday pillows.
There’s no need to go out and spend a fortune on cute festive ones. They are really easy to make and can be customized to your liking!
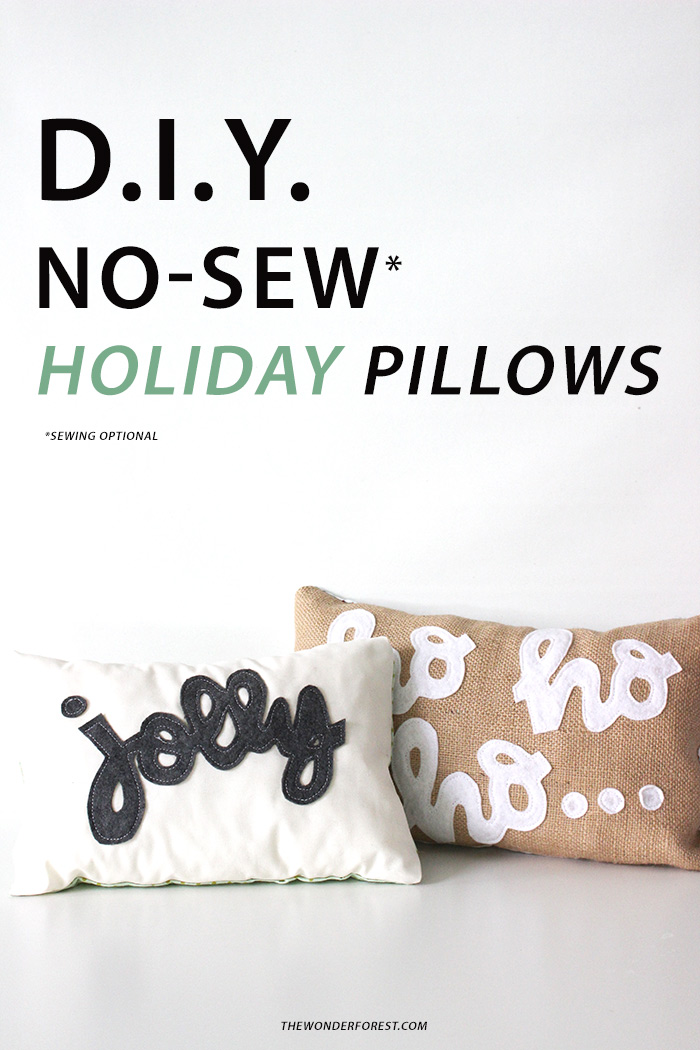
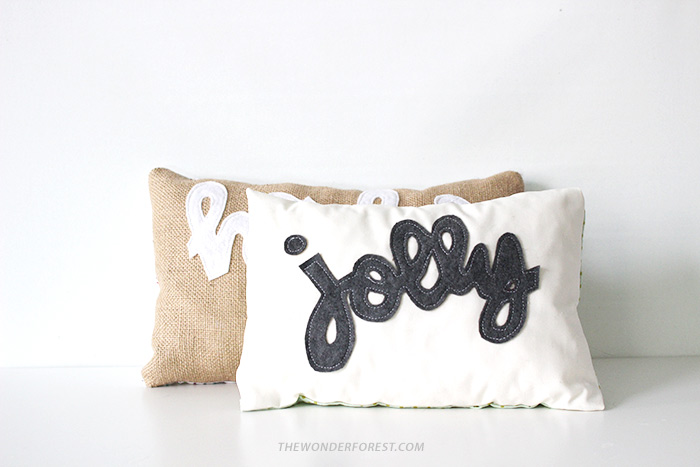
I wanted to spruce up my holiday decor a little by adding some cute typographic pillows, so I wandered down to my craft room and this is what I came up with!
I thought about making these the easy way (sans sewing machine) so that any of you could tackle this project even if you have zero skills with a needle and thread.
Although I did end up finishing my own pillows with stitching around the lettering, you totally don’t have to do this step! I just wanted a more finished look.
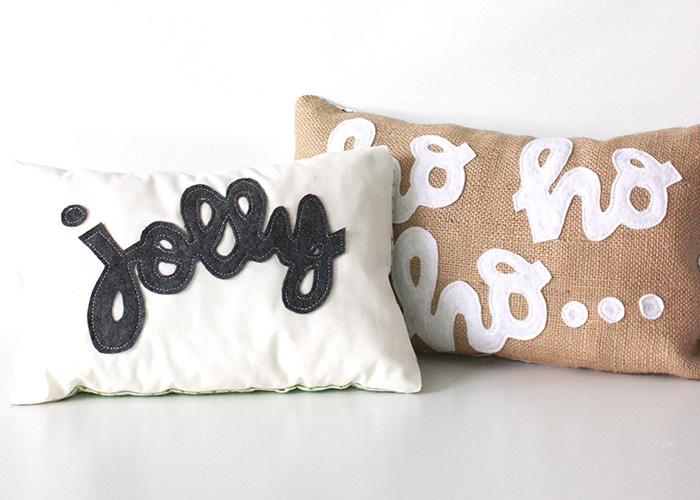
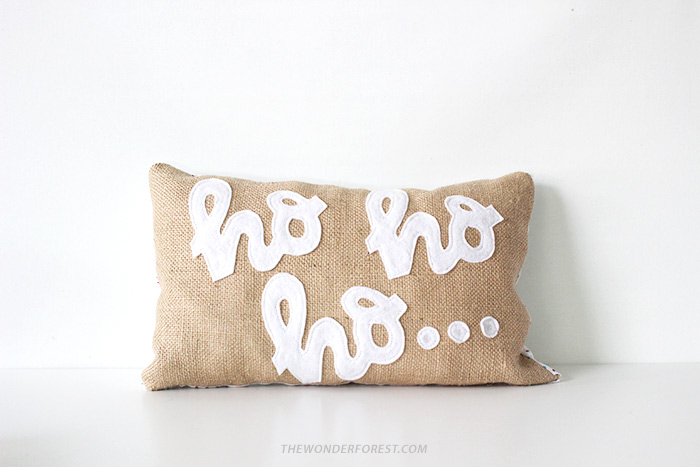
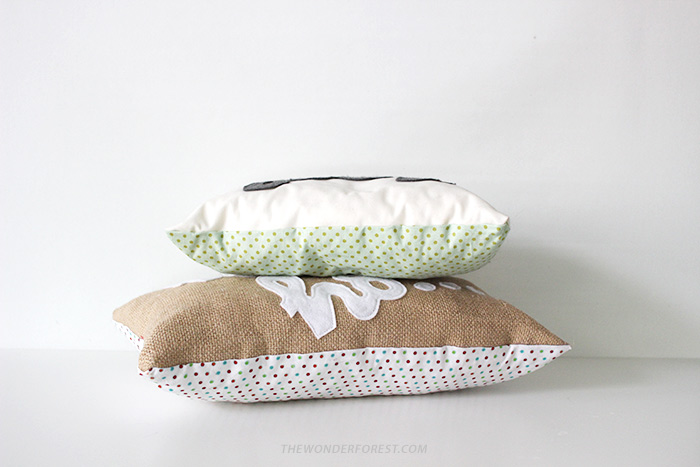
I also just used a few scrap pieces of fabric I had lying around, but I love how the burlap one turned out in particular due to the contrast of textures.
I created the text by simply hand writing the letters onto paper, but lucky for you, I’ve digitized those for you so all you have to do is print and cut the downloadable files below!
Are you ready to make your own? Enter: the all mighty glue gun!
Supplies you’ll need:
- Two pieces of fabric – front and back
- Craft Felt
- Scissors
- Glue gun
- Stuffing (I literally ripped open an old pillow and used the stuffing from that!)
- The patterns for lettering (below)
Download the Ho Ho Ho pattern here
Download the Jolly pattern here
How to make a holiday pillow
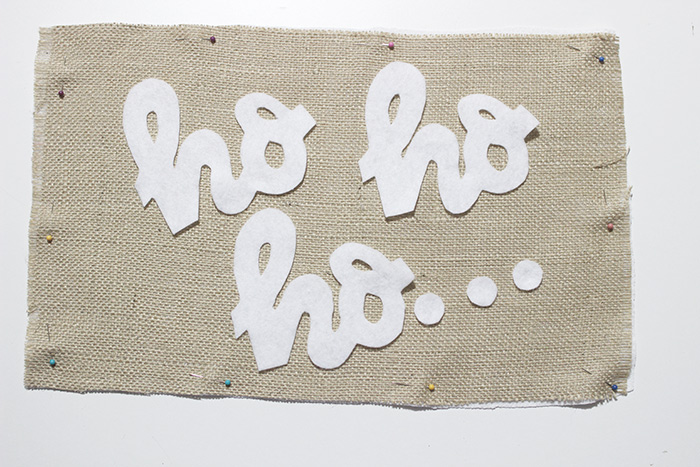
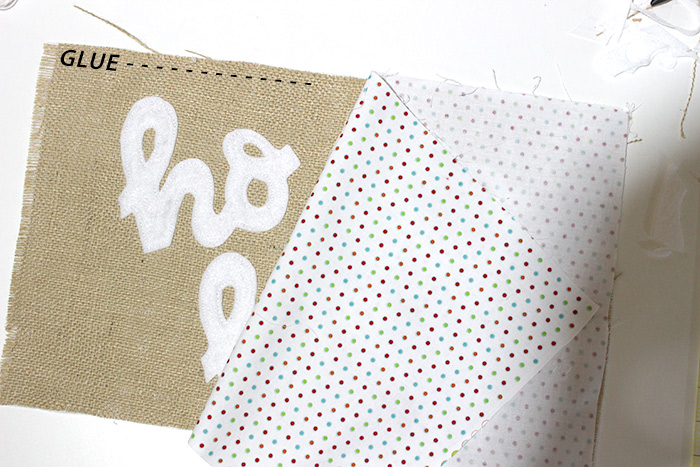
Start by cutting the letters out onto felt. Pin them in place so they don’t move. Cut your pillow fabric to a size you like.

Add a backing piece if you used something semi-transparent like burlap. This will help the stuffing stay in place and not peek through. Pin it to the top piece for now.
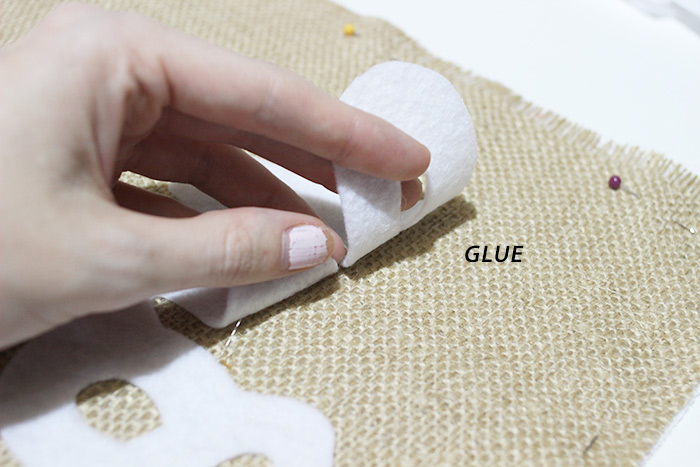
With a hot glue gun, glue down your letters doing small sections at a time, being careful not to move them from their original pinned places.
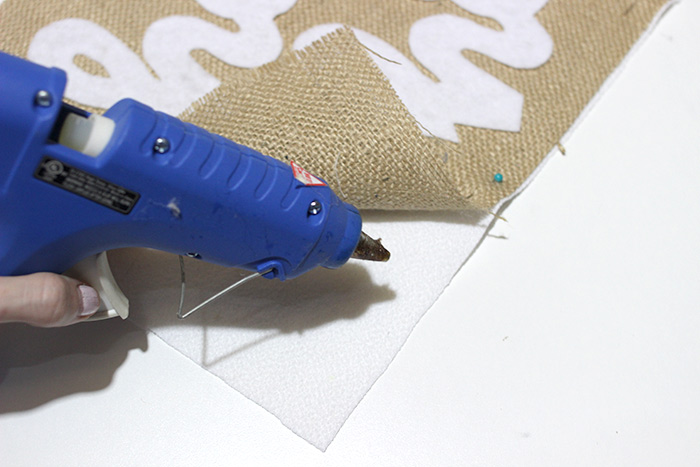
Glue your optional front layer backing piece to the finished top piece. If you used a standard fabric, you don’t have to do this step.
If you do decide you want to top-stitch the letters down, now is the time to do that. You can use a machine or a needle and thread.
Place your back pillow piece face down on the finished top piece and glue around the edges, leaving a few inches open at one end.
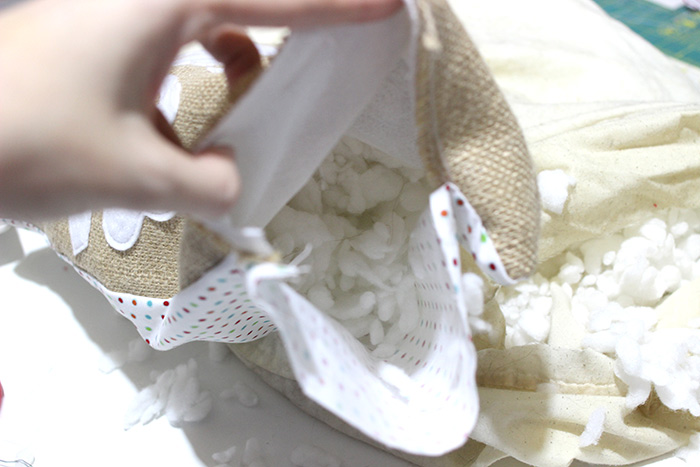
Flip your pillow back to the right side through the hole you left and stuff it! Close the open hole with glue.
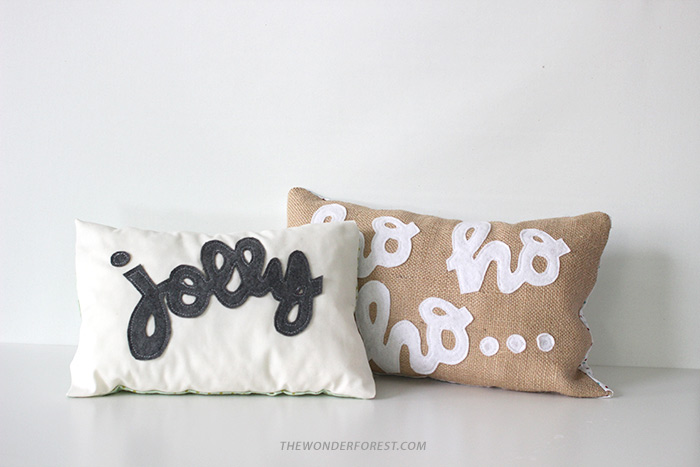
Fluff up your pillows and place around your home!
Wasn’t that too easy!? I’d love to see your final creations. If you make one, be sure to tag me on Instagram.
Last Updated on