
Can you believe that Halloween is just around the corner? Today, I am sharing a simple nail art tutorial that will make your nails Halloween ready! Pair this look with your creative Halloween costume for extra style!
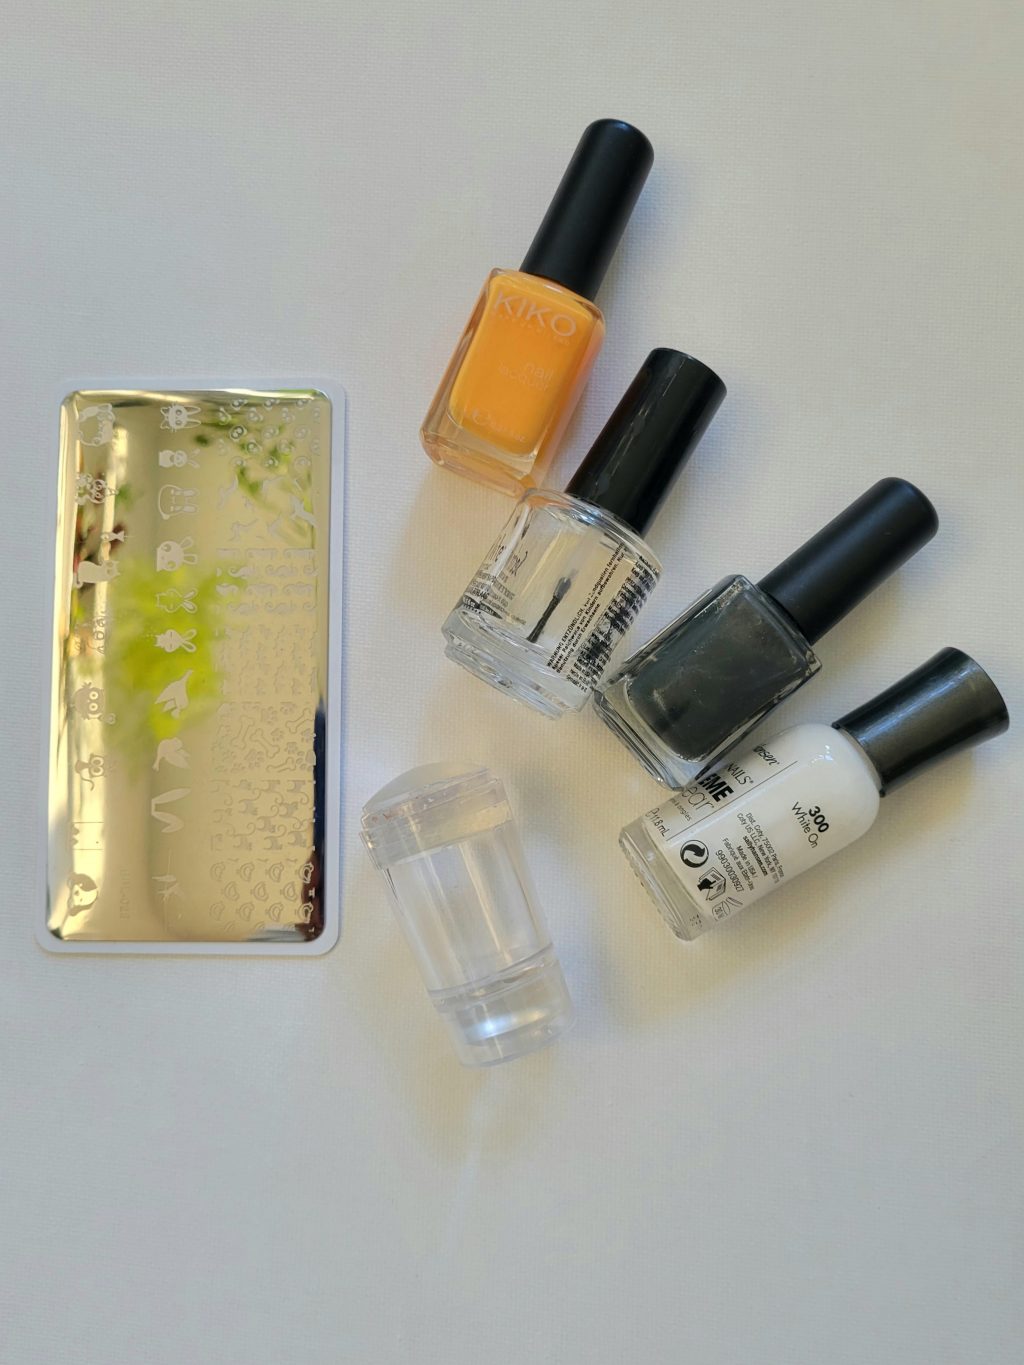
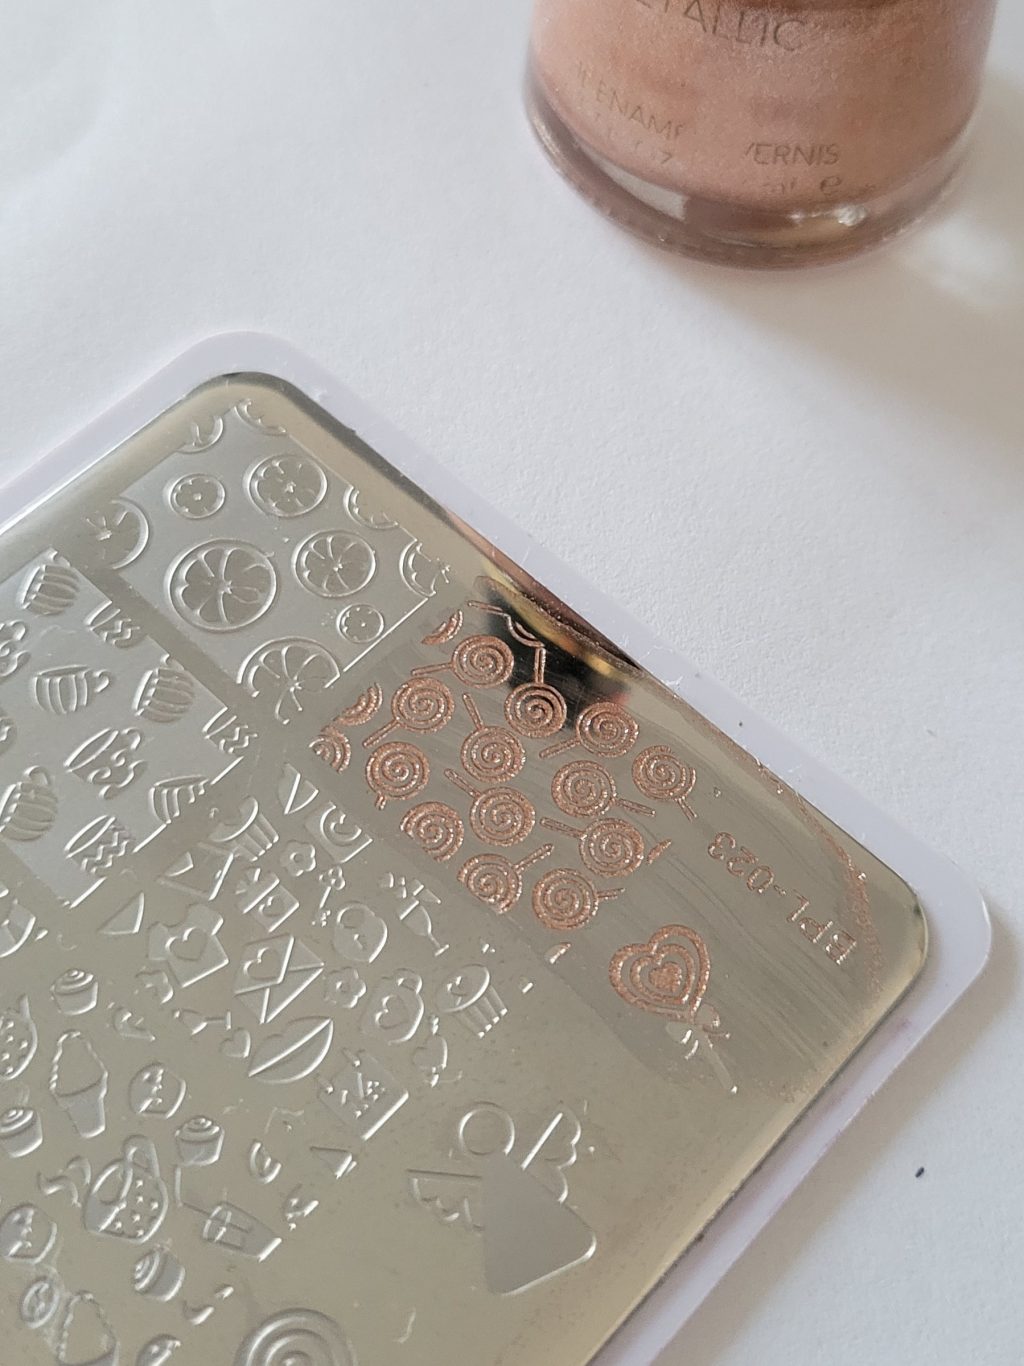
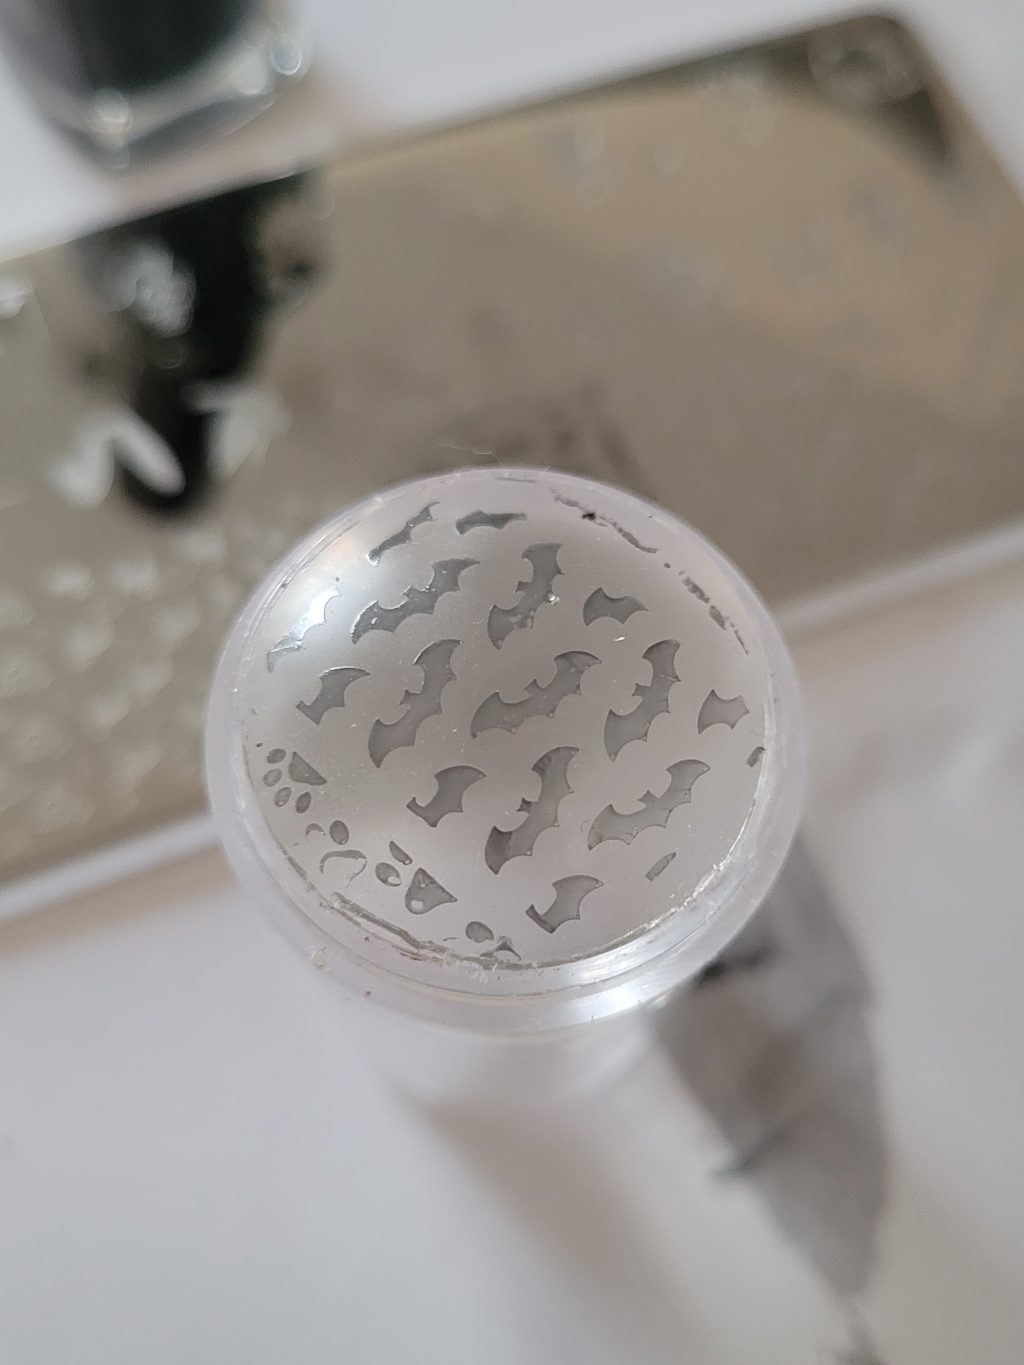
I am going to be using a nail stamping tool to get these patterns on my nails. If you haven’t heard of these before, it is basically a metal plate with cute nail designs engraved on them.
You apply a blob of nail polish on the plate, scrape it off, pick up the design with a stamping tool, and apply it on your nail.
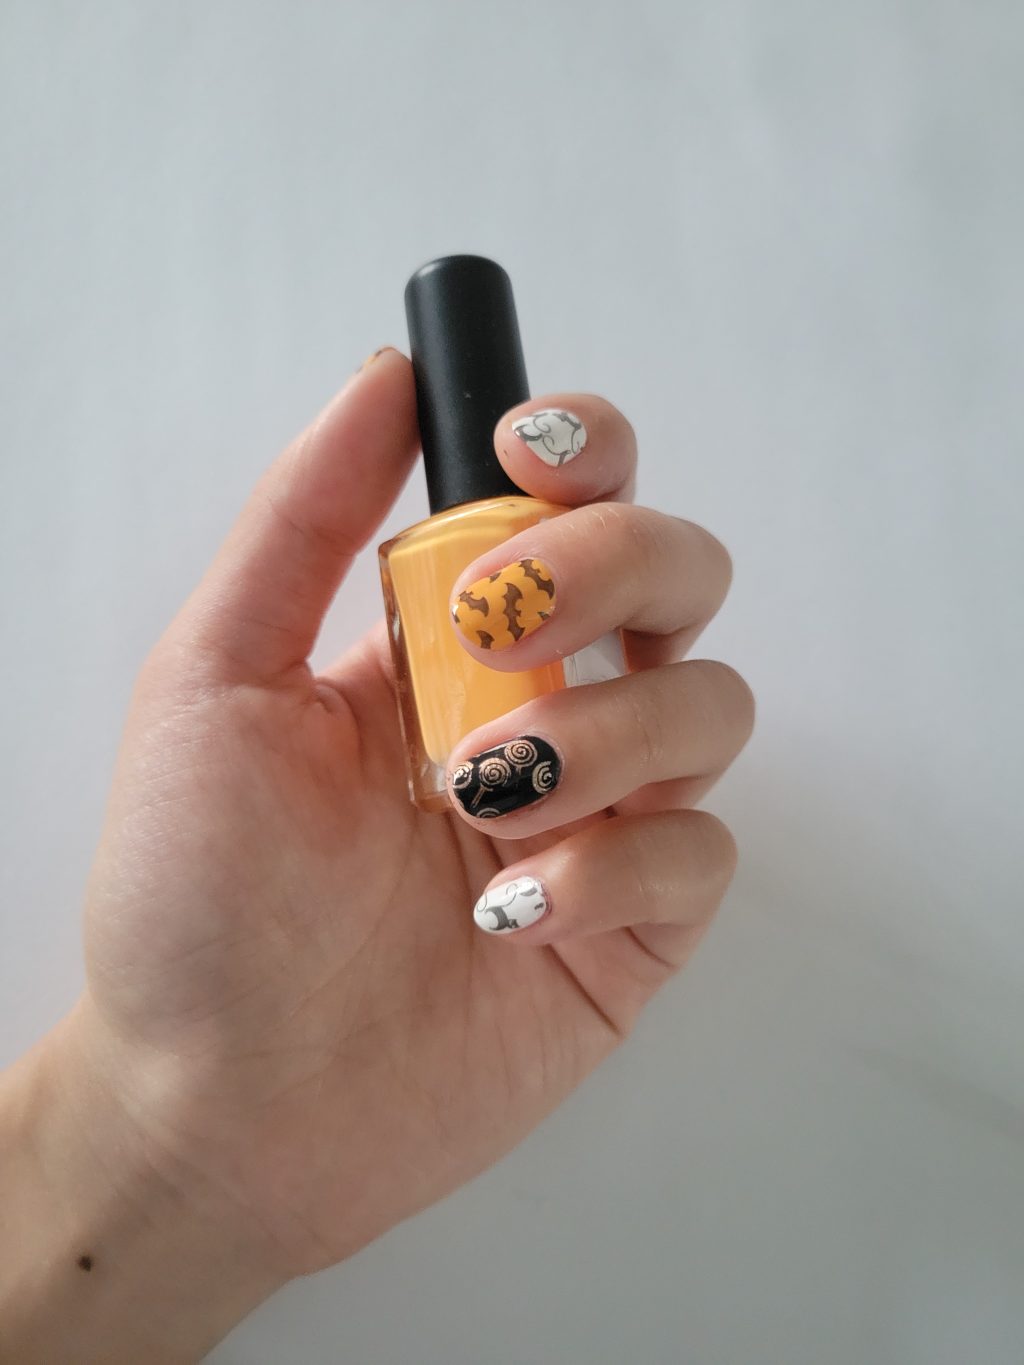
It is a really simple process once you get the hang of it, and they also come in so many different designs! Today I am using three different patterns: a bat, lollipop and cat pattern.
How to use a nail stamping kit
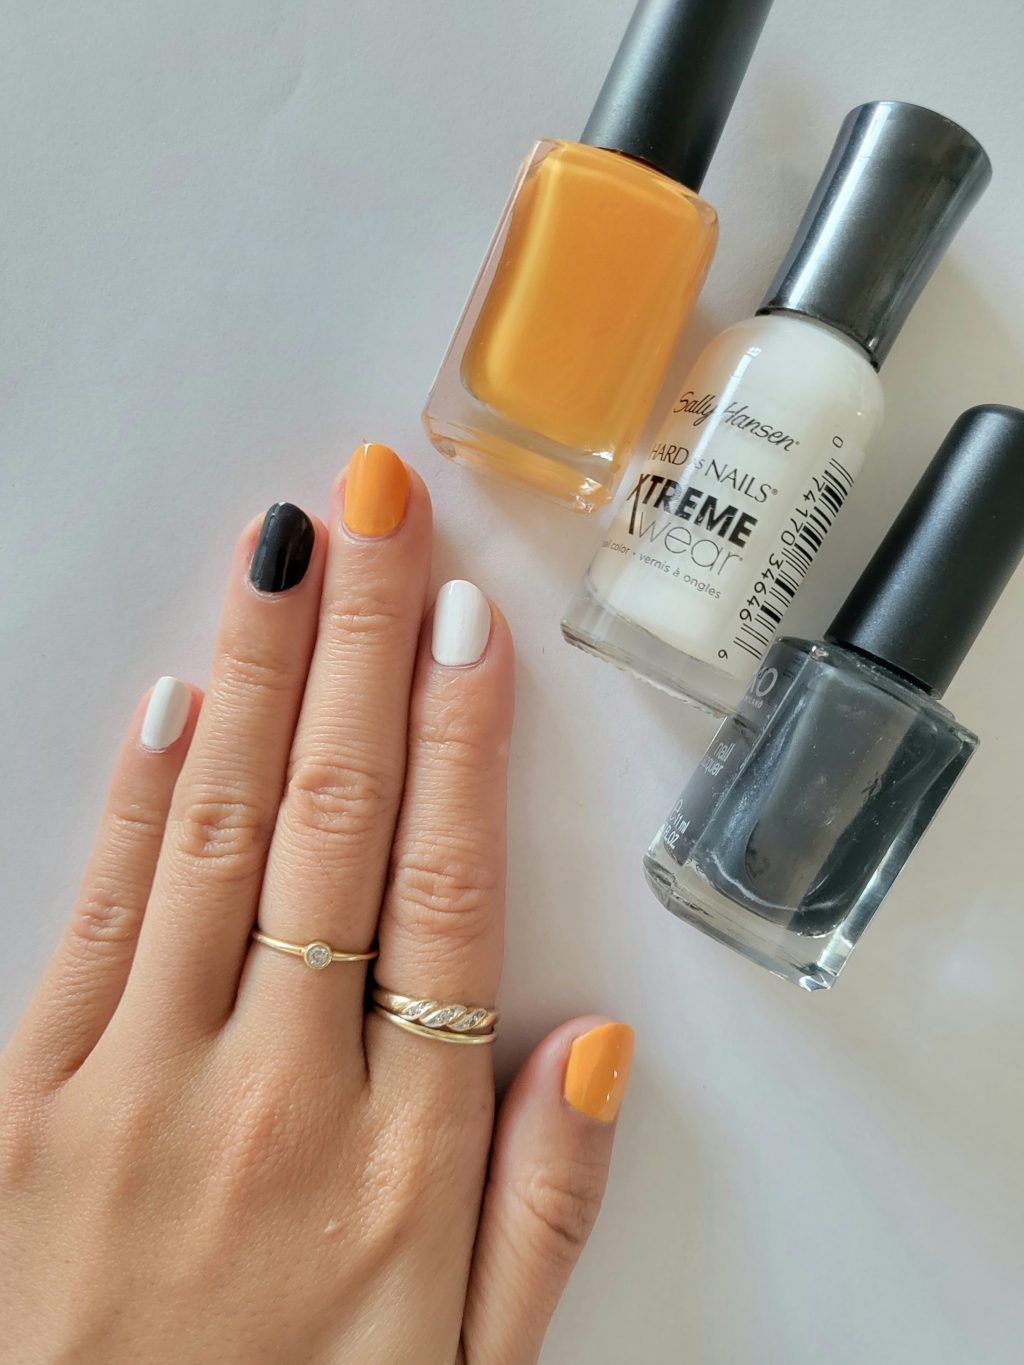
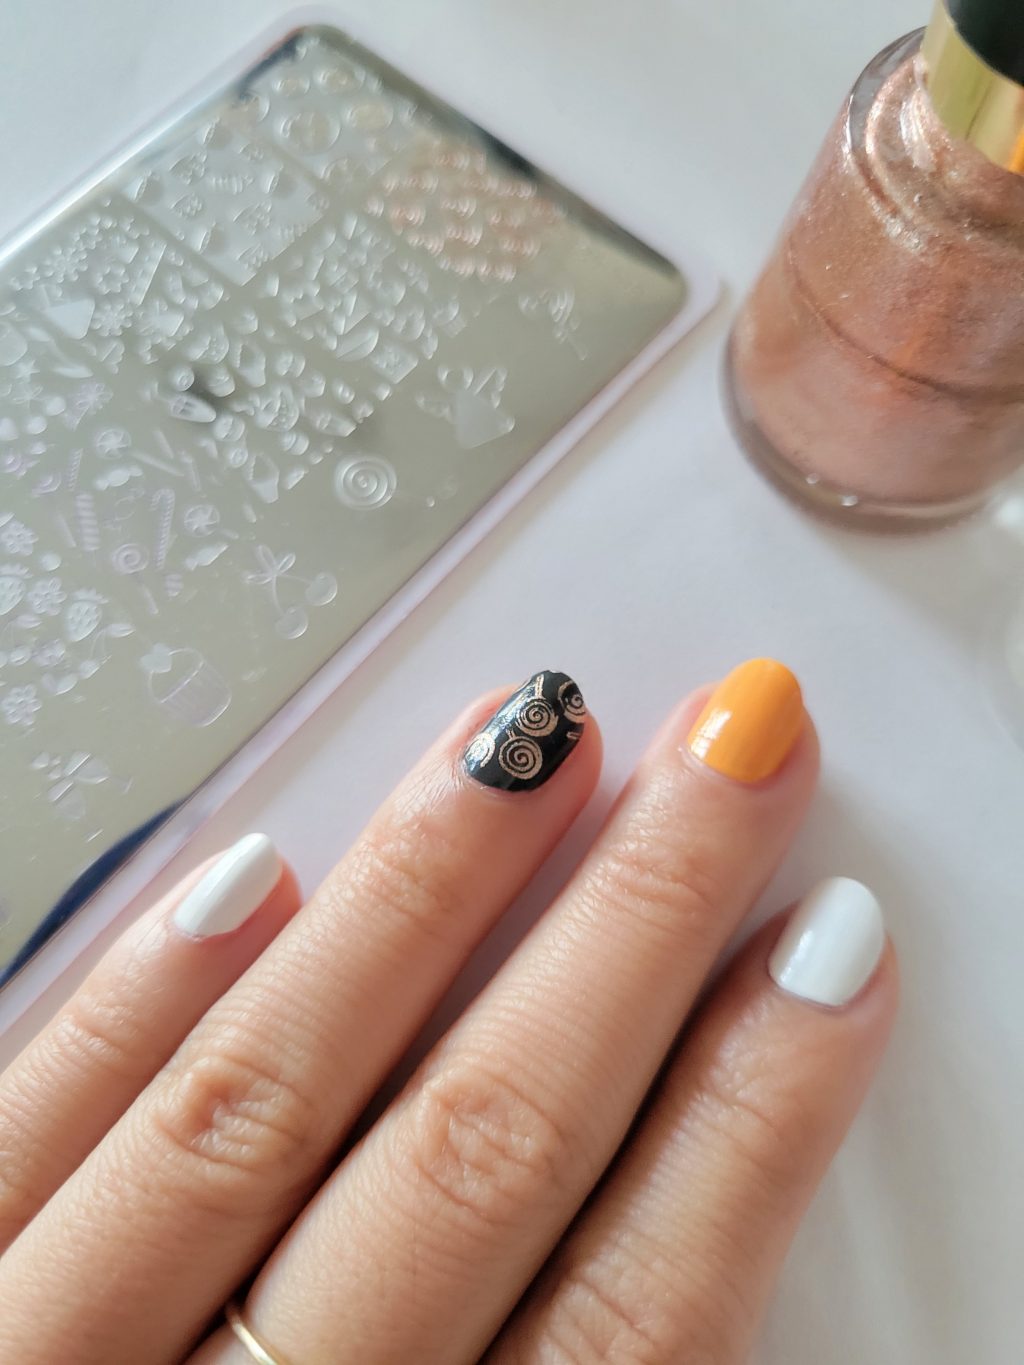
Begin by prepping your nails and painting them in orange, white and black polish. I chose these colours because I found that metallic polishes stamp well on a dark background and a black polish shows best on light coloured backgrounds.
I painted the ring finger black as my accent finger and will be using a metallic stamp on this nail.
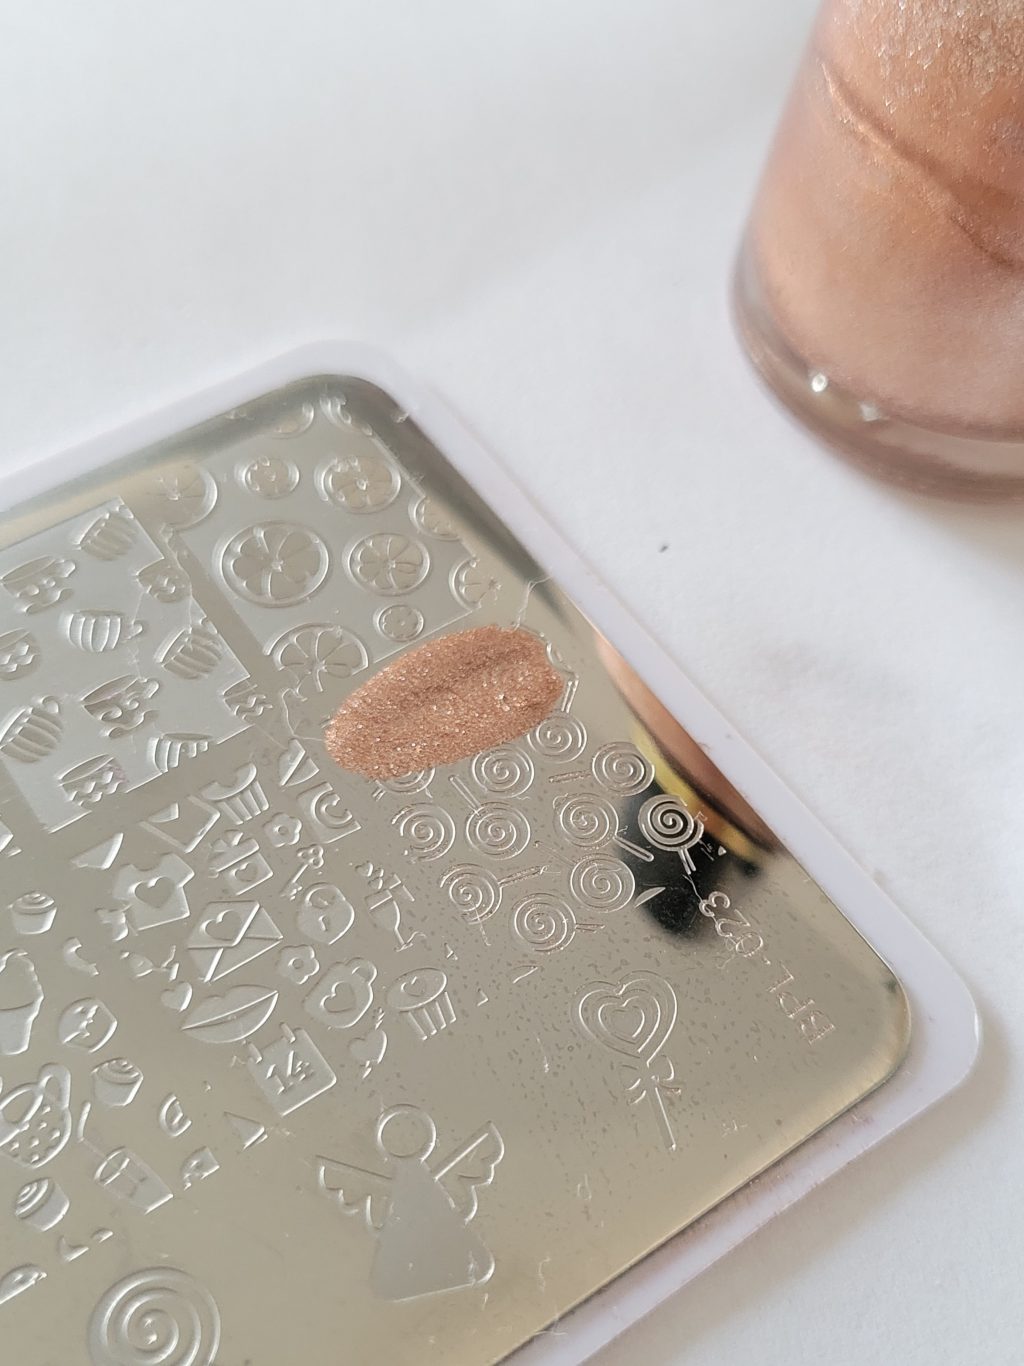
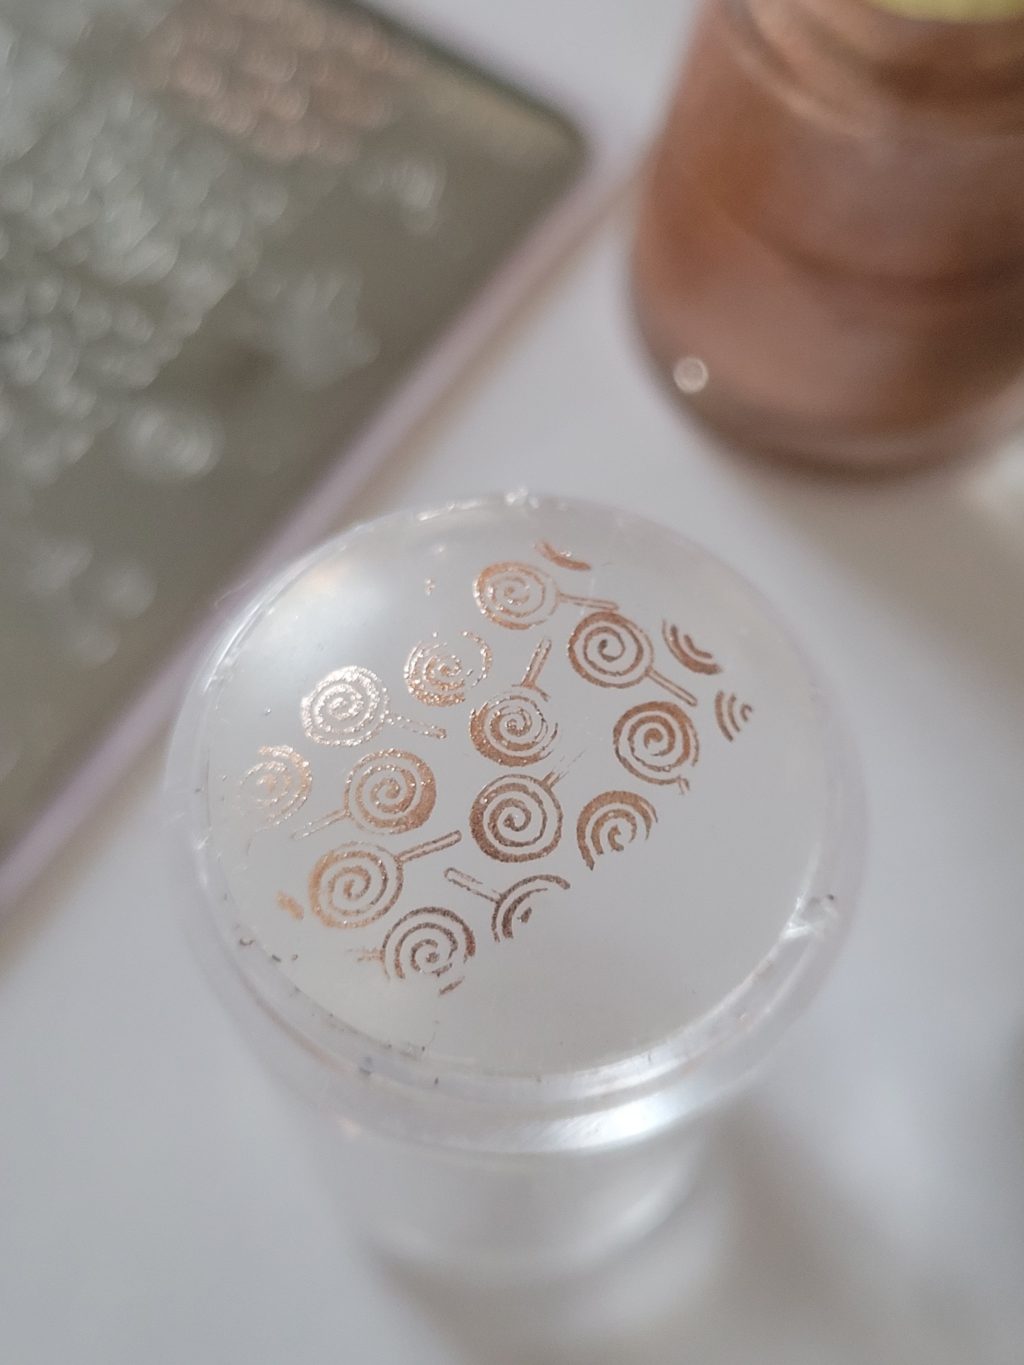
I chose the lollipop stamp design for the ring finger and will be applying a metallic polish.
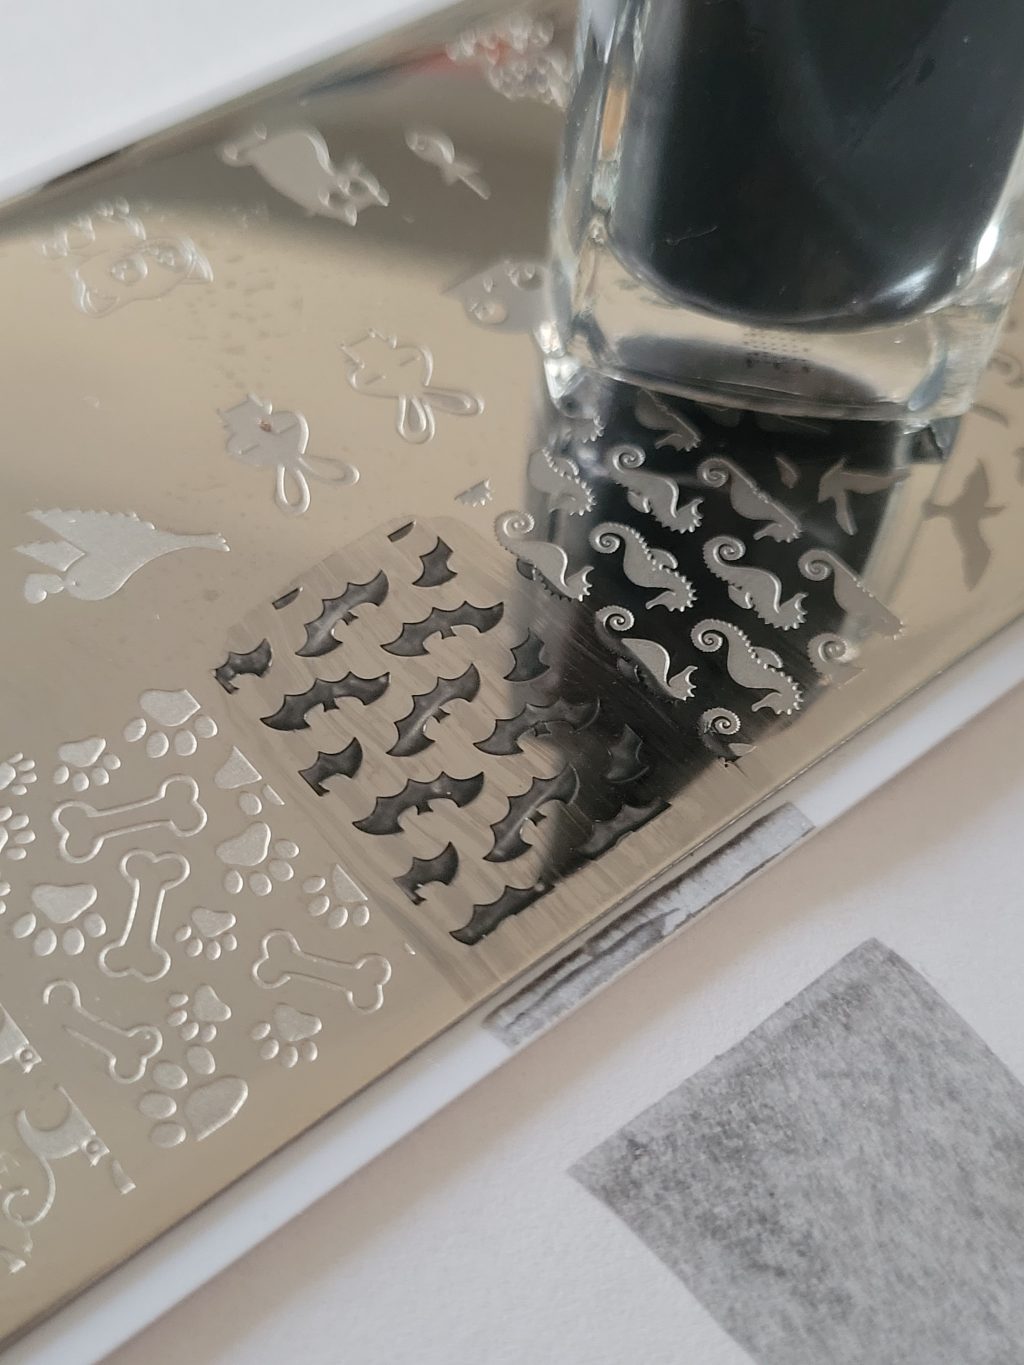
Begin with a generous blob of polish. Make sure there is enough to cover the whole design when you scrape it off. Scrape firmly with the card and make sure all of the design is covered.
Quickly pick it up with the stamping tool and stamp it on your nail. I find it is best to try and work fast after you have scraped the polish off, or the design won’t be as clear when the polish has dried up in the plate.
You might have to practice a few times to get the hang of it! But when the transfer onto the stamping tool is good, then you know it will turn out well on your finger.
I paired the orange polish with the bat pattern and white polish with the cat pattern. I then repeated the same process with applying polish, scraping, and stamping. Feel free to mix and match with different stamping colour and base polishes!

After the stamping is complete, you may find that some of the pattern is on your nails and finger. This is simple to fix up with a cotton bud and nail polish remover. Just dip the bud in the remover and carefully run it along your nails in any spots where the polish should not be.
The final step is to apply a topcoat to seal it all in. My favourite topcoat is this one by Seche-Vite! It goes on smoothly and dries very quickly so you don’t risk ruining your nails!
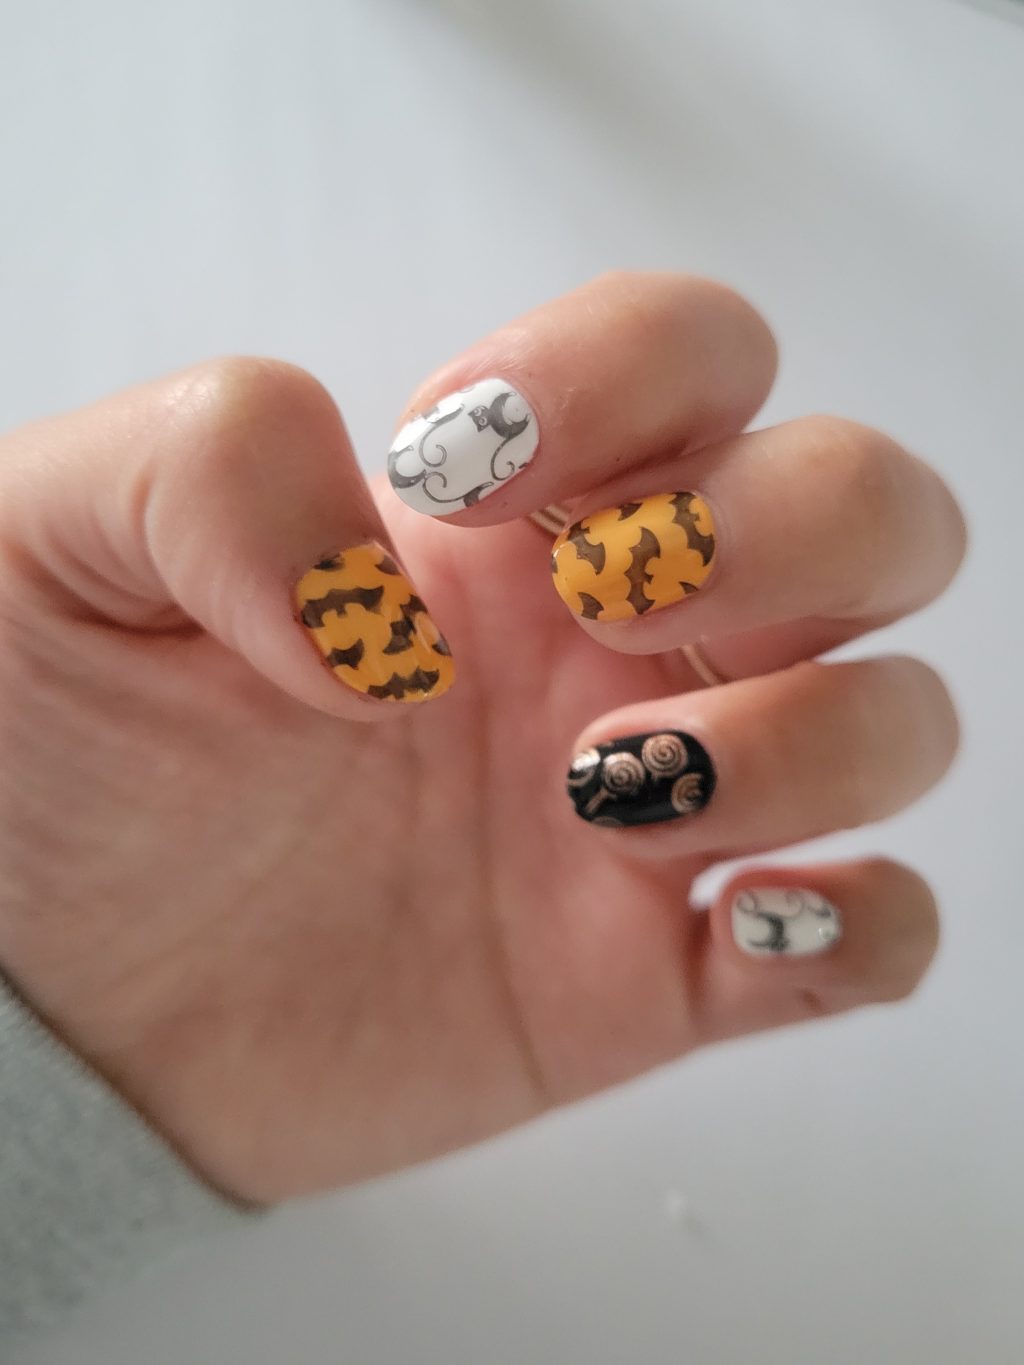
Your nails are now perfectly spooky, whimsical and Halloween-ready!
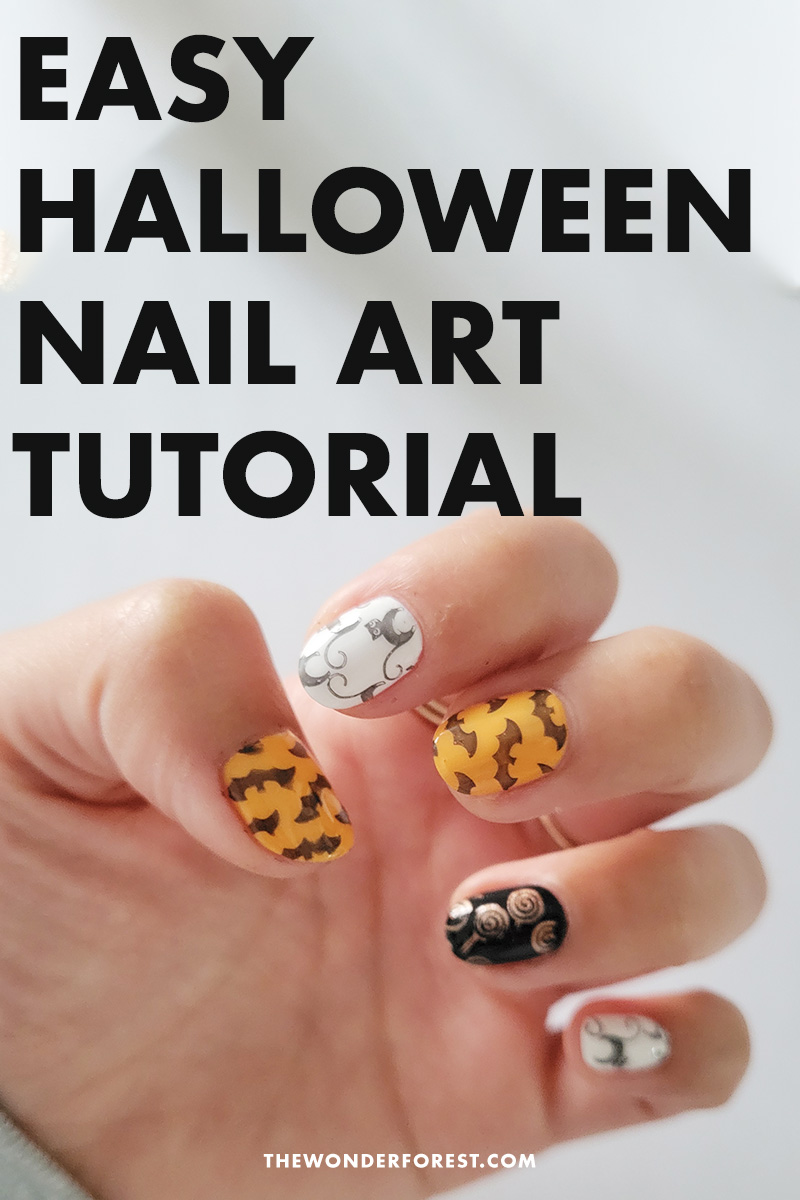
PIN THIS:
Last Updated on