
Gallery walls are an interior trend that have gradually made themselves a timeless staple in homes everywhere. A gallery wall is a great way not only to display your favourite pieces of art, but to transform a room and to add character and personality to a space with a bold yet personal impact.
Are you looking to start a gallery wall but don’t quite know where to begin? Putting together your own gallery wall can be daunting to begin with but fear not, we’re here to teach you all the tips and tricks to creating the perfect gallery wall.
Consider Your Space
Have you already got a space in mind to hang your artwork up or are you still trying to find the perfect place? Where you decide to put your gallery wall can determine what you hang up, the mood of your space and how you prepare for it.
The best places to hang a gallery wall are often a big, clear wall that receives a lot of light or somewhere that you want to bring definition and draw focus. An empty wall space in your entryway? Amazing. On the staircase? Perfect. Hanging above a sideboard or sofa? Great.

Acquiring Art
The type of art you collect can come in all forms and this is what will determine the style you want to achieve. Personal and intimate? Eclectic and wild? Polished and professional?
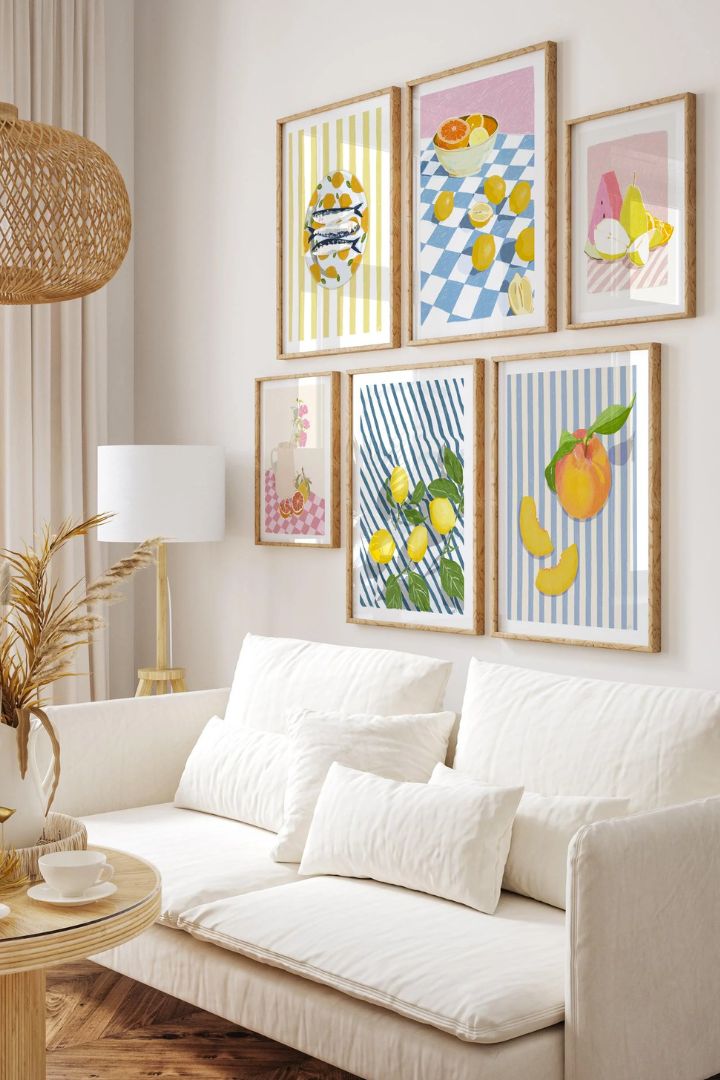
If you want a uniform and together style, it’s a good idea to get matching art styles and colours as you’ll want them to move seamlessly with each other. This could be by finding similar types of art, or collecting art from the same artist or using one consistent element in your pieces like your frames. Here are our tips for finding unique, affordable art for your gallery wall and home.
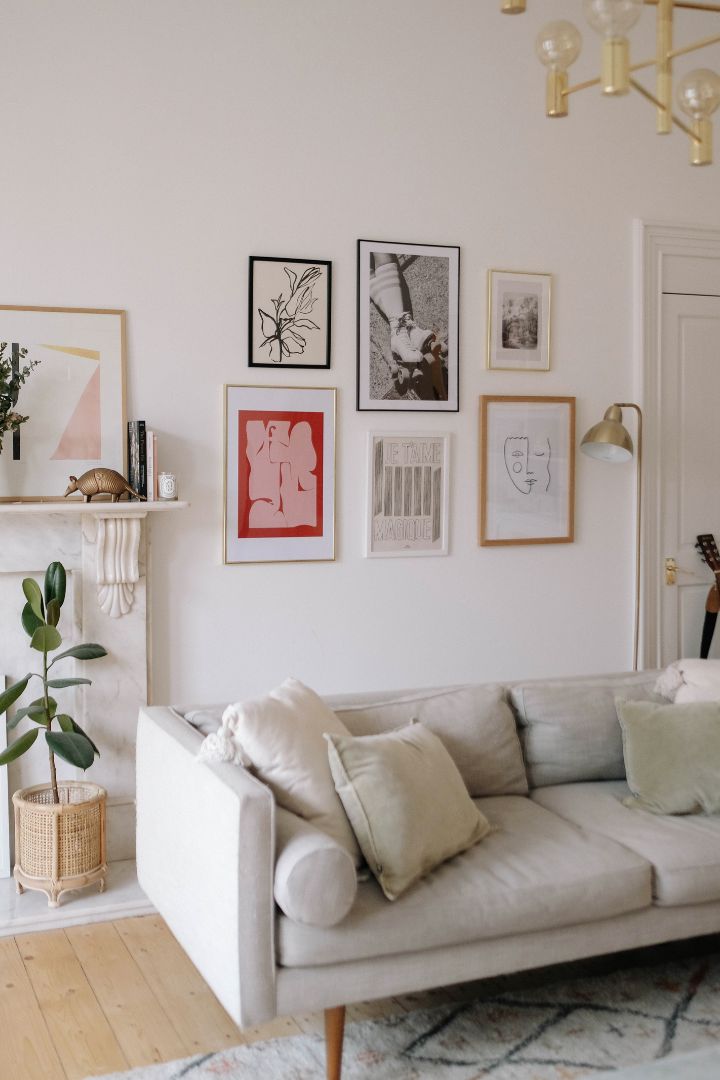
If you’re opting for a more homely and organic style, collecting personal and meaningful pieces of art will be an important step of your gallery wall. Remember that art comes in all different forms so think bigger than framed art prints – think family photos, or framed ticket stubs, or wall hangings, or even your own drawings.
Be mindful of the space you’ve chosen and select pieces that would fit and compliment the space. When it comes to collecting art, the more the merrier; you don’t have to use up all the artwork you’ve collected but it’s usually better to have more options to work with than too little.
Size and Shape
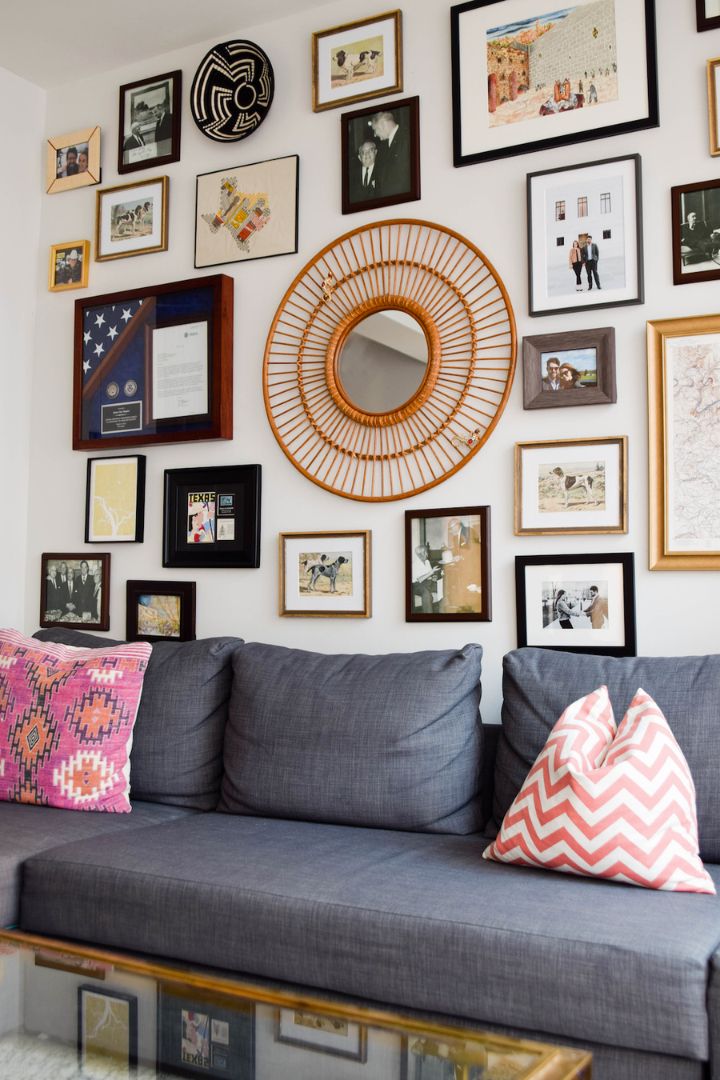
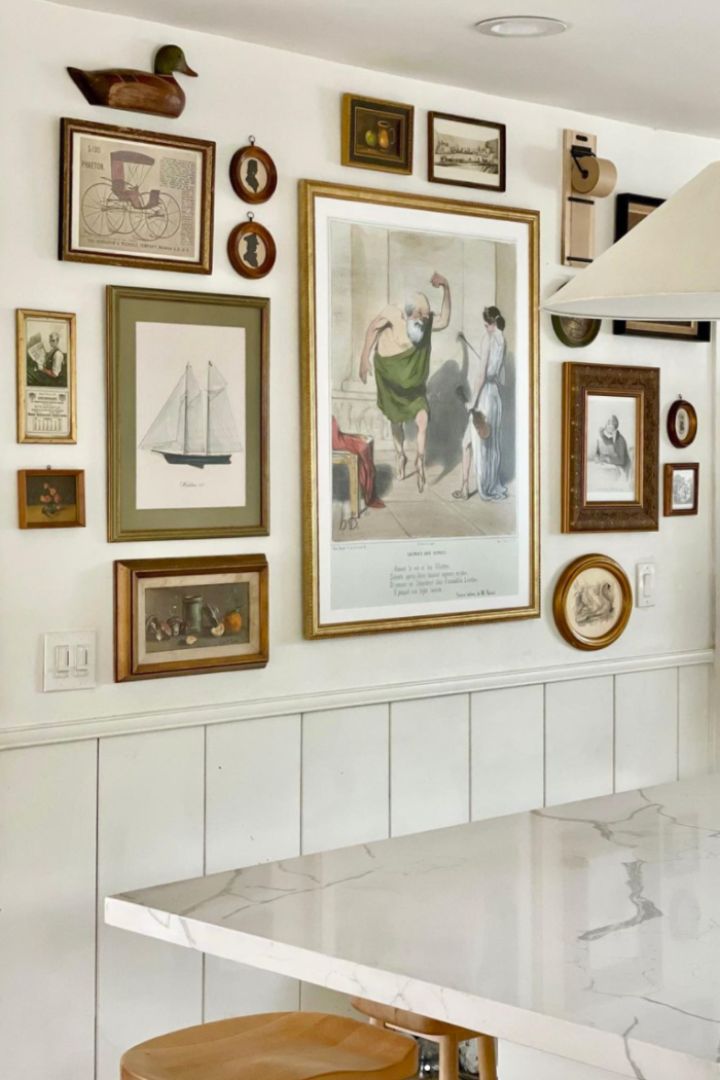
It’s good to choose a variety of sizes for your gallery wall to make it look more dynamic and interesting. The larger your space is, the larger your prints can be and the more variety you can squeeze in. I’d recommend using a mixture of landscape and portrait pieces and to throw in a curveball shape like a circular mirror or hanging tapestry.
Remember that you can choose larger frames for smaller prints to make them appear bigger on the wall – the ultimate hack!
Choosing Colours
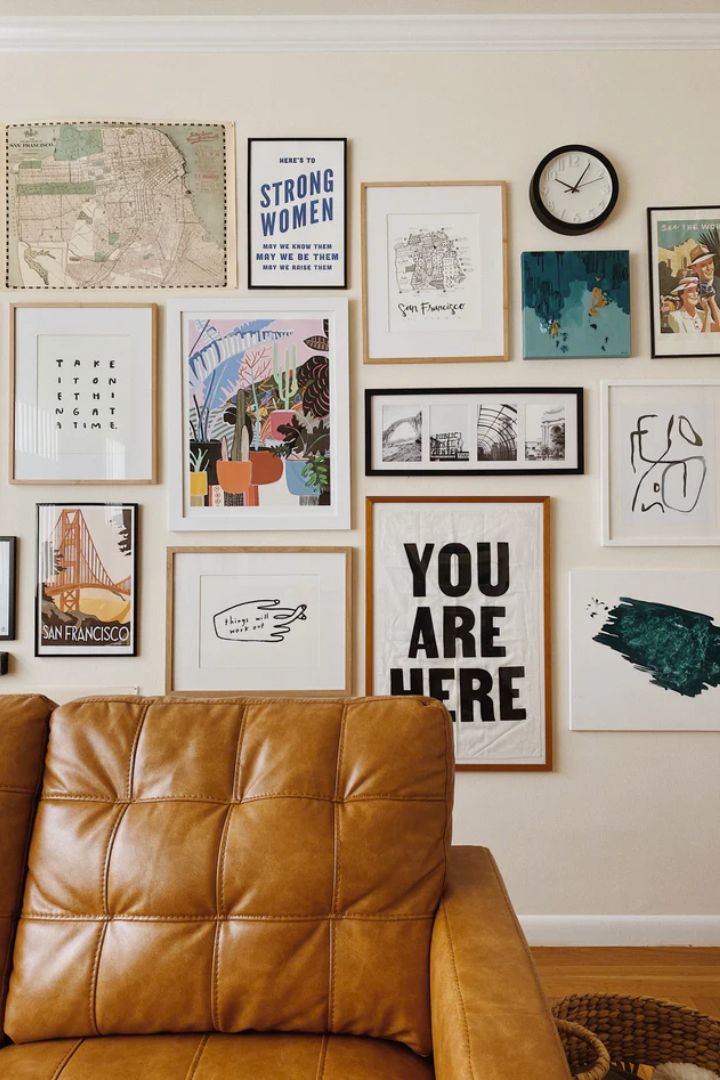
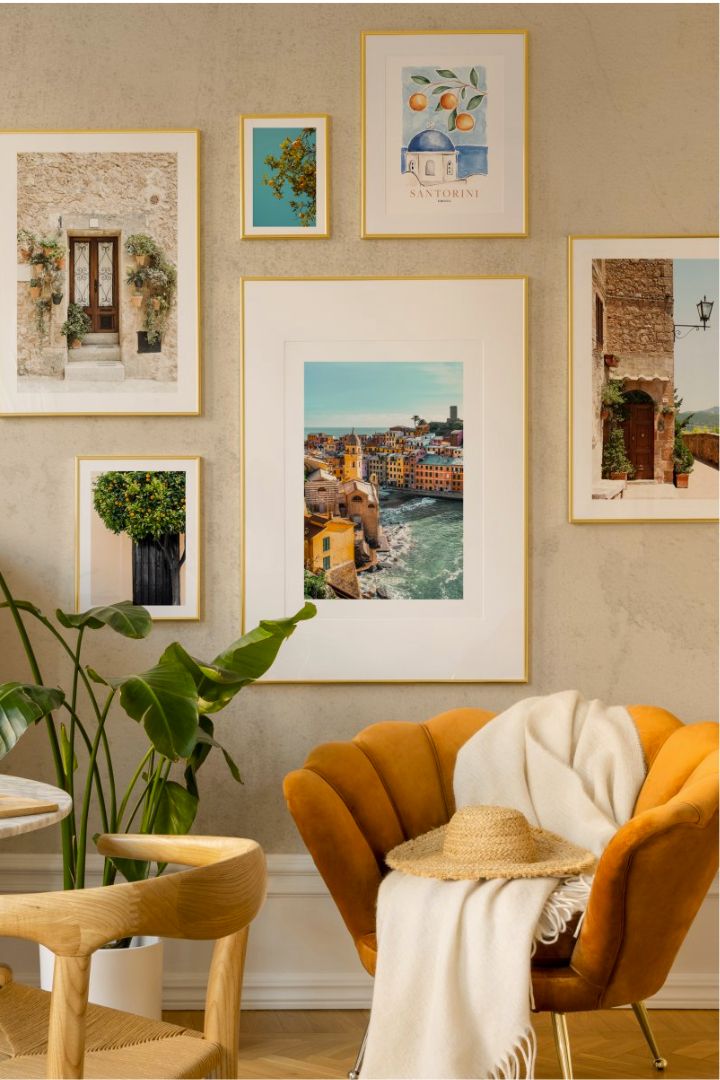
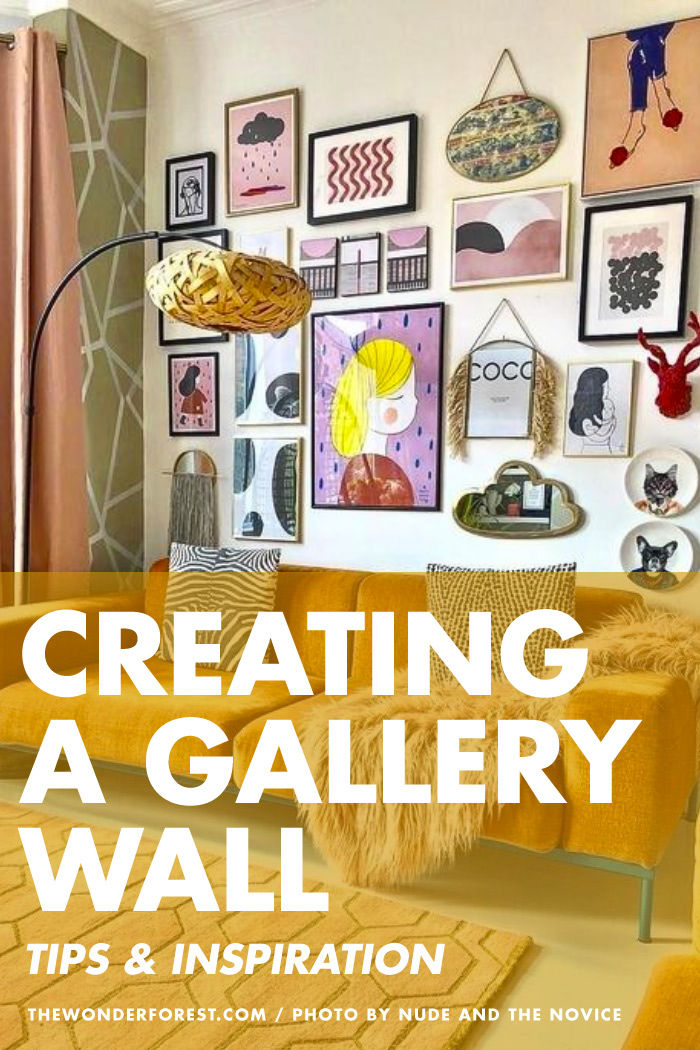
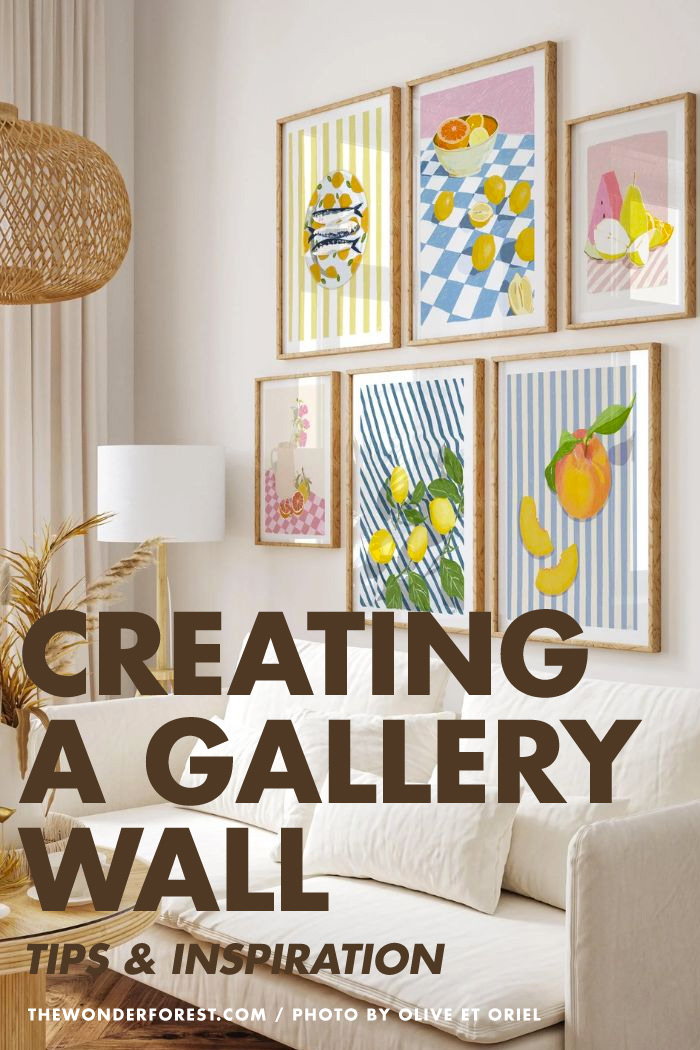
When it comes to choosing the colour palette for your gallery wall, as a rule of thumb, it’s a good idea to pick out 2 or 3 main colours that run through your pieces. The winning formula is to choose 3 statement colours that compliment your existing room which can be softened with other neutral tones. For example, this colour scheme of blue, orange and green ties in seamlessly with the orange accent chair and green plants.
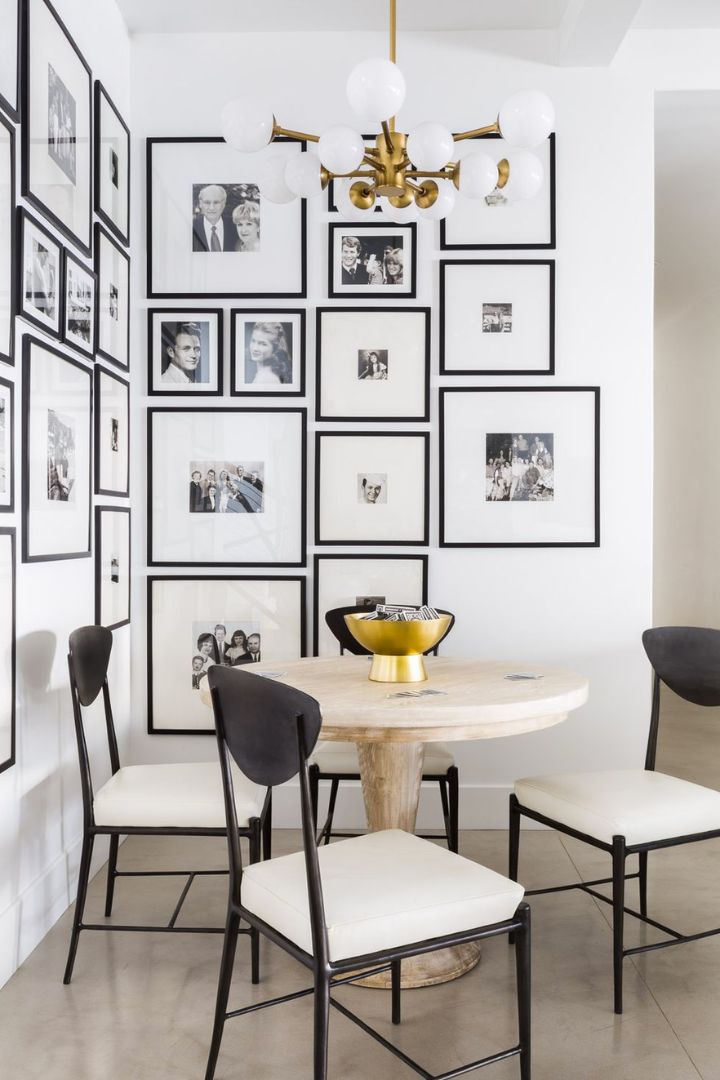
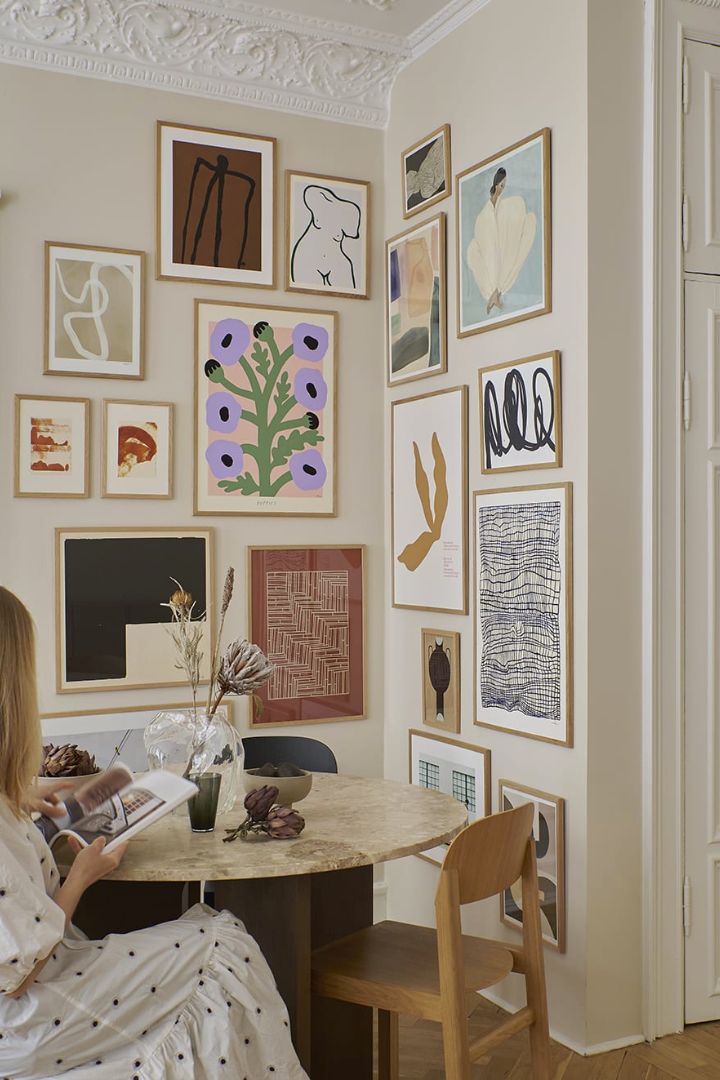
On the other hand, you could also base your gallery wall on tones – choose warmer tones to add cosy vibes to your room or cooler tones for a modern, clean style or even monochromatic if you want sleek and timeless.
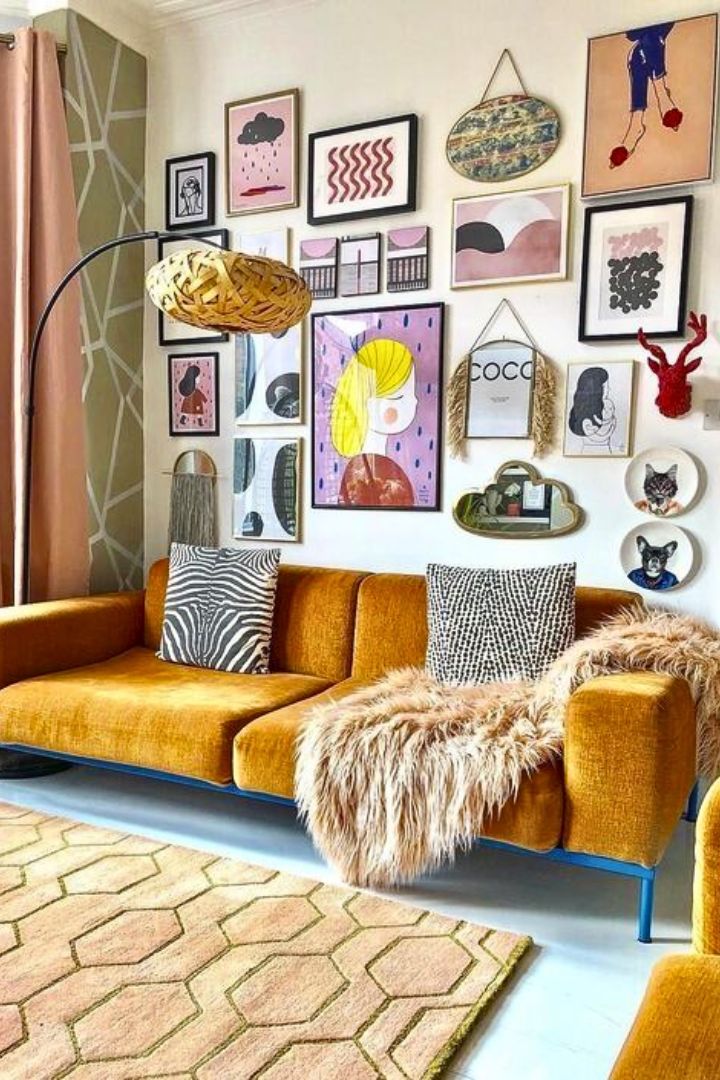
Having said this, there are no rules! Choose as many colours, shapes and sizes as you like, go as eclectic as you want! Keep in mind to include frames in your overall design as these will be every bit as important as the artwork.
Conquering Composition
Now you’ve curated the perfect pieces for your gallery wall, you’re ready to start thinking about composition – meaning, how do you want your artwork to look on your wall? If you’re familiar with gallery walls, you’ll know that there are no two that look the same. Figure out if you want your finished piece to fill a shape, or to cascade naturally, or a classic and casual style.

A top tip is to start from the middle and work outwards in size order – start with your biggest piece of art as that will be your focal point, then add in your medium pieces and finally, use your smaller pieces to fill in any empty spaces. You’ll want your gallery wall to look casual and organic so be diverse and spontaneous in where you place each piece of art (don’t worry about being symmetrical or neat!).
It’s common to leave a gap of 3 to 6 inches between each piece of art so they have room to breathe but these can become smaller as you reach smaller pieces of art.
Hang Like a Pro
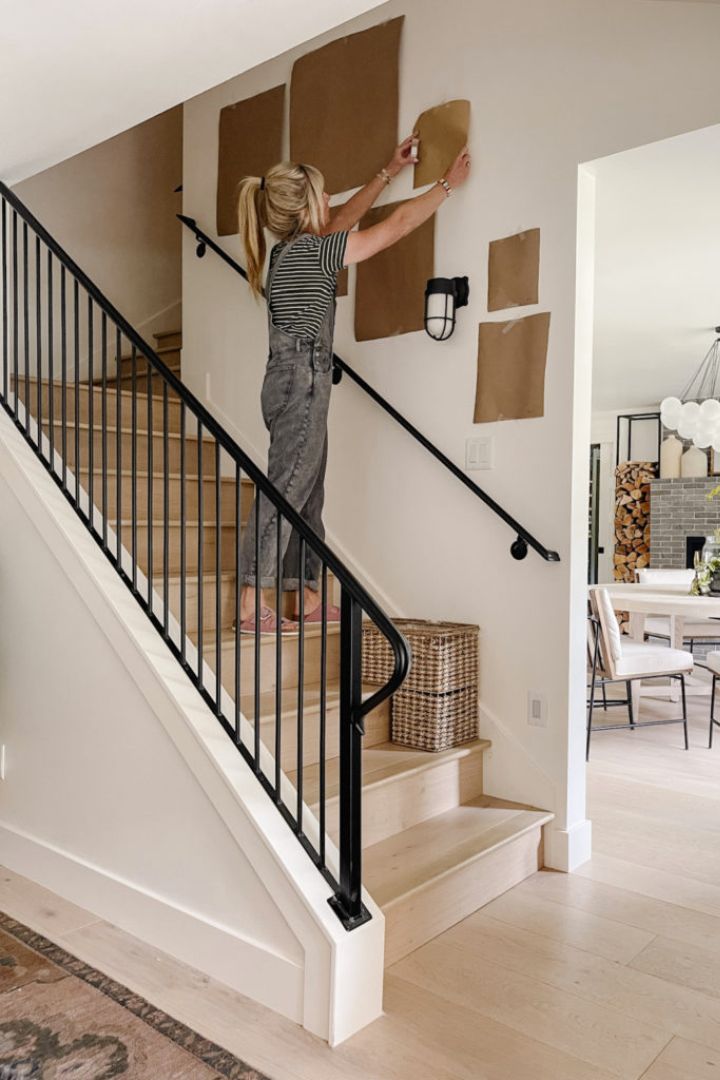
It’s time to put all your good work into action and hang your gallery wall up. My top tip is to roughly lay out your potential gallery wall by cutting kraft paper in the shape and size of your artwork and stick them up on your wall to see what it’ll look like. This way you can see if your intended formation works with the space and can be easily adjusted if not.
A great way to trial your masterpiece before you commit! And then, all you have to do is transfer the rough layout you’ve made onto the wall. Easier said than done, right?
My favourite way to hang prints up is with sticky-back strips which is renter-friendly and easy to move around if you’re indecisive like me – all of the style but none of the commitment!
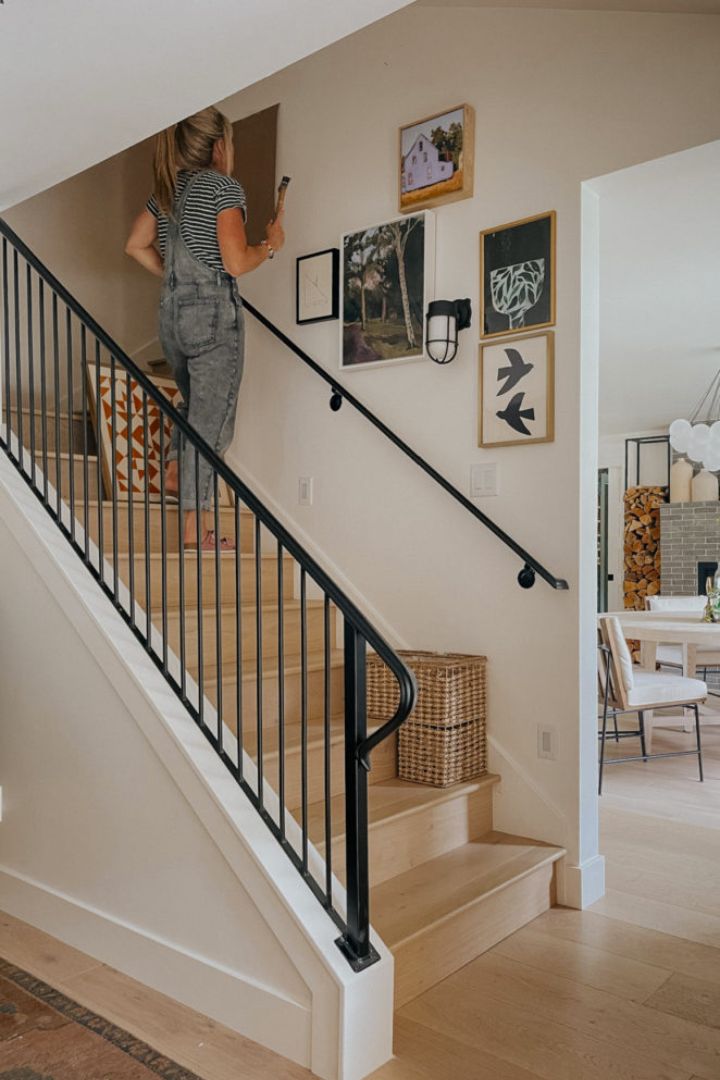
If you’re feeling confident, go ahead and place your gallery wall up by eye but if you need a little bit more planning, stick up your kraft paper cutouts and remove them one-by-one and replace them with your framed piece until your whole gallery wall is up.
To get your prints perfectly straight on the wall, I’d recommend a spirit level which you can get from your local hardware store or can be downloaded onto your phone! It’s a slow and careful process but trust me, it’ll be worth it for the end result!
And the moment of truth – your wall is finished!
PIN THIS:
Last Updated on