
Ever wonder what it’s like to make a photographic print without a camera? To make a handmade, colourful and vibrant print of your own? Well, look no further!
This project will show you how to create a Cyanotype print, which is a blue-toned print created with the power of the sun! It makes a great hobby… perhaps even one that you can make money from later on.
What is a Cyanotype print?
The cyanotype process is an archaic one, dating back to the 1800s, supposedly invented by the chemist John Herschel and popularized by Anna Atkins, who focused on documenting many plants including species of algae.
The method includes mixing chemicals together to create a light-sensitive solution which is then coated onto paper. Objects are then placed on top of the paper and exposed using UV light.
As a professional photographer, I have dabbled in using many alternative processes of photography and there isn’t one quite as forgiving or interesting as the cyanotype. It is also an environmentally friendly way to produce imagery – win-win!
Check out these awesome examples of the gorgeous prints you can create:
Cyanotype Print Ideas

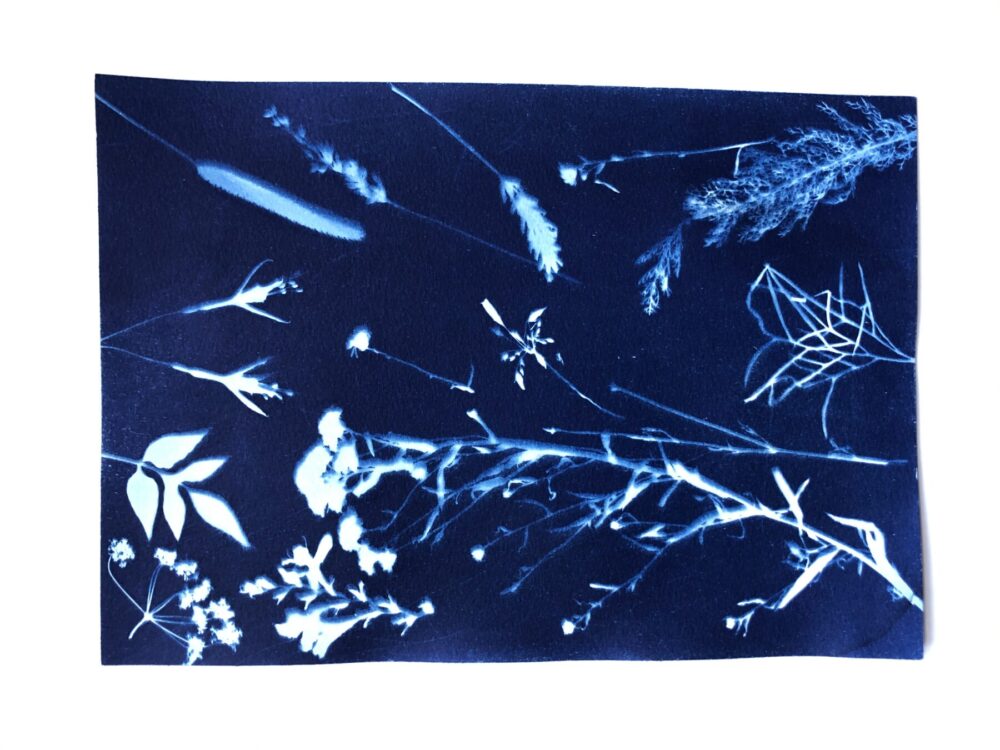
This print uses various long stemmed foliage and leaves to create a super pretty print. The opaque objects block out the light, creating this beautiful negative space piece of artwork.
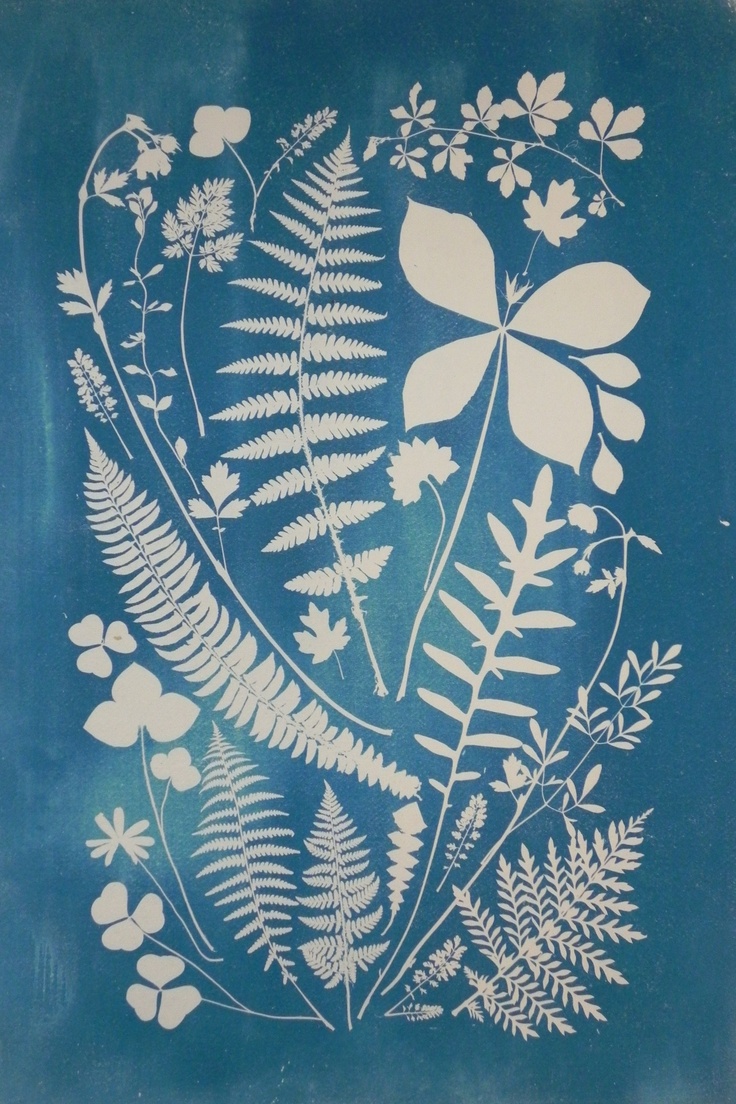
Another gorgeous example where the foliage is placed in a creative, appealing way to create a bouquet effect.

You can also try using feathers and objects with texture and less opacity! This print is so simple but eye catching!
Gorgeous, right!? You can create one of these prints in your own backyard — without a camera! Here’s how to create your own cyanotype image using the sun…
Using Sunlight to Make a Cyanotype
This technique is a very child and beginner-friendly one and comes with an easy step by step process. Traditionally and most simply, the process is performed outside using sunlight.
It is possible to conduct the method inside but this method involves purchasing a UV lamp of some kind. So today, I will be sharing with you all the basic and original process of using sunlight.
Basic Cyanotype Print Materials
• Paper (For better and longer-lasting results, use a thicker paper like watercolour paper).
• An object to expose on your paper (a pressed fern or flower often creates the best outcome, these can be pressed between paper and books. Other objects such as feathers or keys can also be used – get creative).
• Chemicals: potassium ferricyanide and ferric ammonium citrate (both can be purchased in sets like this one either as ready-made solutions or powders).
• Water (if using the powder chemicals as needed for mixing).
• A tap with running water, sink/basin and a tray or tub to wash your print in. Chemicals are being used, so ensure you’re not using the finest sink in the house!
• Square foam brush or paintbrush.
• Disposable rubber gloves.
• Measuring jug and spoon (if using powder chemicals).
• Scales (if using powder chemicals).
• 3 plastic containers/tubs (if using powder chemicals and mixing your own solutions).
• A piece of glass/Perspex is useful to flatten the object to the paper for a better print but is not essential. A picture frame’s glass can also be used for this.
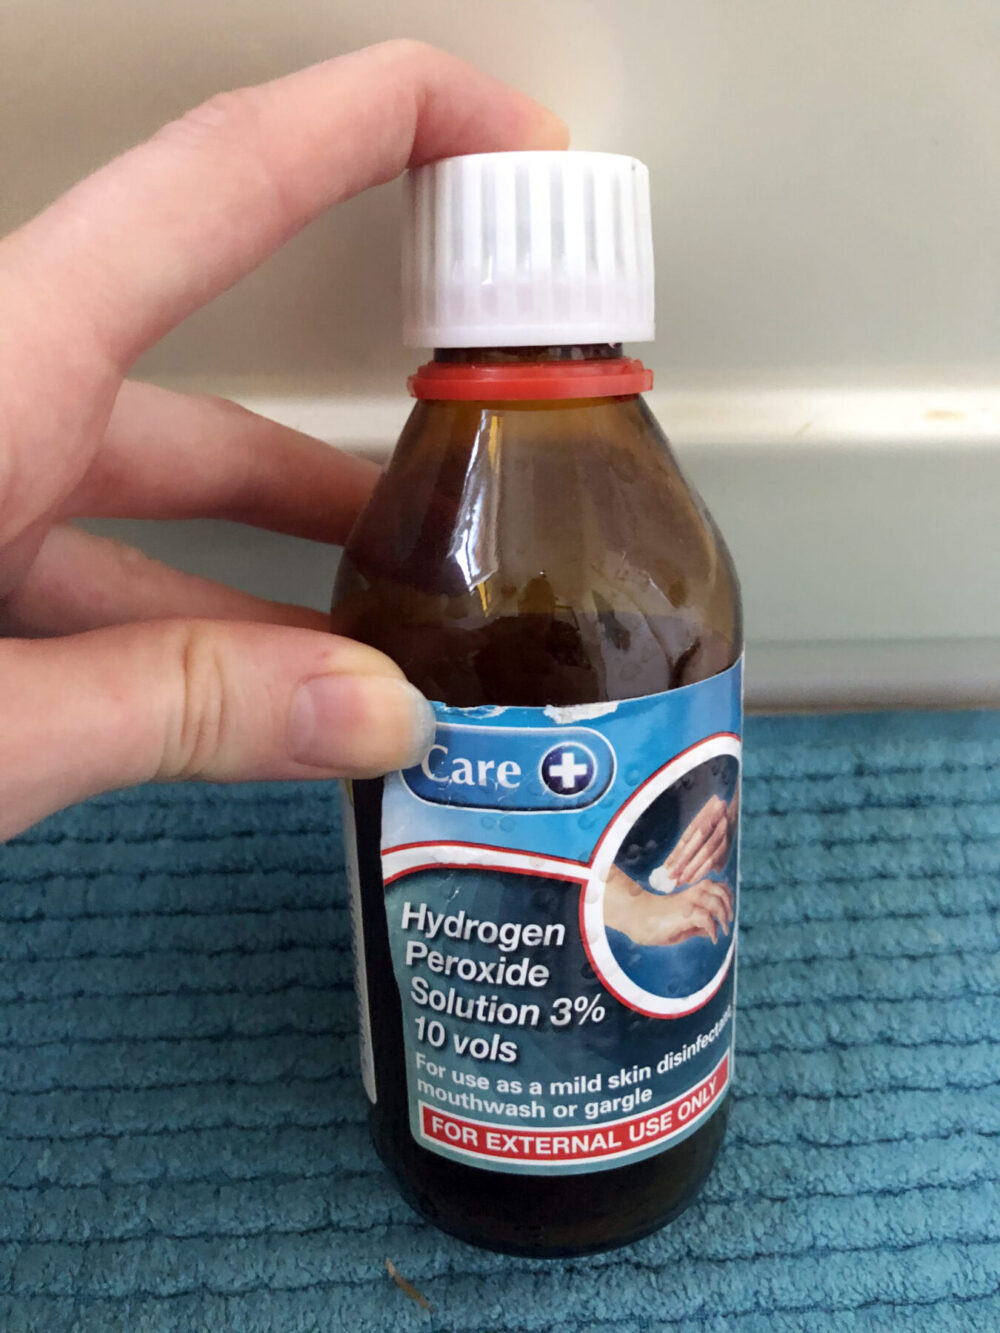
• Hydrogen peroxide or citric acid is effective for putting in the tub of water the print washes in, to improve the print’s contrast and speed up oxidization, but is not essential.
• A pencil.
• Masking tape if coating the solution in a shape/border.
Preparing Your Papers

The first step is to prepare the paper you wish to print on. I always use A4 or A5 size but you really can do any size you want or have available to you. IMPORTANT NOTE! Make sure you prepare some test strips or test print papers as you will always need to try out different exposure times depending on the weather.
I always find it useful to pencil notes on the back of the papers I am using for myself to refer to, e.g: ‘cover all over with chemicals’ or ‘paint in the box marked’ so I know exactly what I am doing when it comes to coating them.
If you wish to give your print a white border or would like to print the image in a particular shape, simply draw it out in pencil so you know where on the paper to paint the chemicals onto.
Preparing the Chemicals
Once your papers are all sized and templated correctly as you would like them, the next step is to prepare your chemicals and coat the papers.
This next step must be carried out in subdued lighting — such as a room that is pitch black with a crack of daylight coming in. Try a shed/garage or a room you can draw the curtains or blinds in.
If you have purchased the powder chemicals, please adhere to the following instructions, but if you have purchased the pre-mixed solutions you can skip to the next step.
Mixing Your Powder Chemicals with Water

Put on your rubber gloves and lay out everything you need for this step on newspaper (to prevent stains), including: a measuring jug full of water, scales, 3 plastic tubs, the powder chemicals and a spoon.
The amount you measure out of the powder chemicals and water to create your light-sensitive solution depends on the amount you wish to make and how many papers you would like to coat. These instructions will allow you to coat up to 50 A4 sheets.
Measure out 25 g of ferric ammonium citrate and add water to create the solution of 100 ml – put this in one plastic tub.
Next, measure out 10g of potassium ferricyanide and mix with water to make a solution of 100ml – put in another plastic tub.
Then, simply mix both of these made chemicals into the last empty tub together, using the wooden end of your paintbrush or the spoon to help stir them together and ensure everything is fully dissolved and well mixed. This mixed solution is now ready to coat your papers with.
Coating the Papers
Now that you have the mixed solution, you can begin to coat your papers with the paintbrush or foam brush.
This step should be completed away from any natural light, so the dark room you are currently in should be fine, just ensure the papers are not being exposed to any natural light seeping in. The coating of the papers should be conducted under tungsten light.
For an even coating, dip the brush in the mixed solution and spread all across the papers for full coverage. Make sure that there is no chemical left dripping or gathering in a puddle on the paper — it needs to be even on the paper.
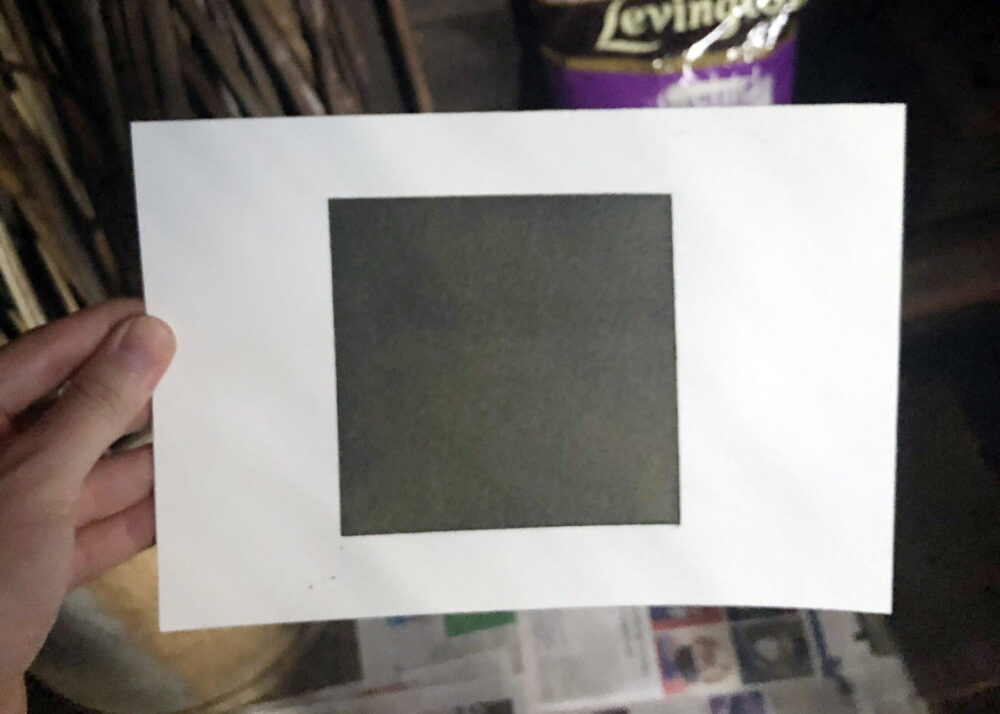
If you have marked out a shape to coat in, paint it within the lines – masking tape can be applied before doing this for an even shape.
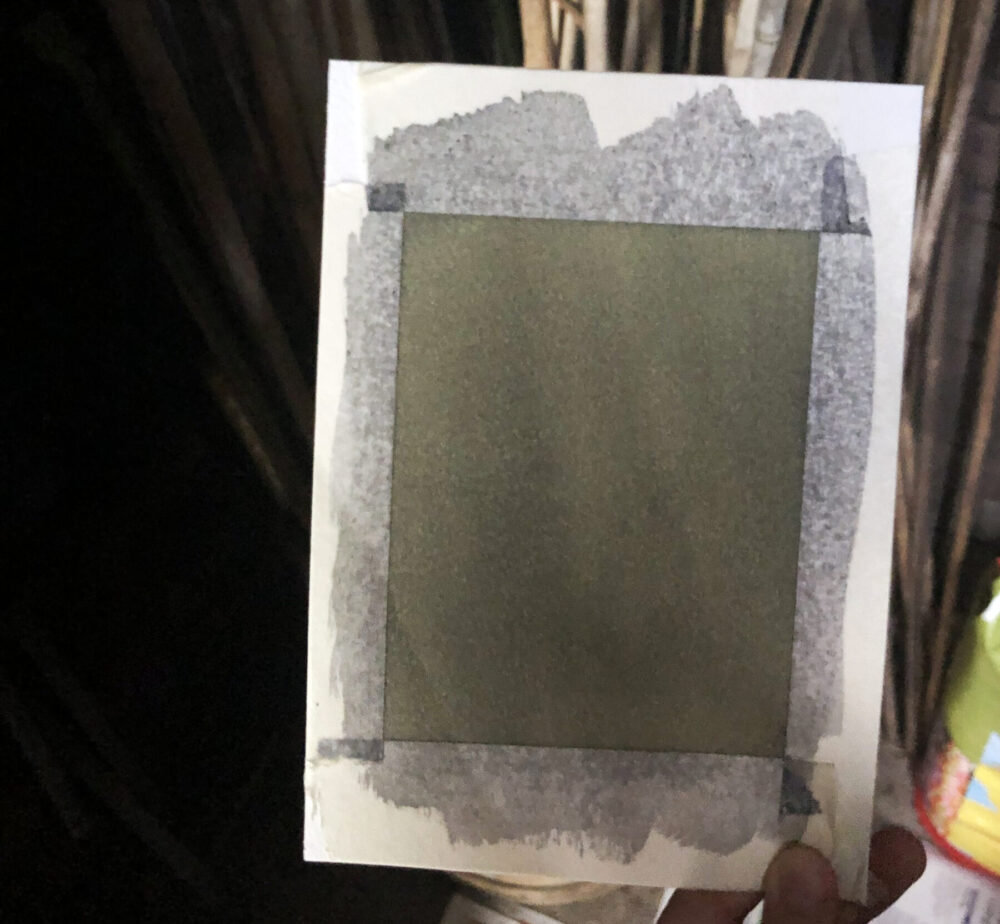
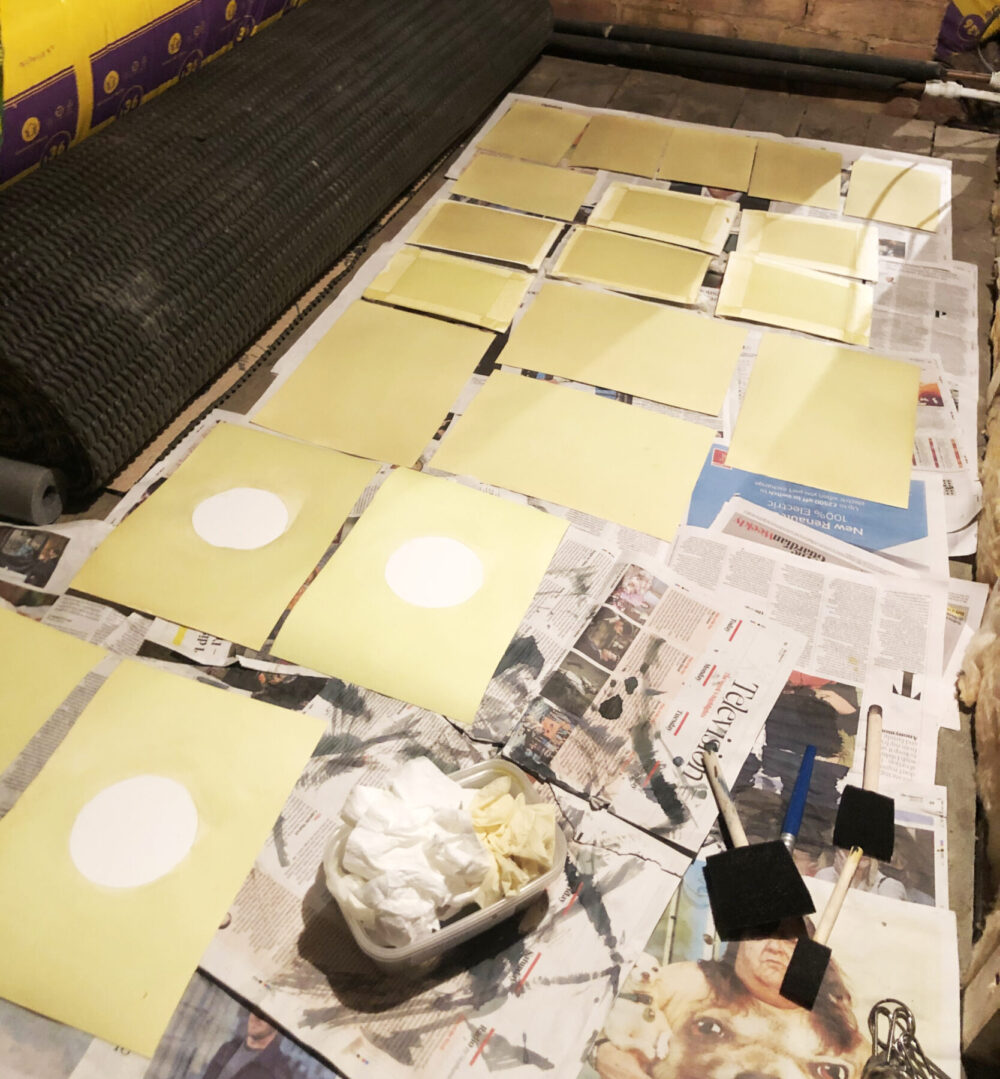
Once you have coated all of your papers, they should be a yellow/green colour. Leave them to dry in total darkness until you are ready to use them.
You will know when they are ready as they will have gone a darker yellow/green colour and the paper should feel dry.
Making Your Cyanotype Print
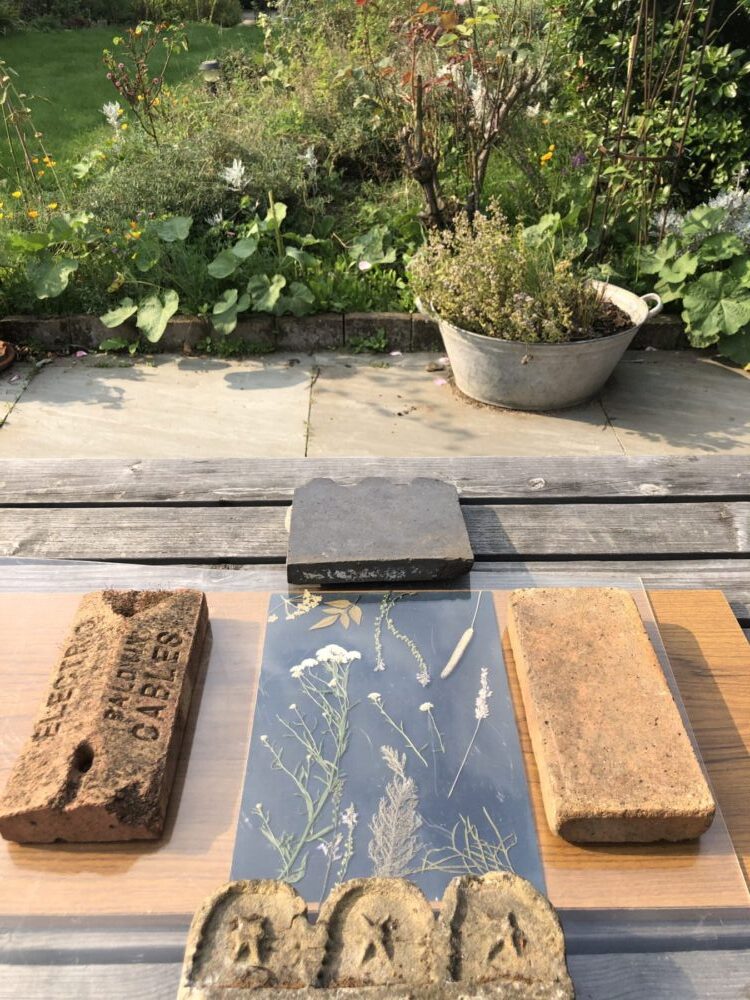
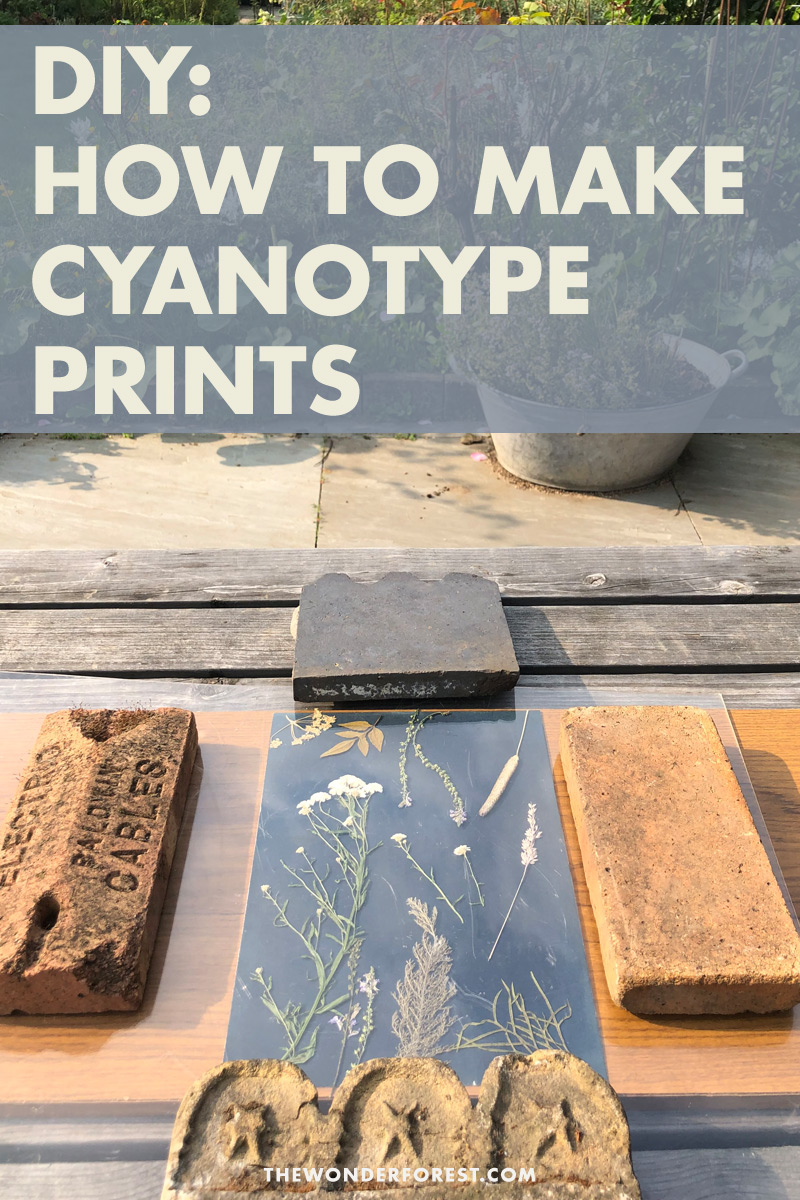
Prepare your outside space to expose your print in. Set up in a space with a flat surface such as a bench, patio or concrete area. Have your piece of glass/Perspex and object you are going to expose on the paper ready in the outdoor space and ensure that your print will be as directly in the sun as possible.
When you are ready, get your first paper (remember this should be a test strip or print) and bring it outside – preferably in a black garbage bag until you are at the workspace to prevent it from being exposed before you want it to be.
Lay the paper on the flat surface, place the object you are exposing to make the print on the paper in the desired position and place the glass or Perspex on top. Use heavy weights to keep this down such as bricks. This helps to flatten the object close to the paper for a better print result.
You will need to experiment with different exposure times, to figure out the most optimal duration period to expose your object on your print due to the amount and strength of UV light on any particular day.
During the summer, on a sunny day or with some clouds, I find 6-12 minutes tends to work best. As the autumn and winter months arrive and more overcast days occur, it’s likely the exposure time will be longer, ranging anywhere between 16 minutes to 1 hour or more.
Let the sun do it’s work!
The coated paper will begin to change colour in the sunlight, from its yellowy/green to a darker teal. Once you have figured out your best exposure time, use this to make your official desired print.
Please note, you will need to make test prints on each day you make a print, as the sunlight will differ day to day.
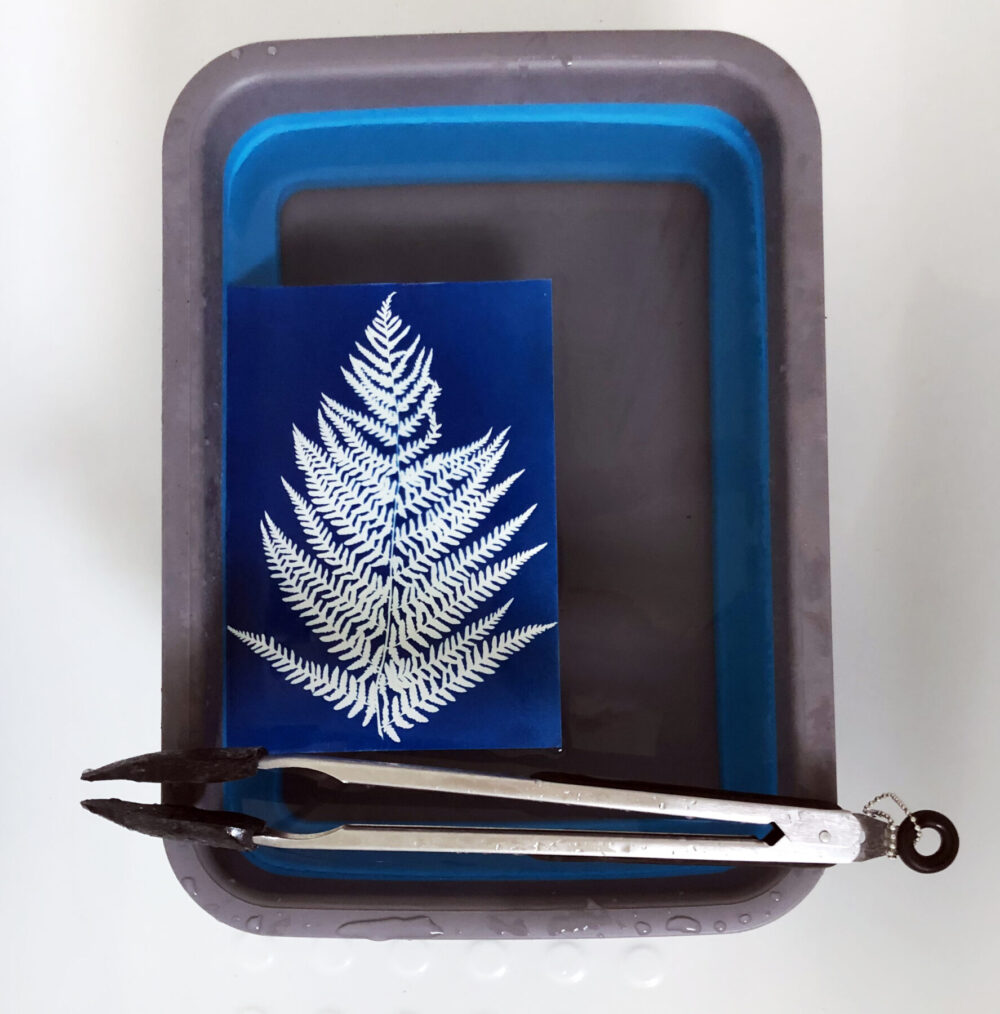
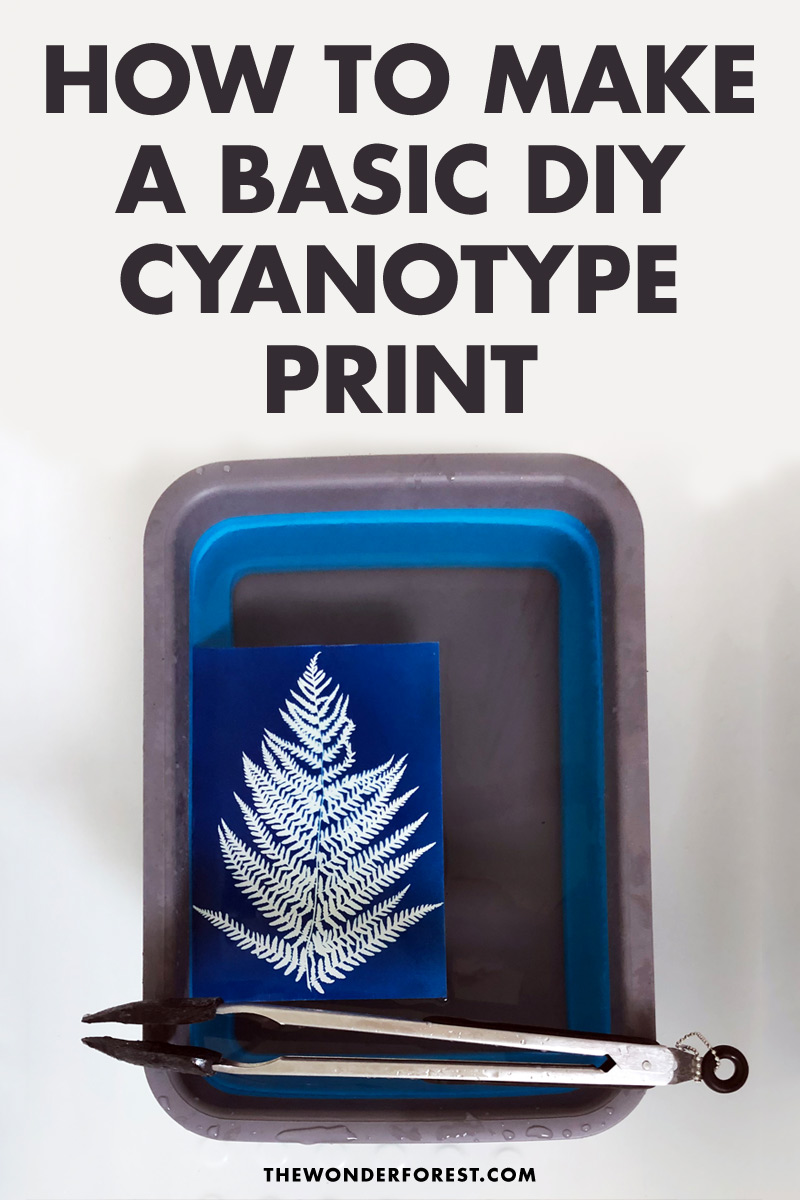
After exposing the print, take it to your tap with running water and wash it for a few minutes until the water runs clear. You will see the paper turn a rich blue colour and the silhouette of the object will remain white where it was placed on the paper and blocked the light.
Next, put your print in the tray or tub of water which has the hydrogen peroxide or citric acid in it, to strengthen the contrast of your print and speed up the oxidization process.
Finally, give it a final rinse off under the water, place it on some newspaper on a flat surface inside and leave it to dry. Your print is now complete and able to be exposed to daylight indefinitely.
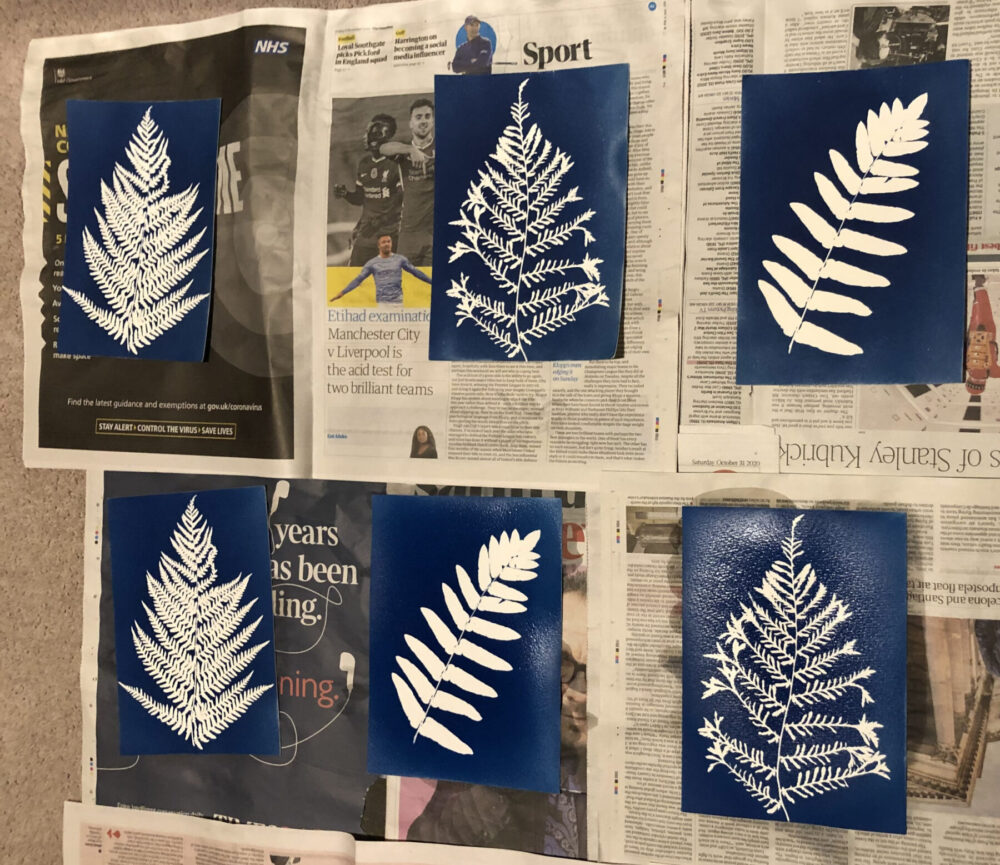
You will notice that the print’s blue and white colours and the image itself may become stronger and more vibrant as hours pass, this is because the print really needs a full 24 hours to fully oxidize and dry.
And…there you have it! You’re now all set to go and make photographs, without a camera!
PIN IT FOR LATER!
Last Updated on