
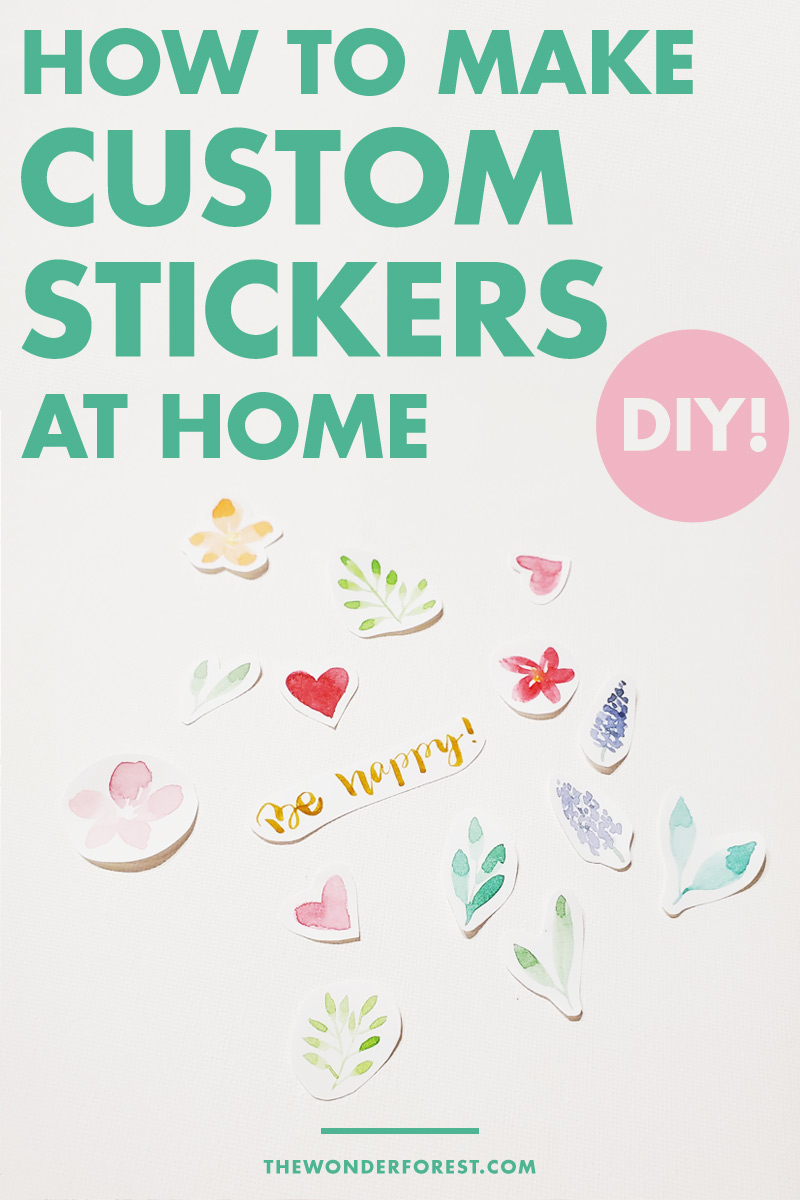
Today I am going to share several methods for making custom stickers at home! There are many ways to create stickers that range from being easy (using very little supplies) to more advanced methods using an automated cutter.
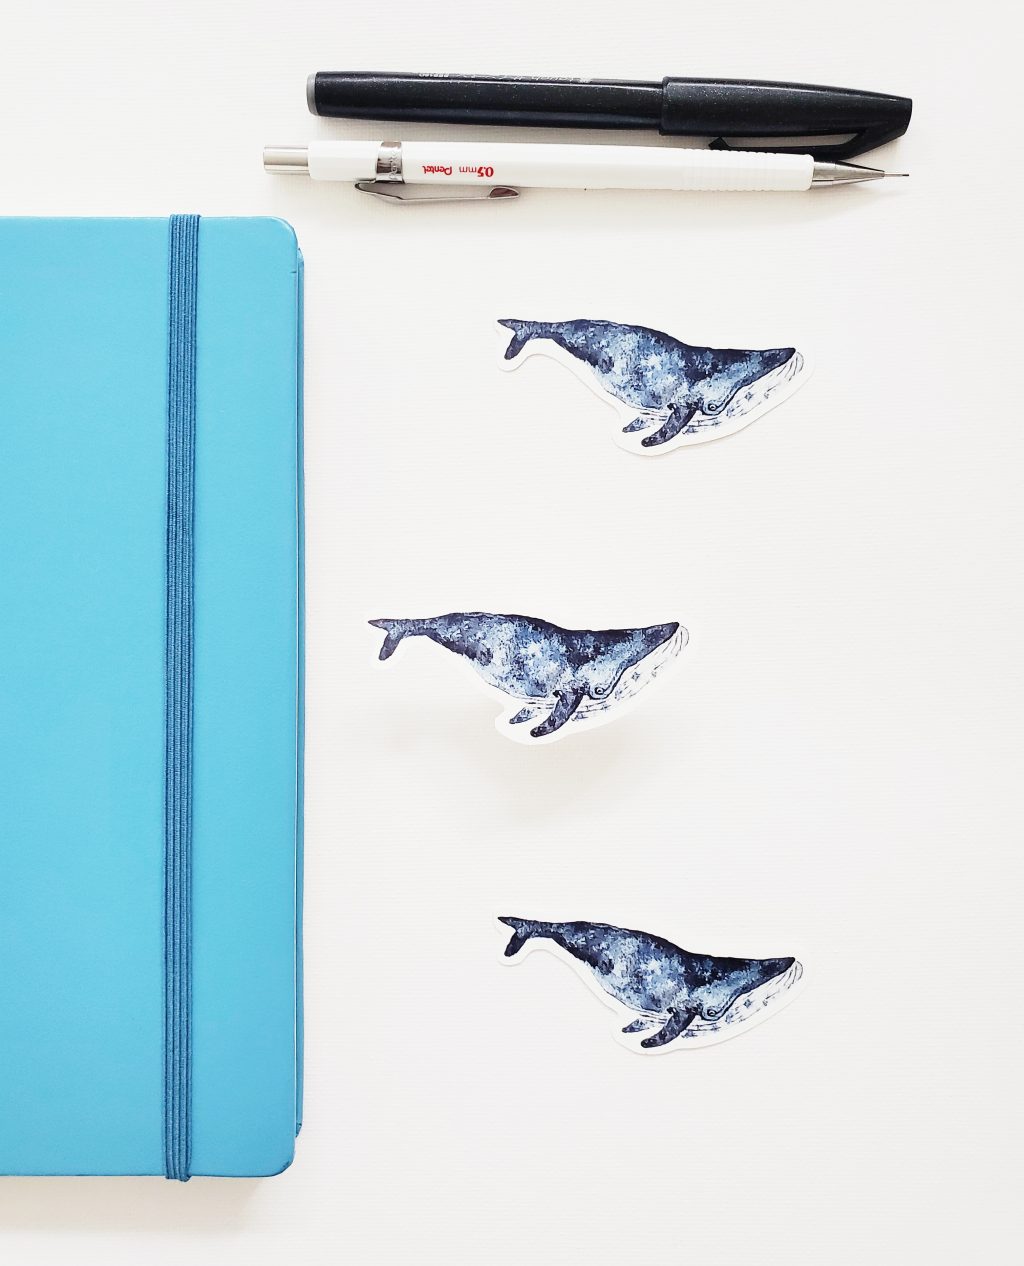
For this DIY, I will be sharing 3 simple ways to create stickers at home with minimal supplies and no Cricut or cutting machine. Personalized stickers can add a cute touch to your phone, laptop, or your bullet journal!
Sticker/Label Paper
This first method and most simple way to create stickers is to buy sticker paper. These adhesive backed papers come in different finishes such as matte, glossy, and waterproof.
For this method, I chose a matte finish. Sometimes referred to as label paper, sticker paper is simply normal printer paper with a sticky side.
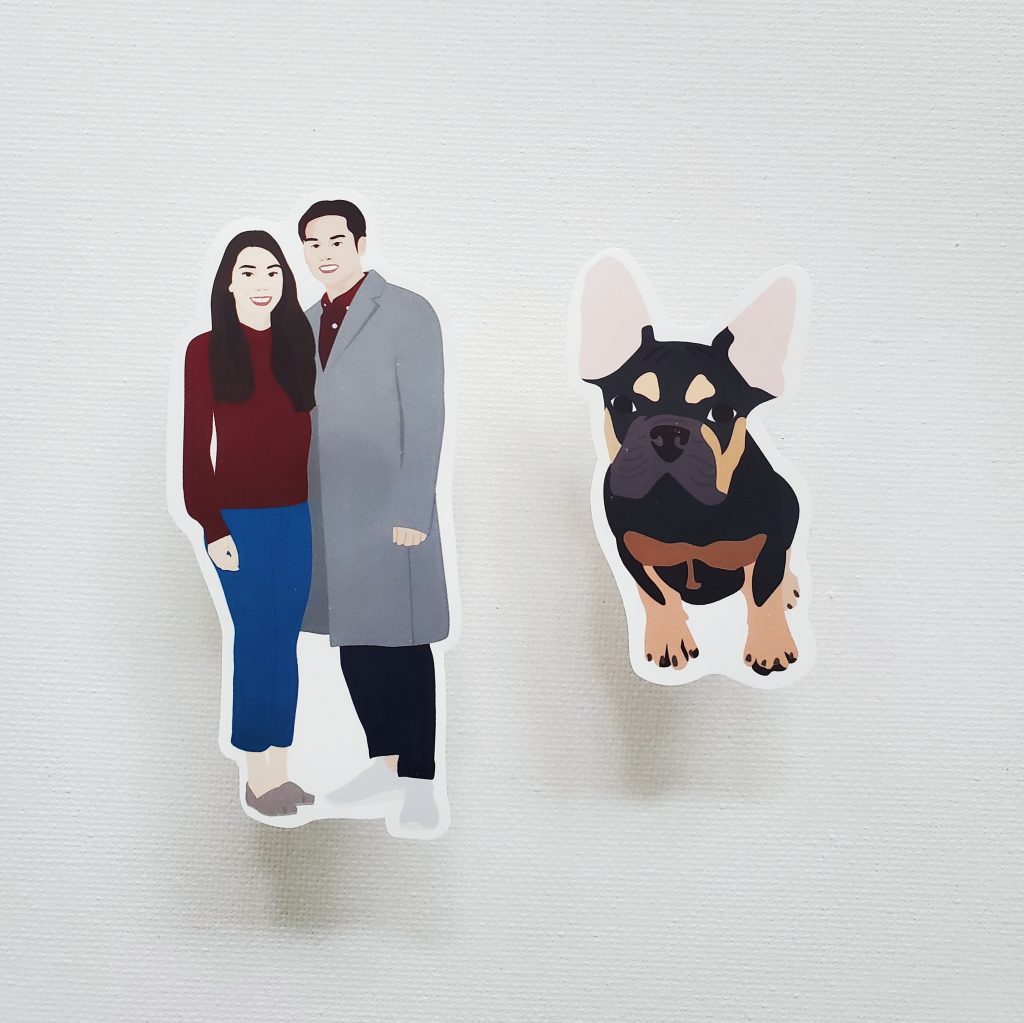
With sticker paper, it is easy to print, draw, or paint something and then cut it out. I love using this method and watercolour to create little floral stickers, or you can try using stamps to make designs!
Step 1
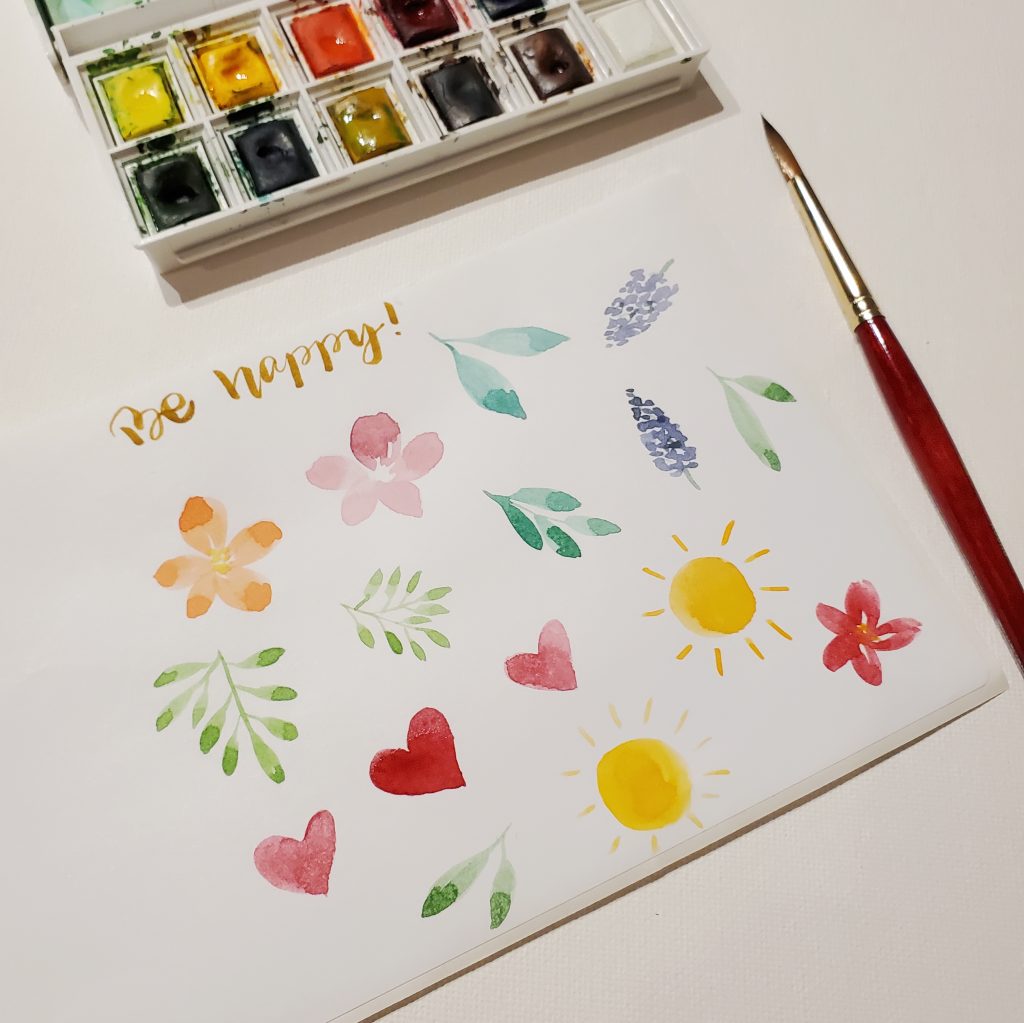
Draw, paint, or print your sticker illustrations leaving about 1 cm between, so that there is space to cut. If you are using watercolours, be sure to not use too much water since this paper is not meant to handle lots of water.
Step 2
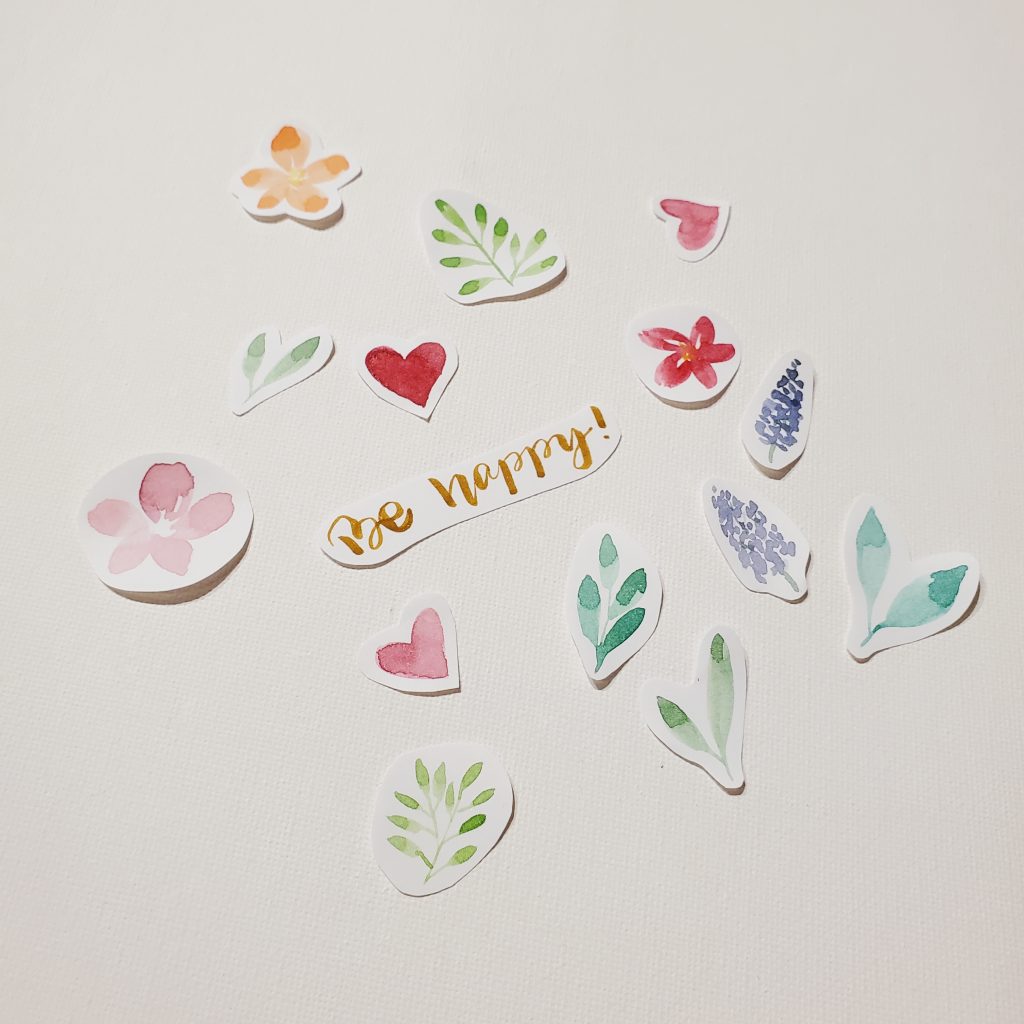
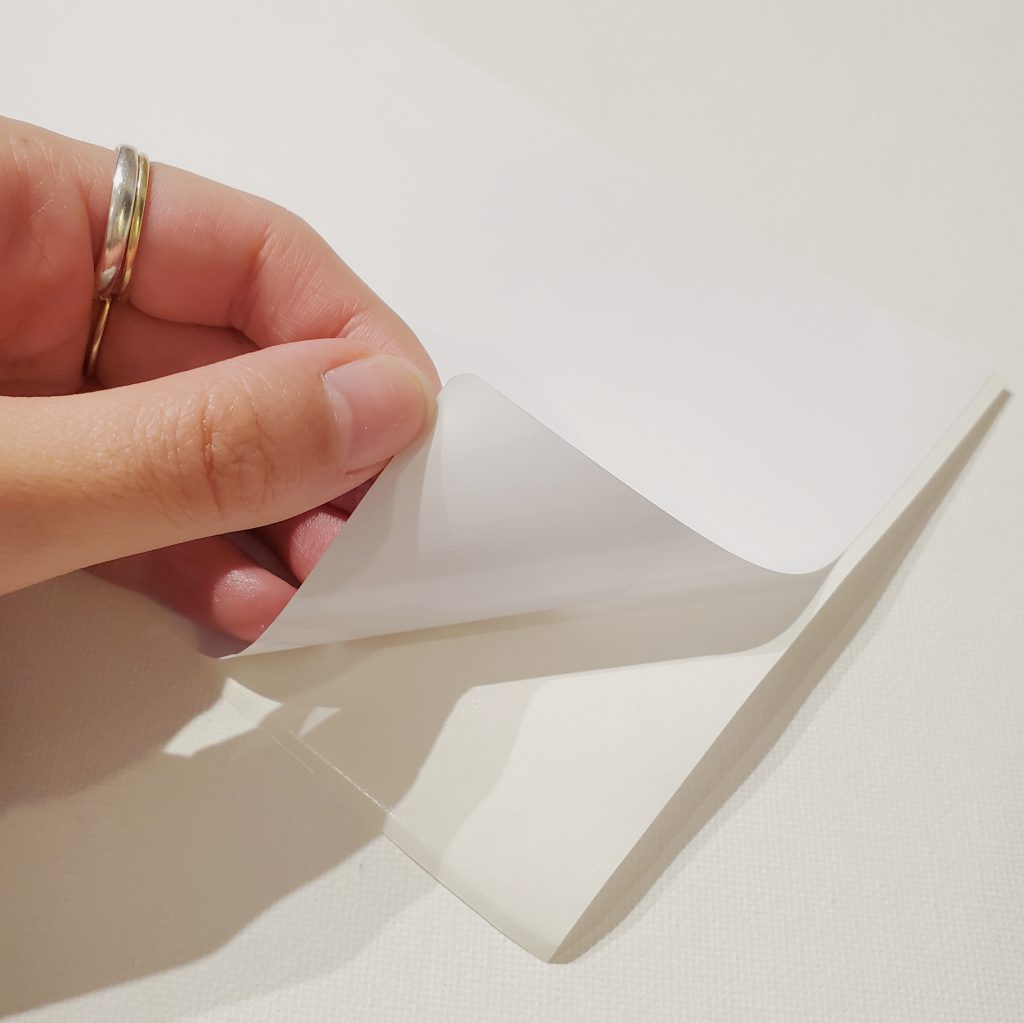
When you are happy with your design, cut around the illustration leaving 1-2 mm as a border. This is called creating a die cut sticker when the sticker backing has been cut off. To get the sticker off, gently bend a corner and you will be able to lift up the sticker.

Step 3
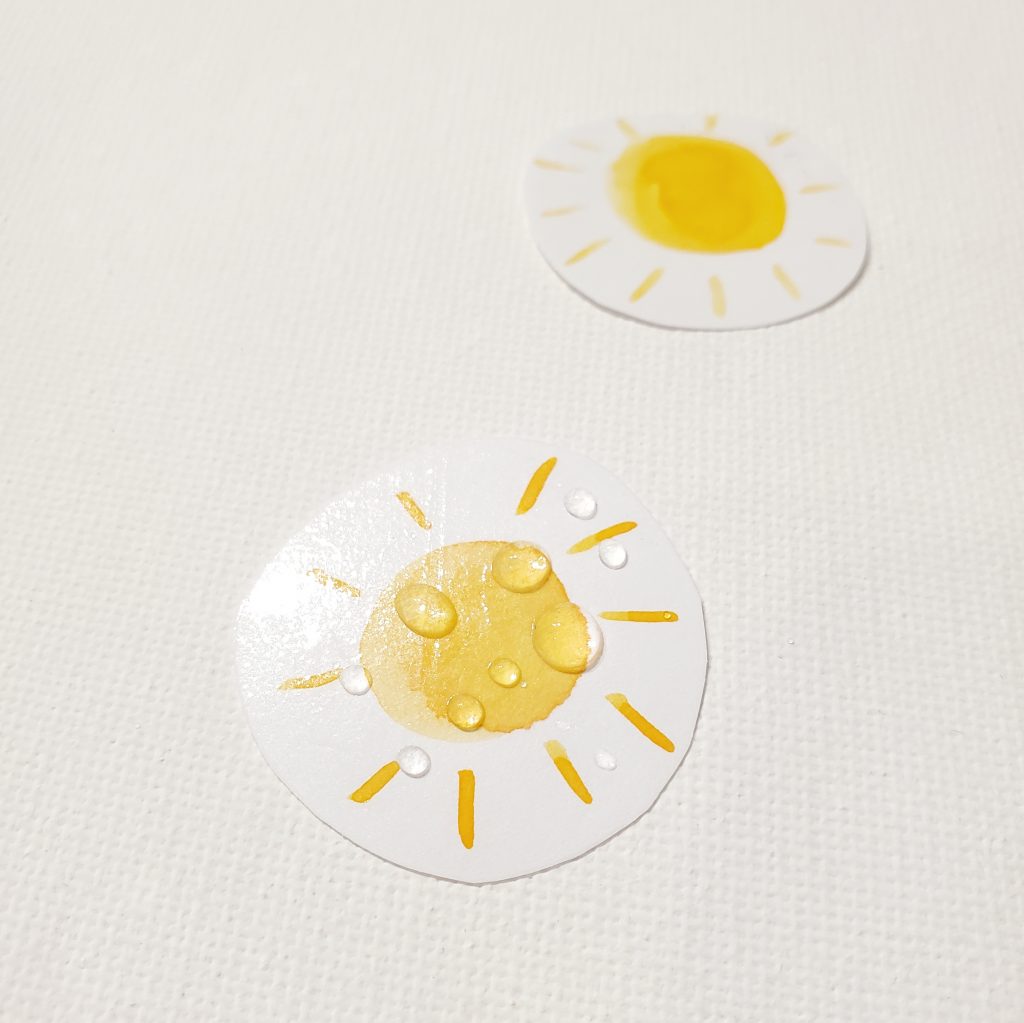
Place the sticker wherever you want! When using matte sticker paper, the downside is that these stickers are not waterproof.
If you want to have waterproof stickers, there are two methods. One is to use vinyl sticker paper, but note this type of paper is only suitable for printing onto.
When printing on vinyl paper, you need to follow the instructions of the product. Usually that means setting your printer to photo mode so there will be less ink flow from the printer.
The reason for this is so the ink can dry and be absorbed into the glossy paper. Once the ink has dried, the illustration should be waterproof and safe to use anywhere!
Waterproofing With Tape or Laminate Paper
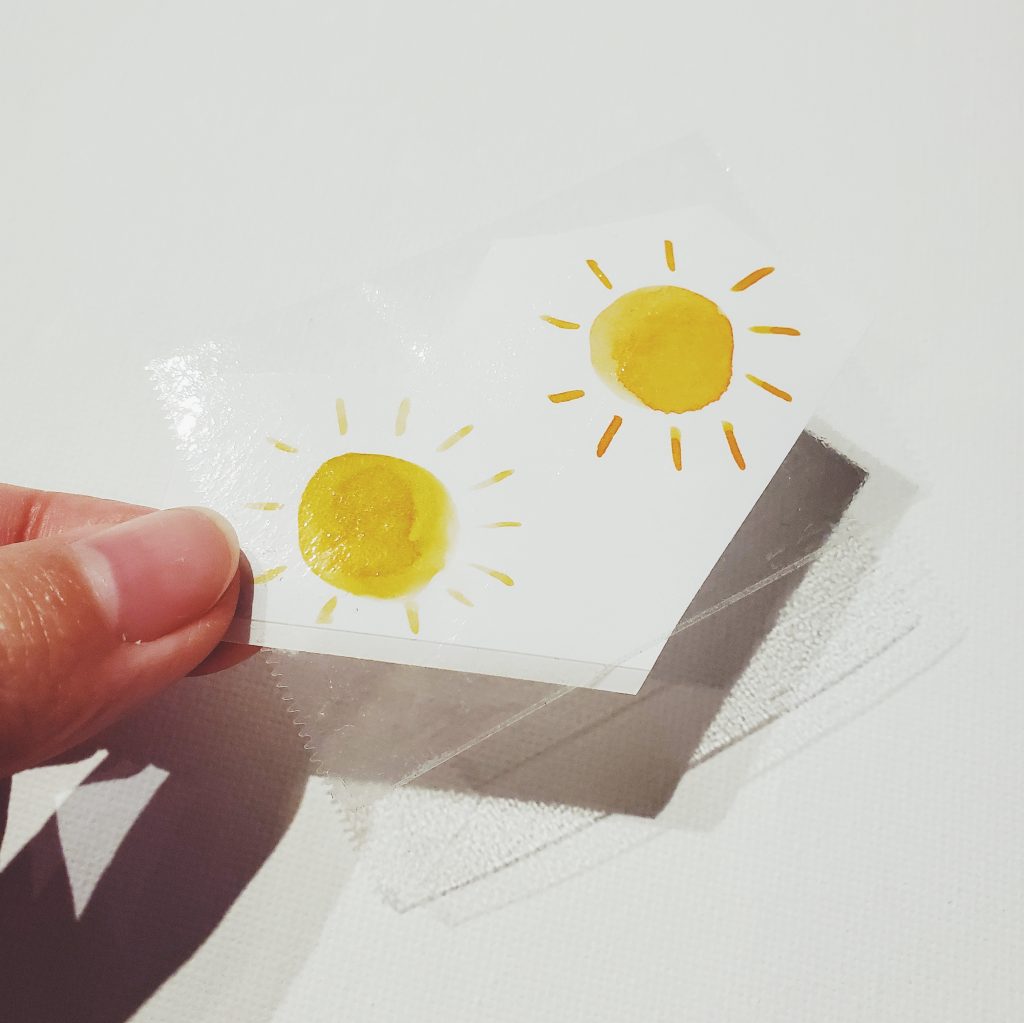
The second method for waterproof stickers is to use clear packing tape or self-adhesive laminating paper.
The clear tape method is useful if you want to create a few stickers and waterproof them but don’t want to buy a whole package of vinyl sticker paper.
Simply follow the steps above for the matte paper to create the sticker illustration. When you are ready to cut, get some clear tape and put it on top of your design before cutting it out.
When the sticker is cut out it will have sticky side and a glossy side which is from the tape. Keep in mind, this method is not 100% waterproof since the edges are still exposed — but it will be fairly water resistant.
Using Standard Printer Paper
The third method is to use tape as the backing adhesive so we can create a more waterproof sticker. To do this, you will need some parchment paper.
Begin by putting a piece of tape on the parchment paper (this is done do we can easily peel off the sticker).
Now draw, paint, or stamp your sticker illustration on regular printer paper and cut it out leaving a 1-2mm border. Place this in the center of the tape on the parchment, then place another piece of tape on top of it. You are basically creating a tape sandwich!
Press the edges and make sure there are no bubbles. You can now cut out the sticker leaving another 1-2 mm clear border around the edge. This will ensure that no water can get in! Enjoy your new stickers!
PIN THIS:
Last Updated on